Company User Guide
Link to IMS Platform https://internships.np.edu.sg.
Table of Contents
- General Instructions (Login)
- Explanation of Company Dashboard
- Creating a New Job/Duplicate Job from Previous Batch
- Job Approval
- Receiving a job application and interview process
- Mass download Resumes
- Review student's profile
- Arrange Interview (pick time slots) via the System
- Interview Details
- After student has confirmed time slot
- Accessing contact details of applicant
- Following up after interviews (Sending an Offer/Reject Application)
- Placement Letter Generation
- Editing of Placement Letter
- Downloading Placement Letter
- Adding your colleagues to manage your jobs (Collaborator)
- Closing your Job Posting
- Following up with a Self-Sourced Application
- On-The-Job Training (OJT)
- Student Assessment
- Survey (Respondent)
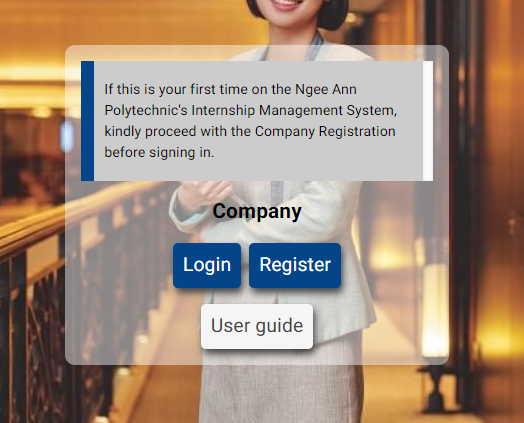
General Instructions (Login)
For new company registration using the unique entity number (UEN), please skip
If your email account has already been registered in the platform, please login instead.
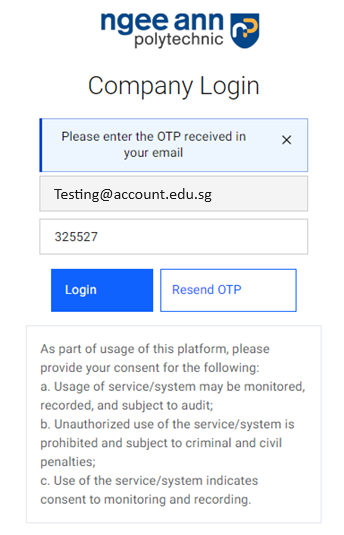
OTP Login
Enter the main platform via https://internships.np.edu.sg/ and click on company login.
Key in your login credentials and click on "Get OTP"
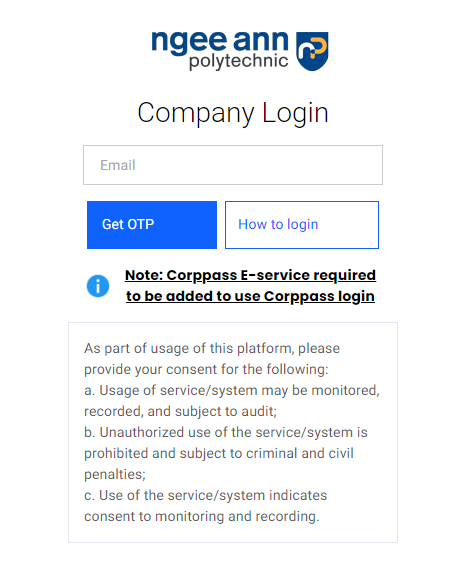
You will receive an OTP in your email account. The OTP will last for 3 minutes.
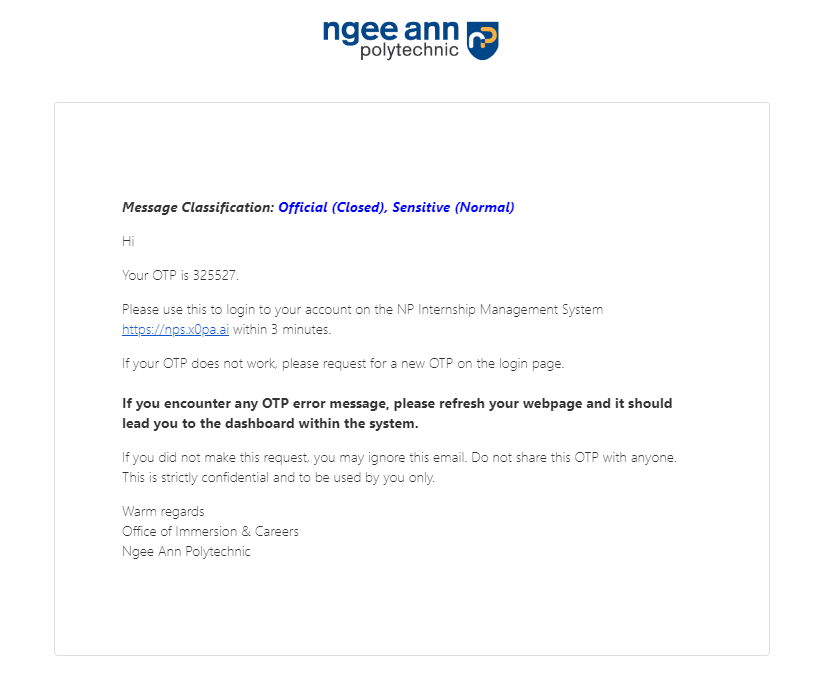
Type the OTP in the platform and click on "Login" button to log in.
Company/User Registration
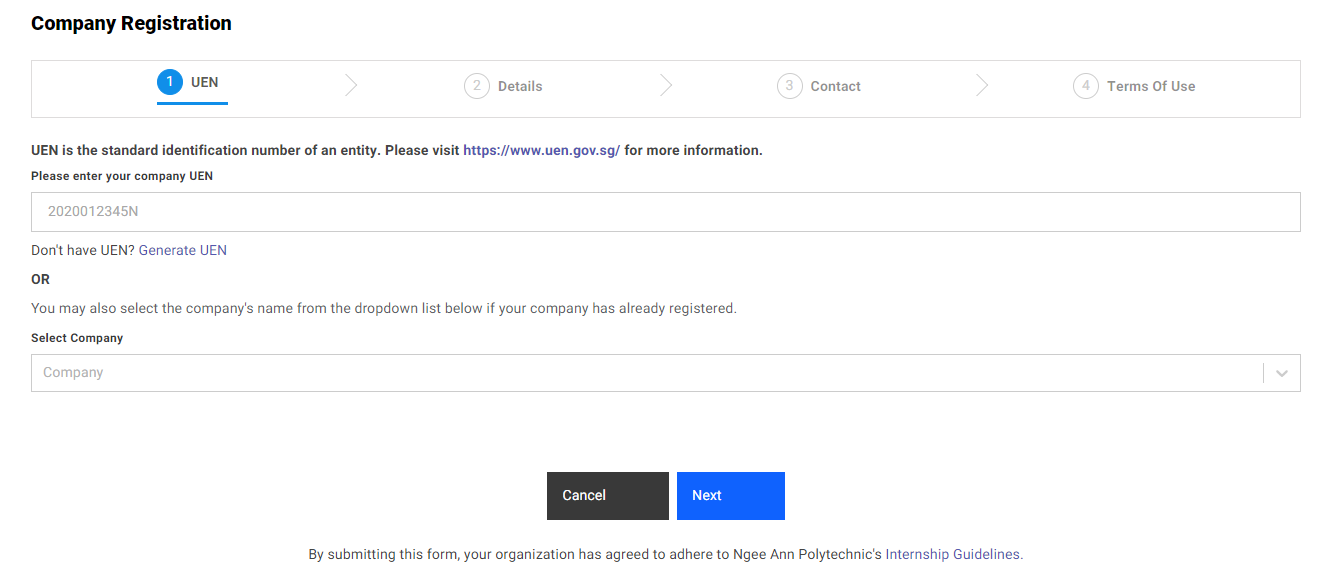
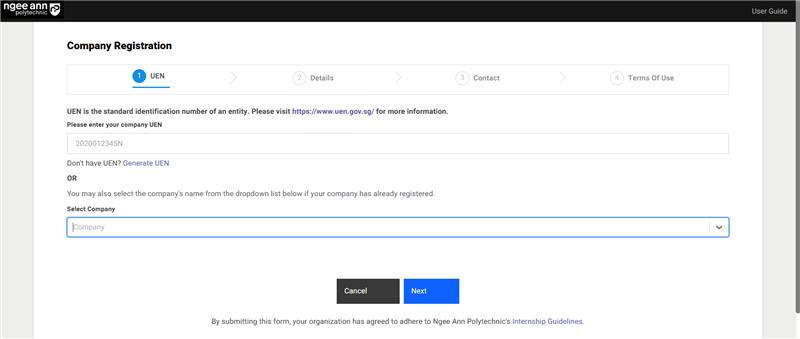
Enter Company UEN or Select Company Name from drop-down
You can either key your company's UEN or select from a list of companies which have already been registered with us.
Start typing your company's name to view the list.
Case 1: For New Company account registration with Valid UEN
Step 1 - Input Company UEN Identification Number
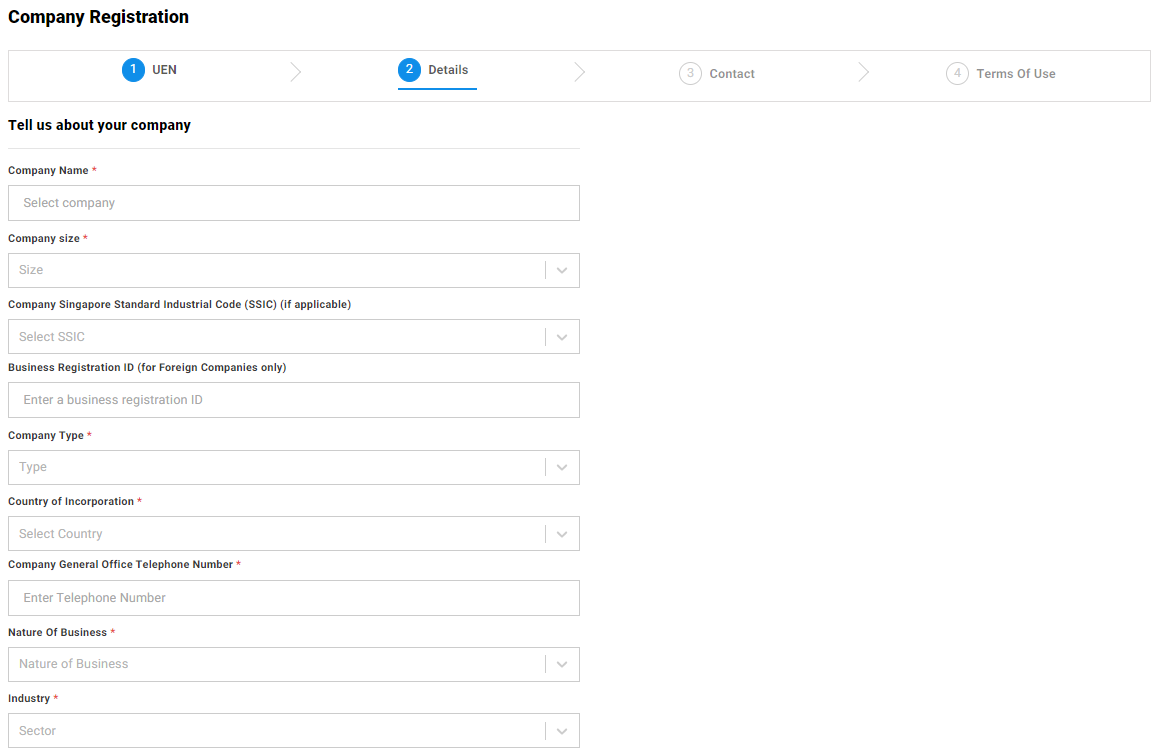
Step 2 – Tell us about your Company
Please fill in empty fields.
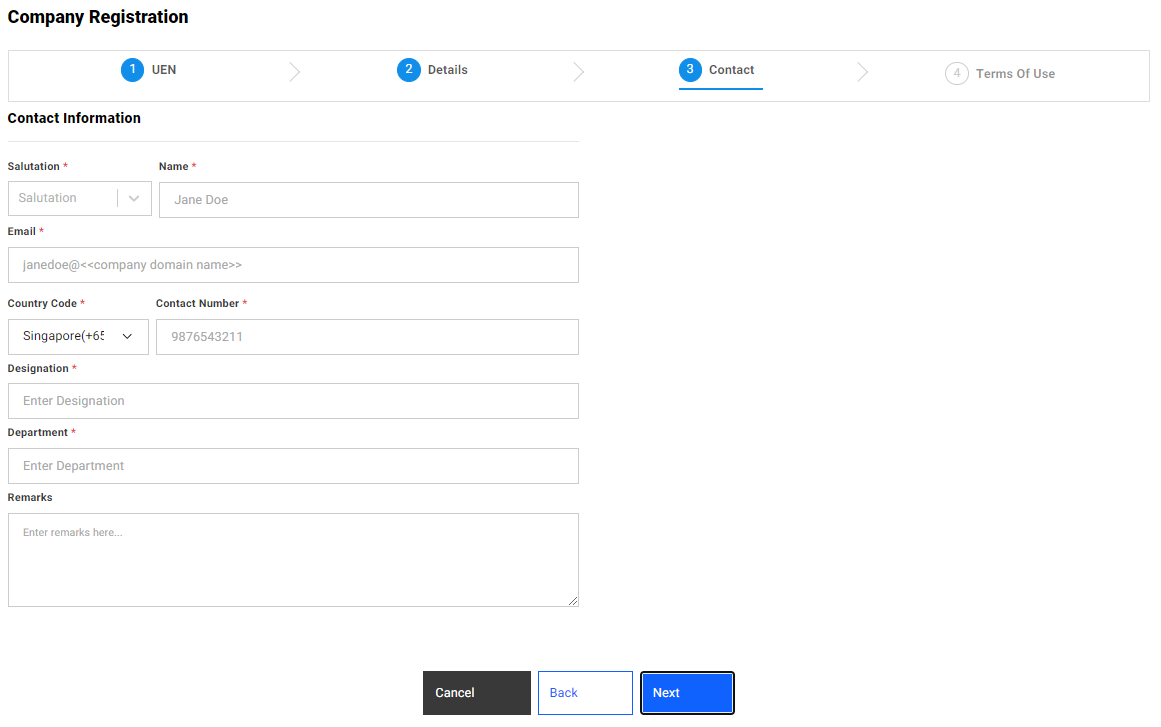
Step 3 - Contact Details
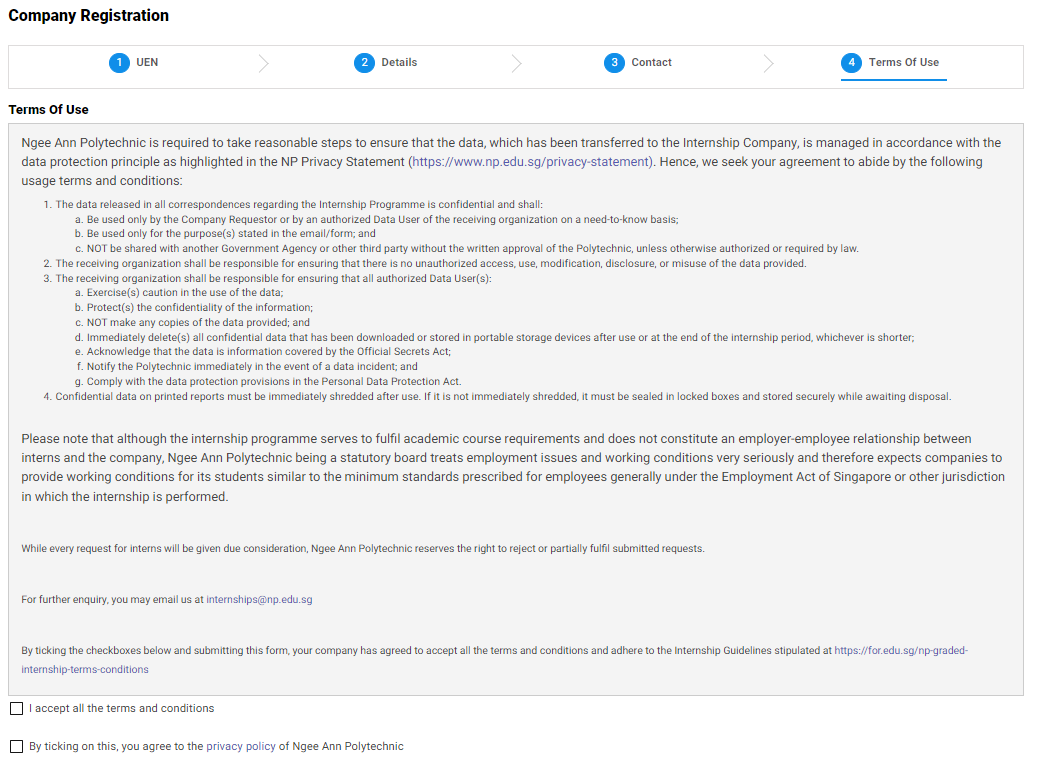
Step 4 - Terms of Use
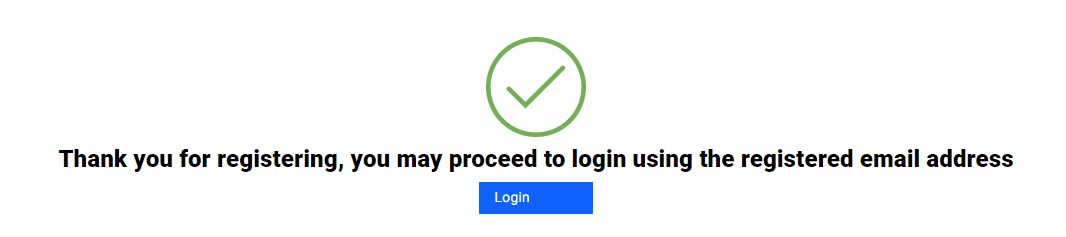
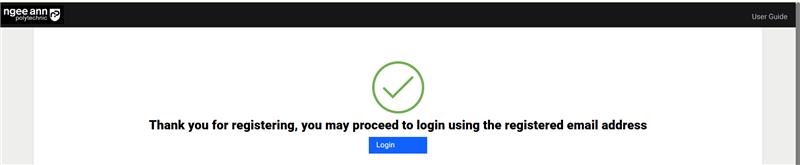
Proceed to login
You have completed the registration process for your company. Click on "Login" to proceed.
Case 2: For New Company account registration with no valid UEN
Step 1 – If you do not have a valid UEN, click on ‘Generate UEN’.
Step 2 - Tell us about your Company
Step 3 - Contact Details
Step 4 - Terms of Use
Case 3: New Account registration for registered company
Step 1
- Navigate to the Company Registration page.
- In the Select Company dropdown, choose an existing company or enter the Company UEN manually.
- Click the Next button to proceed.
The Select Company dropdown will display only companies that are already registered and have an "Accepted" registration status in the IMS.
Step 2:
Enter the new company user details in the provided fields.
Click the Submit button to save the user information.
The email domain of the new company user must match the domain of existing company users in IMS
(i.e. if an existing company user is registered with @example.com.sg, the new company user must also register with the same email domain @example.com.sg).


Step 3:
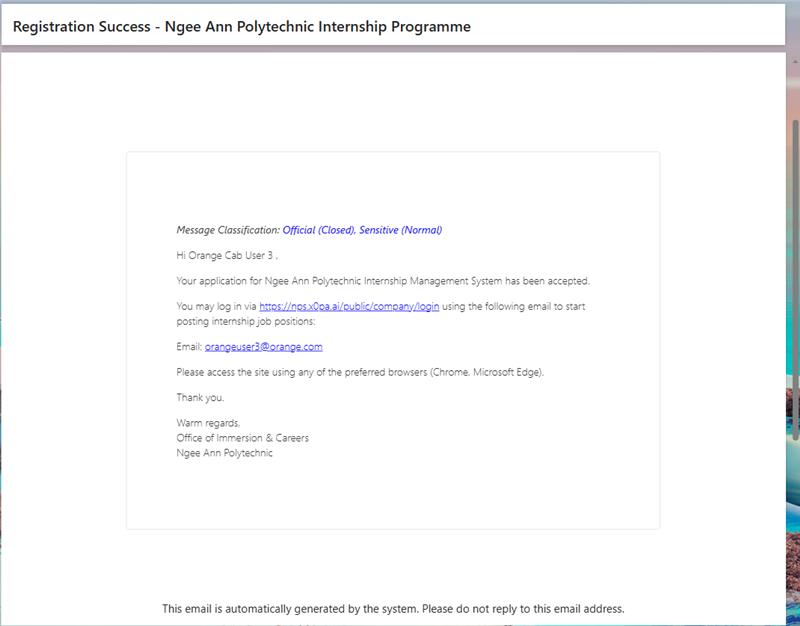
Upon clicking the Submit button with valid user details, a success message will be displayed confirming the registration.
Step 4:
The company user account process is then completed.
Once your account has been created, you will receive an email containing instructions on how to create a new job.

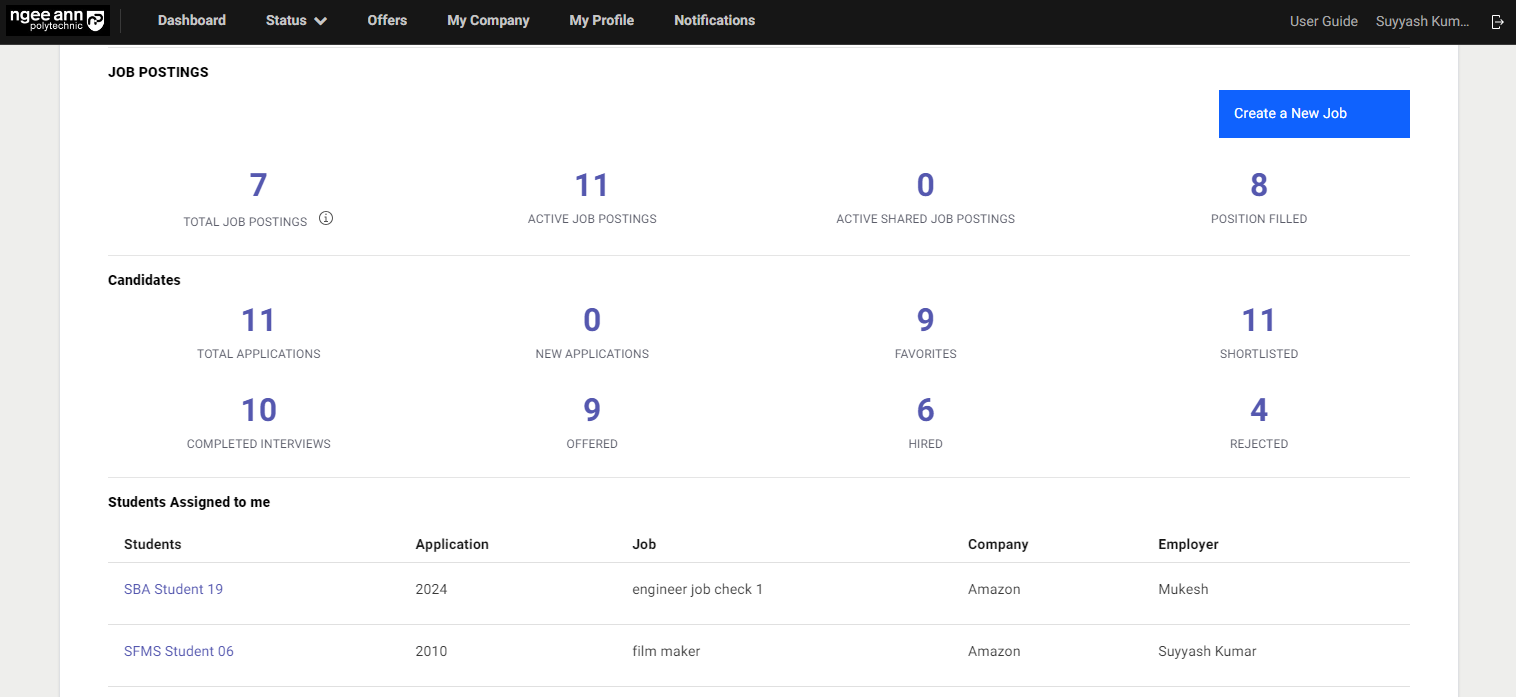
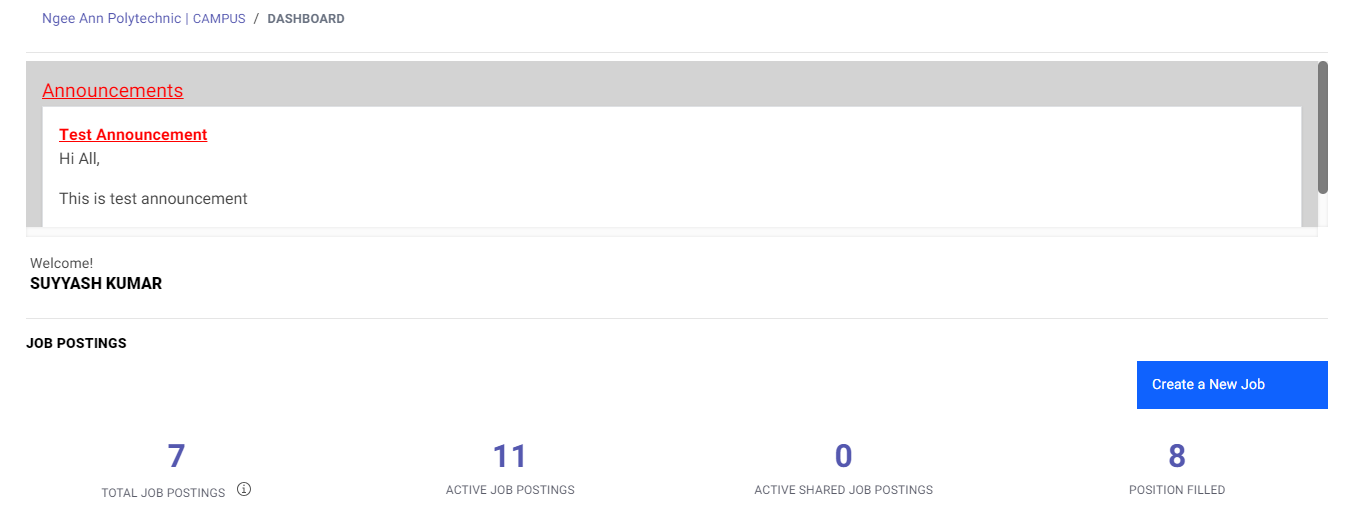
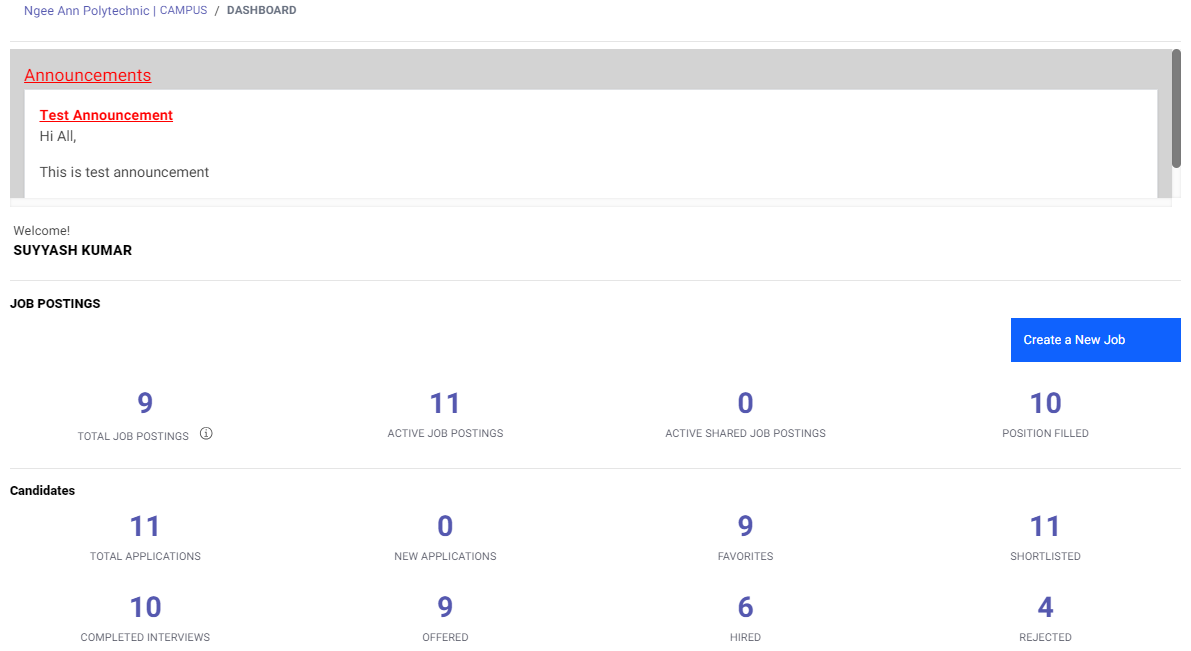
Explanation of Company Dashboard
| Column Name | Description |
|---|---|
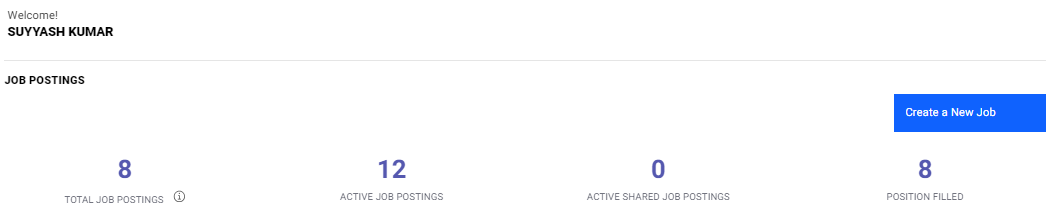
| TOTAL JOB POSTINGS | The number of job postings applied so far (through all batches). To duplicate a job from the previous batch, click here [clone job]. |
| ACTIVE JOB POSTINGS | The number of job postings for the current semester (batch). |
| ACTIVE SHARED JOB POSTINGS | Job postings shared with you for the current semester (batch). If your colleague has shared a job with you via "Collaborator", you will be able to see the job here. Click here for more information. |
| POSITION FILLED | The number of job postings with at least a student placed. |
FOLLOW UP:
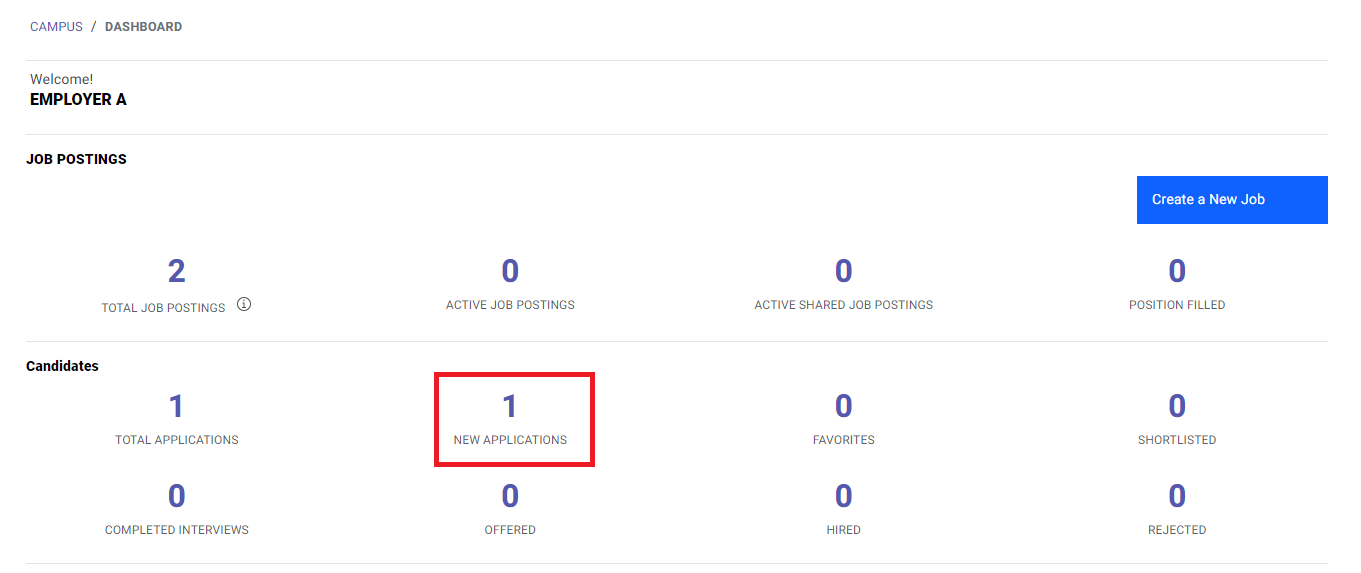
New Applications: When a student has applied for a position, the application will appear here. You are required to follow up by shortlisting/rejecting the candidate here.
Completed Interviews: When you have completed the interview process, update the progress of the student by click here.
| Column Name | Description |
|---|---|
| TOTAL APPLICATIONS | Number of applications applied for the current batch. |
| NEW APPLICATIONS | Number of applications pending action from employer. You are required to follow up with these applications. |
| FAVORITES | Applications that are bookmarked will appear here. Press the Star button to bookmark an applicant. |
| SHORTLISTED | Applications who are in the shortlisting stage. |
| COMPLETED INTERVIEWS | Applications who have completed interviews. |
| OFFERED | Applications whom you have submitted an offer letter. |
| HIRED | When students have accepted the offer letter, the student is therefore placed. |
| REJECTED | Students who have been rejected by the employer. Do note that 1) when jobs are full, all applications are automatically rejected. 2) when the student has accepted another offer letter (i.e. placed by another company), all applications from this student will be rejected. |
Creating a New Job/Duplicate Job from Previous Batch
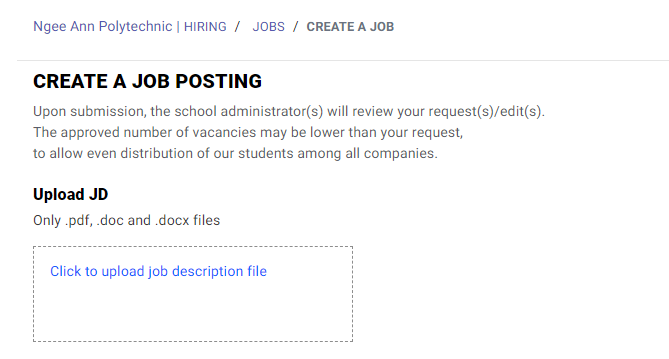
Create a new job
On the Home Page, click on "Create a New Job".
You can upload the Job Description (JD) in any of the file formats: doc/docx/pdf.
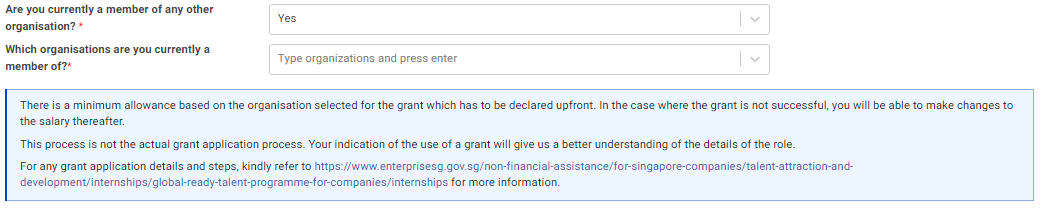
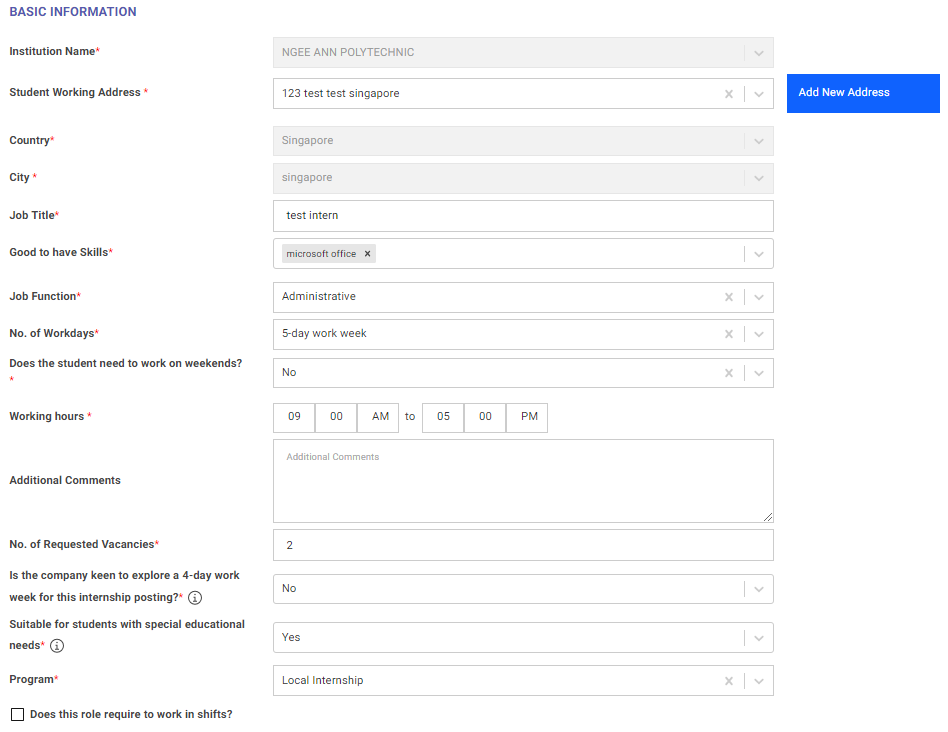
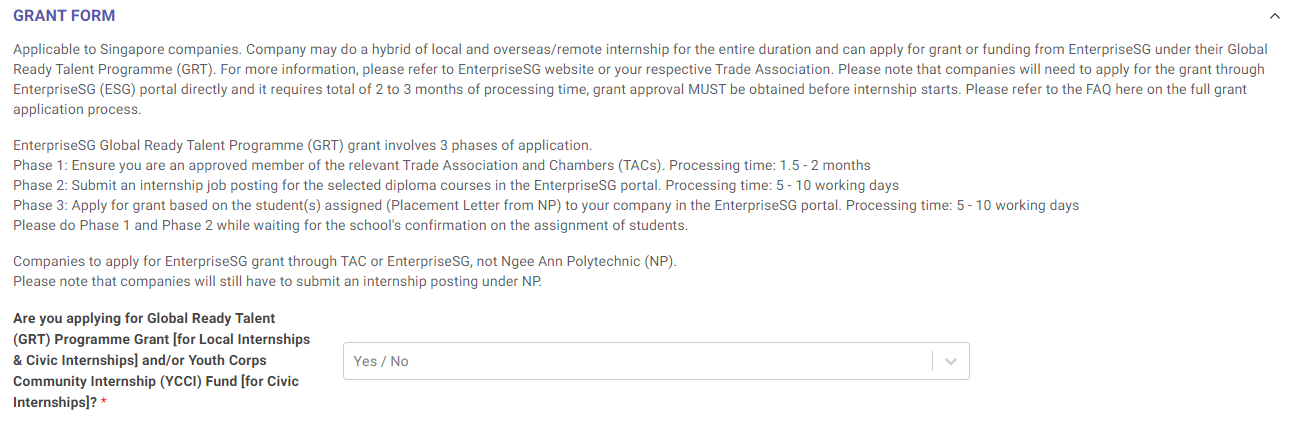
Grant Form
If you are applying for a grant, select "yes" and answer the followings.

Answer according.
For student's reporting address, you have the option to add an address (indicated by red box) from the original address (address from company registration) or create a new address (indicated by green box).
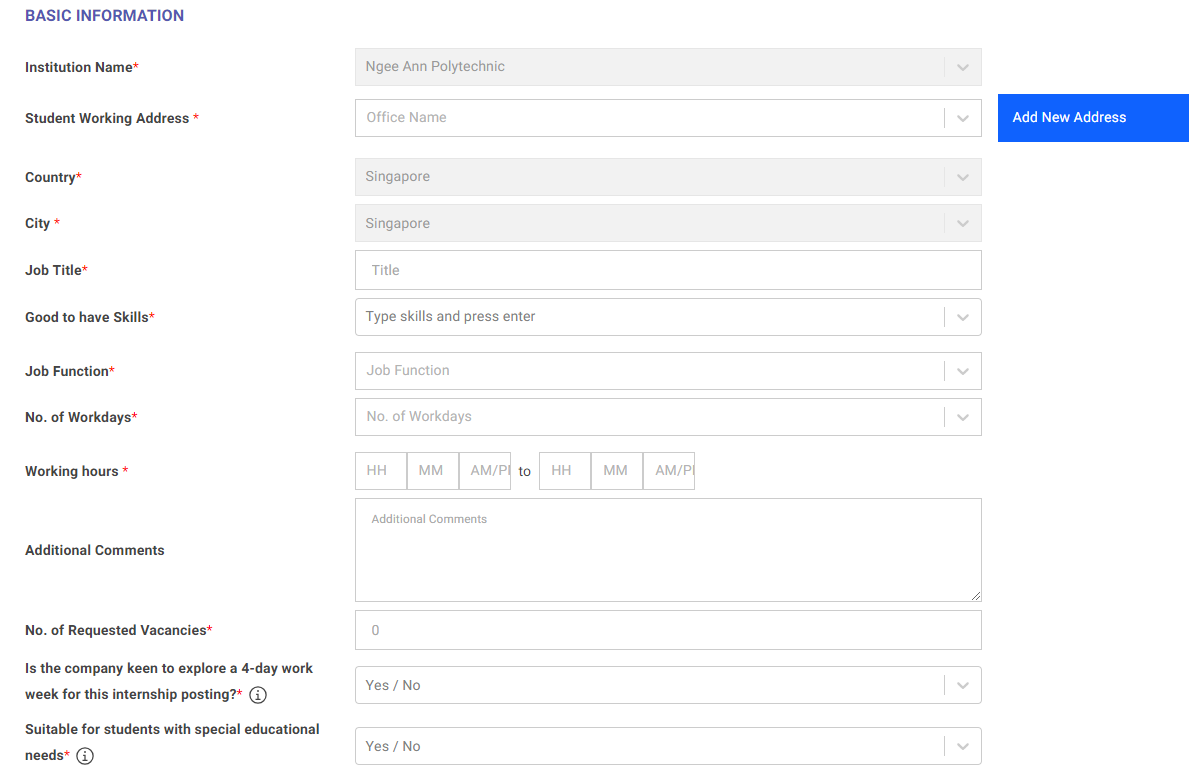
GOOD TO HAVE SKILL:
Do take note that "Good to have skill" is not a dropdown bar. You may enter relevant skills and press "enter" to be inputted.
Select your preferred internship period, followed by the school or the respective courses within the school.

Do take note that you will only be able to select diploma courses from only one selected school. If you wish to select diplomas from other schools, you may clone the job.
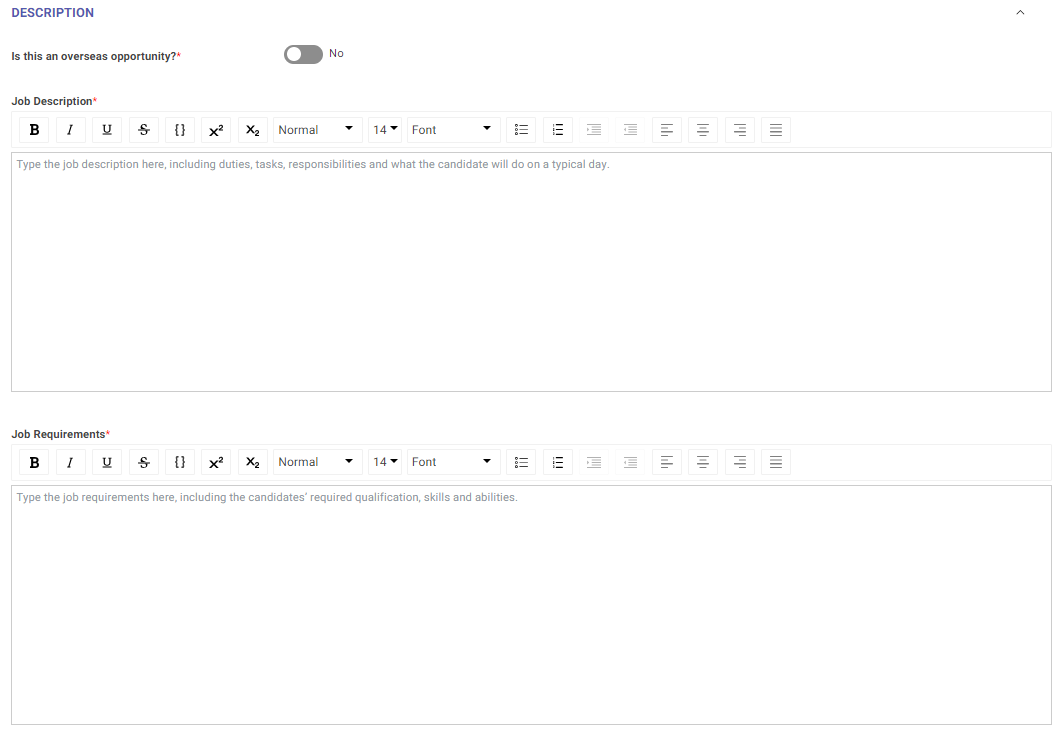
Fill in the respective job description and job requirements.
Upload the training plan.

Await job approval from Ngee Ann Polytechnic
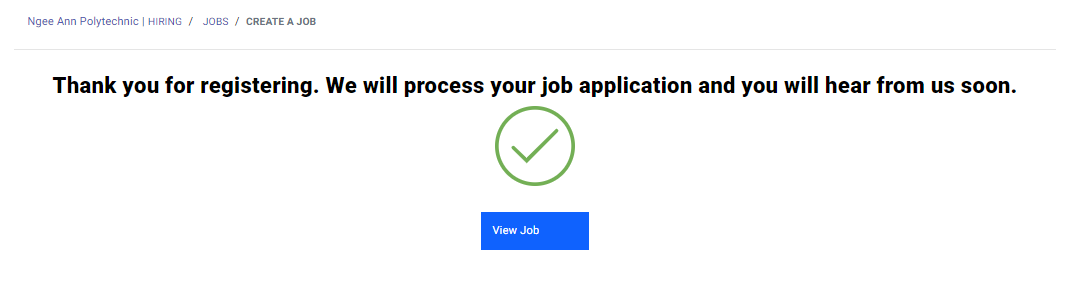
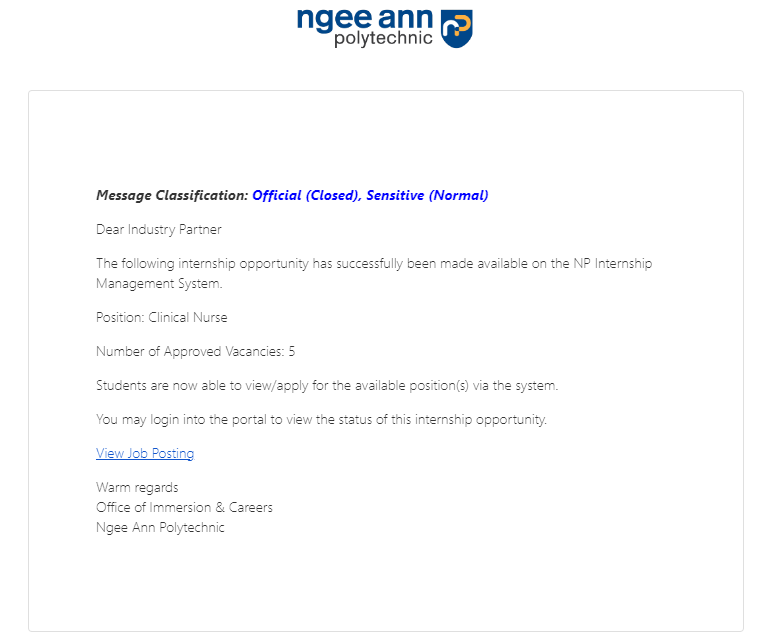
The job registration process is complete. Once your job is posted, you will receive a notification email.
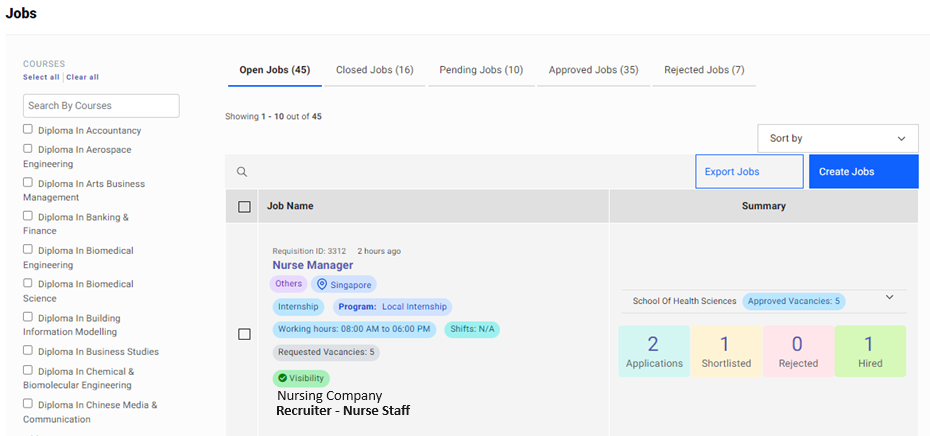
Clone (Duplicate) Job from previous batch
Click on the number above "Total Job Postings" as indicated by the red box.

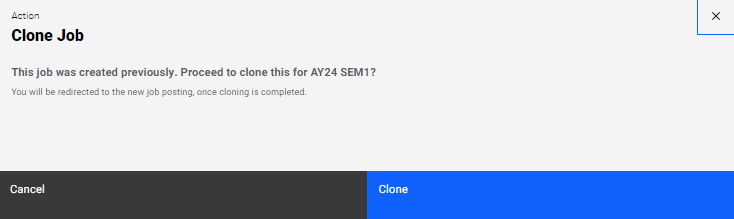
Click on "Clone Job".
Click on "Clone".
Edit Job Details.
Await job approval from Ngee Ann Polytechnic
The job registration process is complete. Once your job is posted, you will receive a notification email.
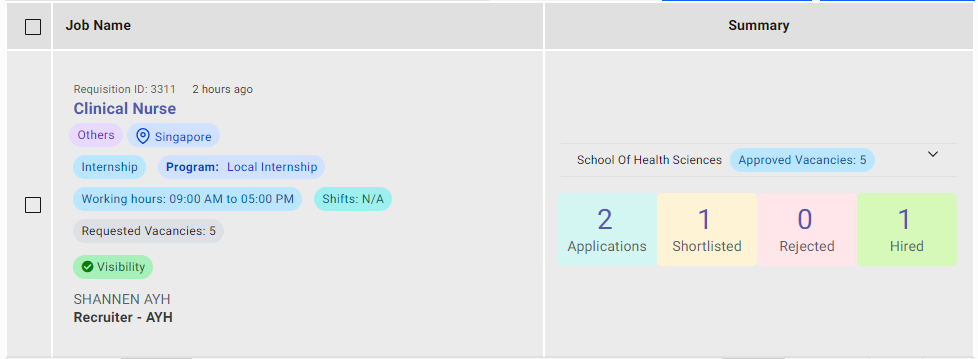
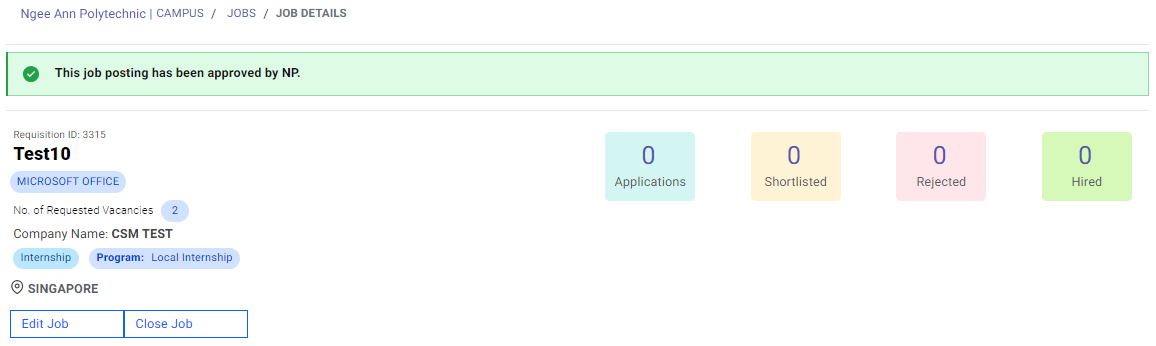
Review Job Posting
On the main dashboard, click on the number above "Total Jobs".

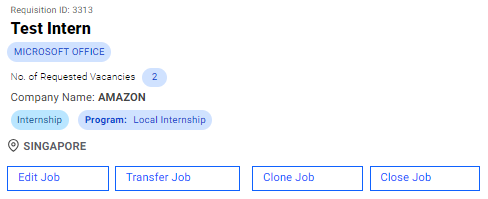
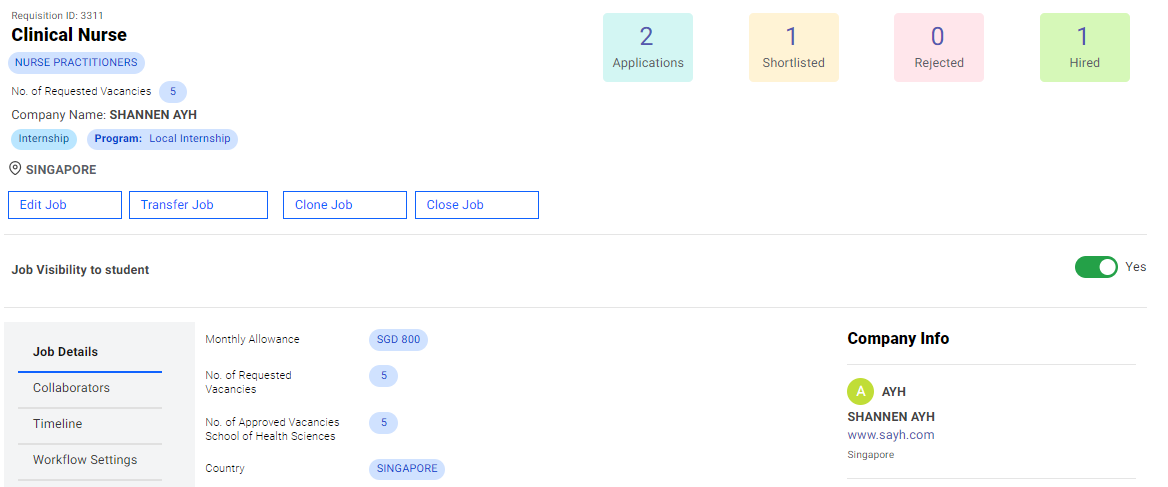
Click on the job title.
In this page, you would be able to review your job details. For any changes, click on "Edit Job" as indicated by the red box.
EDITING JOBS:
Do note that any editing of jobs will be subjected to job approval again.
Job Approval
Checking the job approval status for your job.
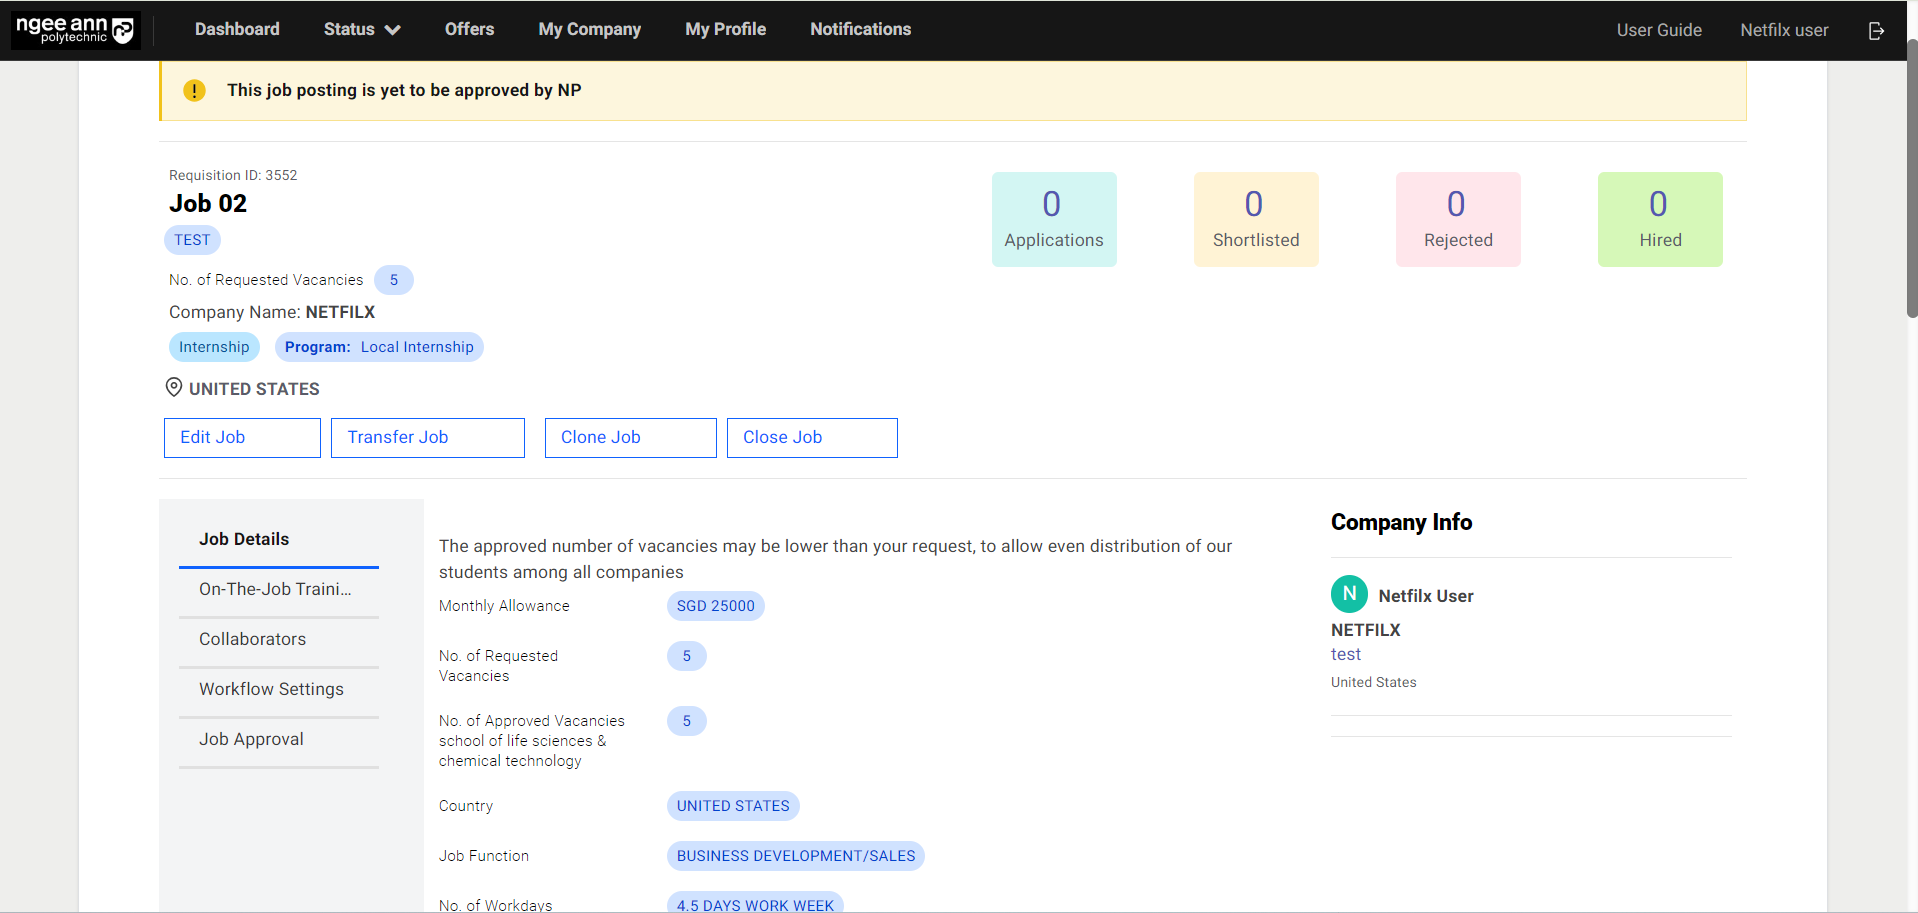
Under the job page, click on the respective job.
When the job has been approved, an email on job approval confirmation will be sent and you will start receiving applications from students.
The message below indicates that the job is still pending application from Ngee Ann Polytechnic.

The message below indicates that the job has been rejected by Ngee Ann Polytechnic. Should you have any questions, please contact:

EDITING JOBS:
Do note that any editing of jobs will be subjected to job approval again.
Receiving a job application and interview process
At this stage, this means you have successfully logged in and your job has been successfully created. No action is needed from your end until a student has applied for your job. This page serves as a guide to help facilitate the interview process.
Company Receives Job Application from Email
On your dashboard, you will be able to see an update in "NEW APPLICATIONS". You are required to follow up with these applications. Click on the applications as indicated by the red box.
FOLLOW UP:
Follow up with the new applications, by either shortlisting or rejecting them.
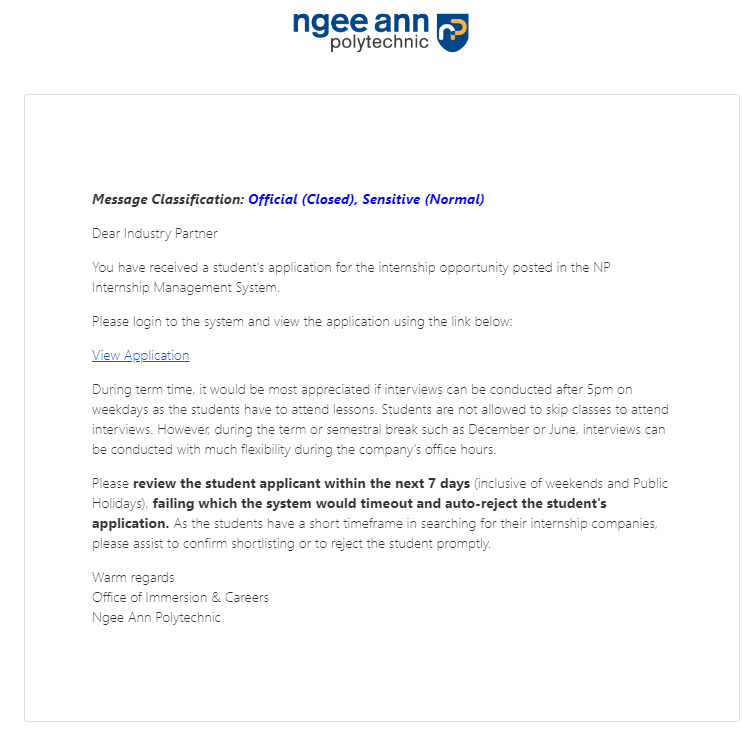
Alternatively, when a student has applied for a job, you will receive an email on a job application. Click on the button to go straight to the platform.
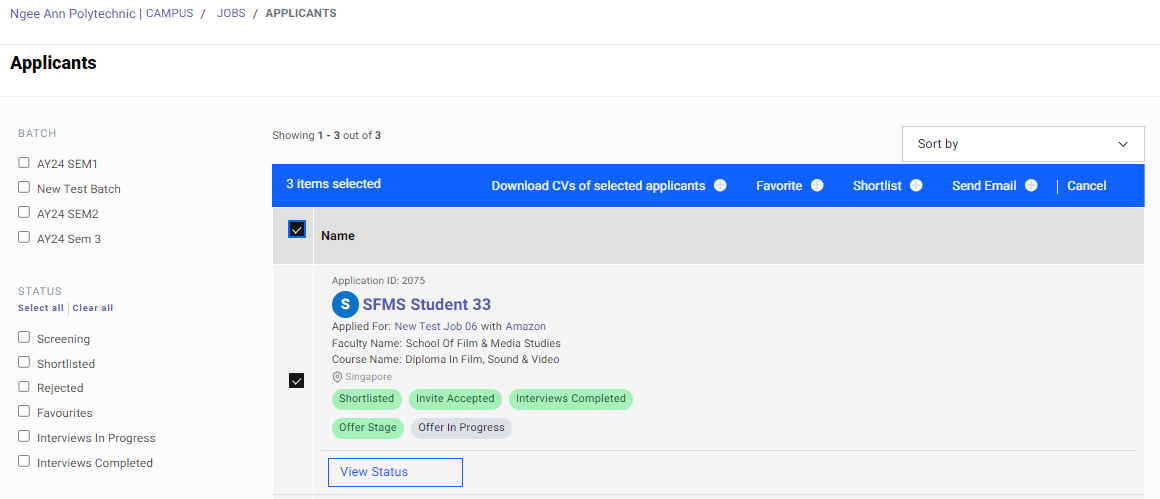
Click on "Status", followed by "Applications" to search for list of applicants.

Mass download Resumes
Select all applicants. Click on "Click here to download CVs of all applicants".
A zip file will be downloaded, and the files are labelled by the student name and student ID.

Review student's profile
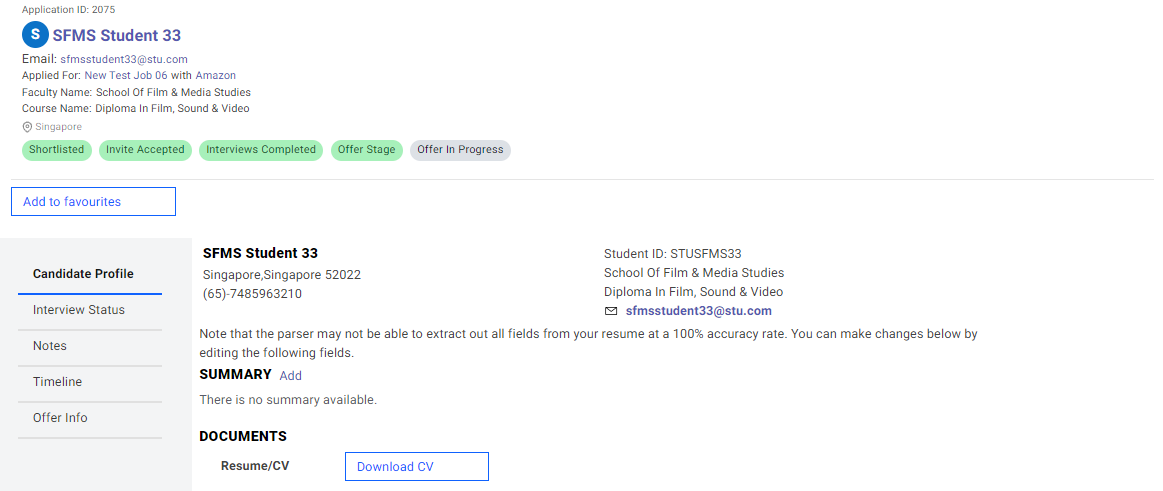
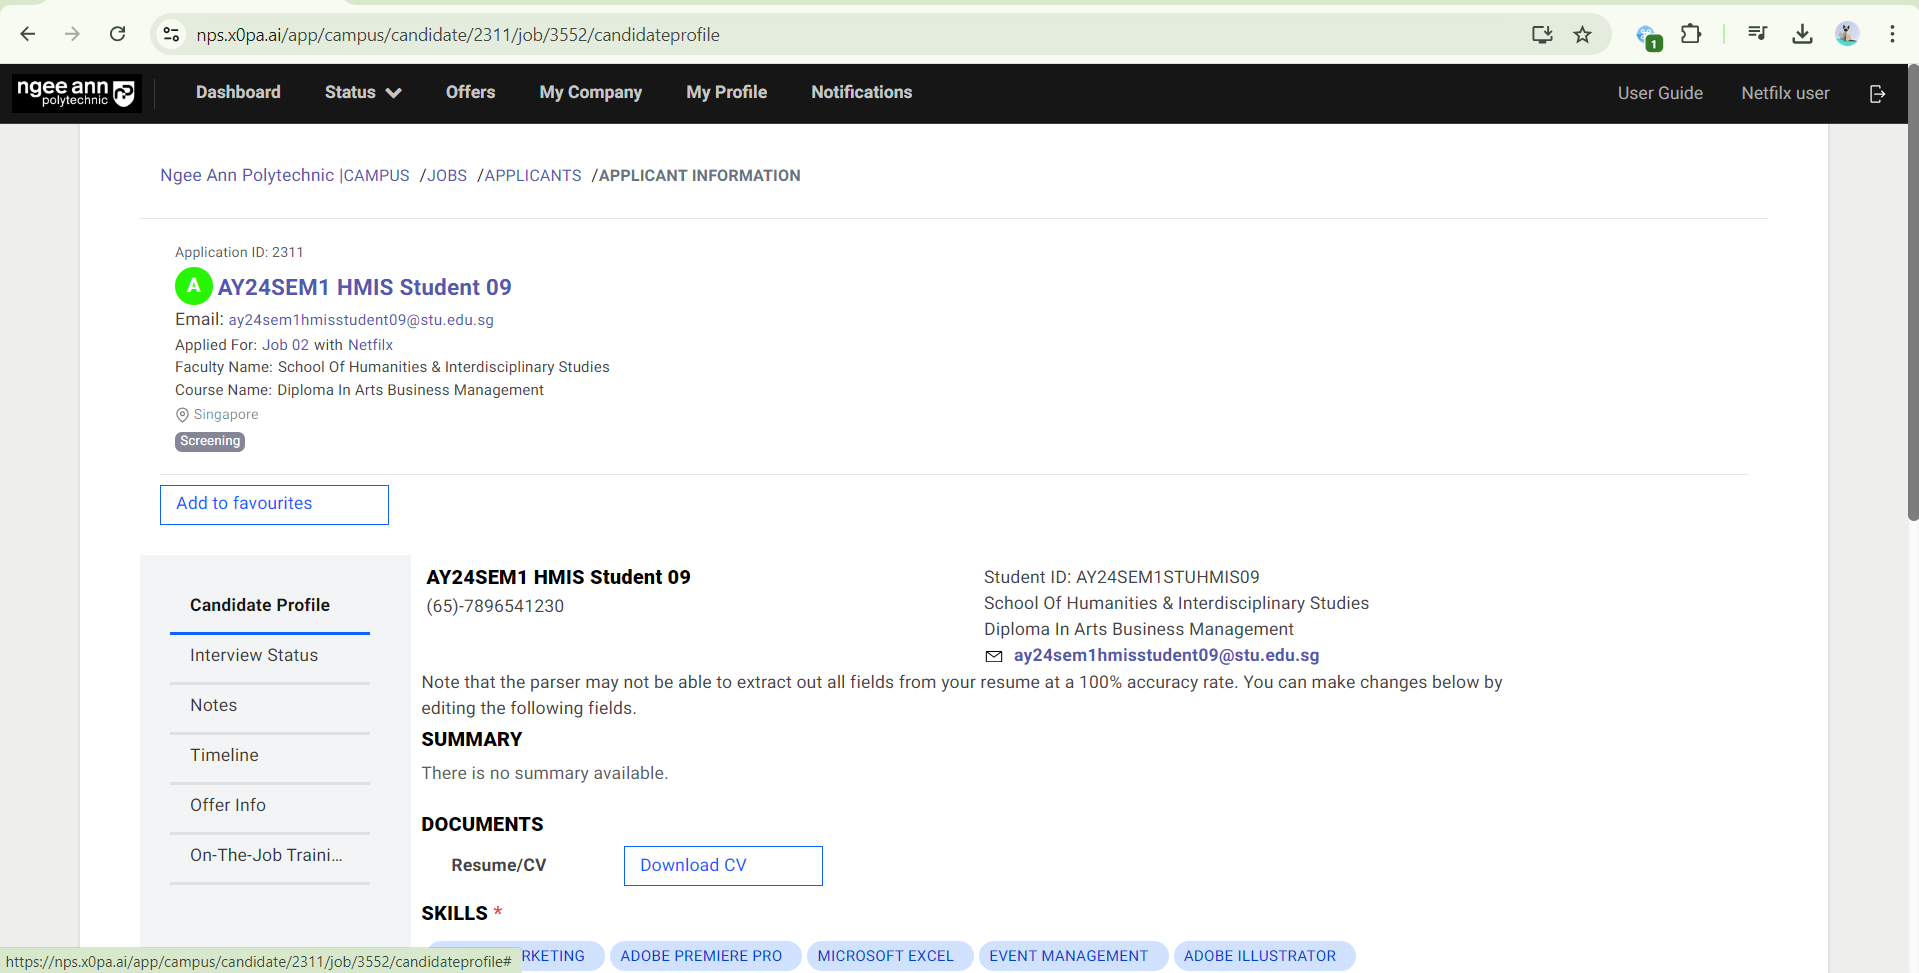
Click on the student's name (indicated by the red box) to review the student's profile.
You will be able to review the student's profile here. To download the Resume/CV, click on "View file" as indicated by the red box.
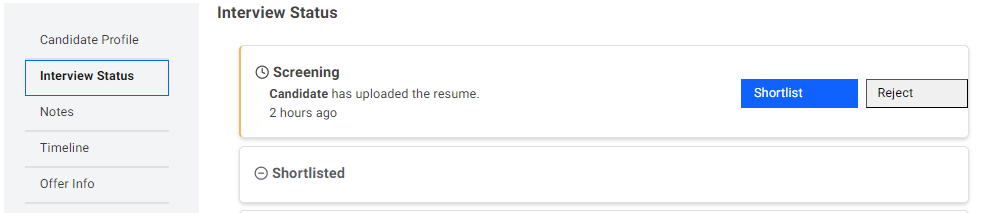
After reviewing the profile, click on "Interview Status".
Click on "Shortlist" to shortlist the student for an interview. After shortlisting, you are required to schedule an interview slot with the student immediately.
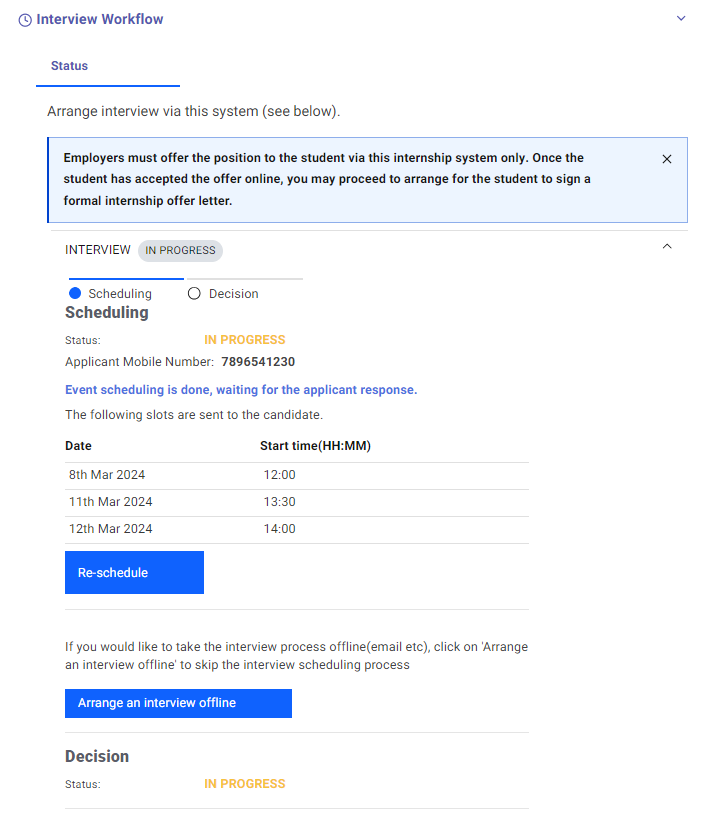
Arrange Interview (pick time slots) via the System
Click on "Add Slot" to create a new time slot.
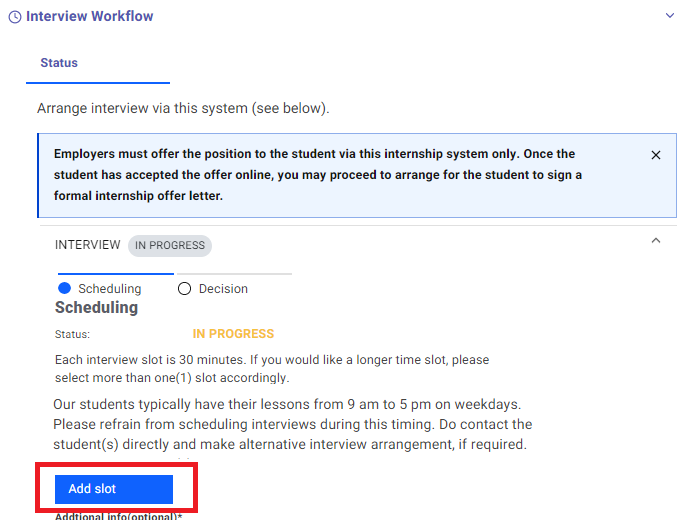
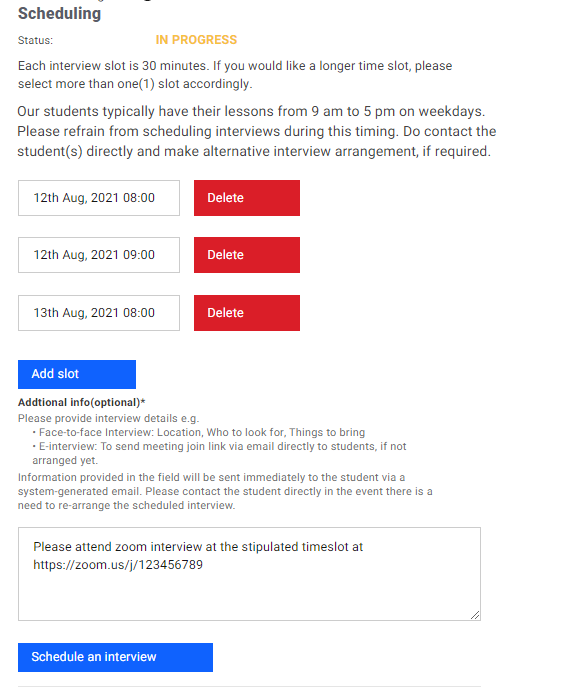
Select a date and the start time for the interview slot. You can also add another time slot for the student to choose from by clicking on "Add slot" again. Click on "Delete" to delete existing time slots.
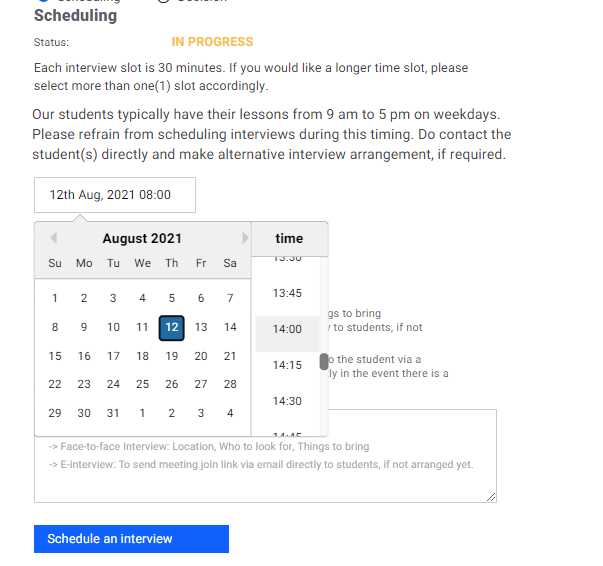
You can also add instructions for the interview under additional comments.
Interview Details
It is highly recommended to do to notify the student what to do when reporting to the building / e-meeting instructions.
Please provide interview details e.g. • Face-to-face Interview: Location, who to look for, Things to bring • E-interview: To send meeting join link via email directly to students, if not arranged yet.
Click on "Schedule an interview" when all is completed.
An email will then be send to the student to pick the available time slots.
After student has confirmed time slot
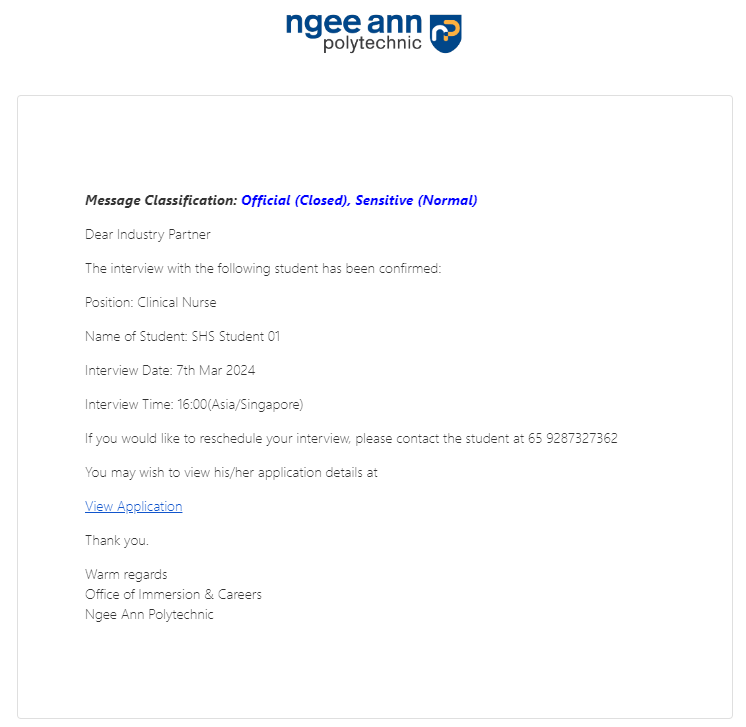
WHAT IF I SELECT THE WRONG TIMESLOT OR I CANNOT MAKE IT DURING THE TIMESLOT AT THE LAST MINUTE?
The platform is currently unable to change the time slots. You must manually contact the student. The details can be found both in the email and in the platform (see below).
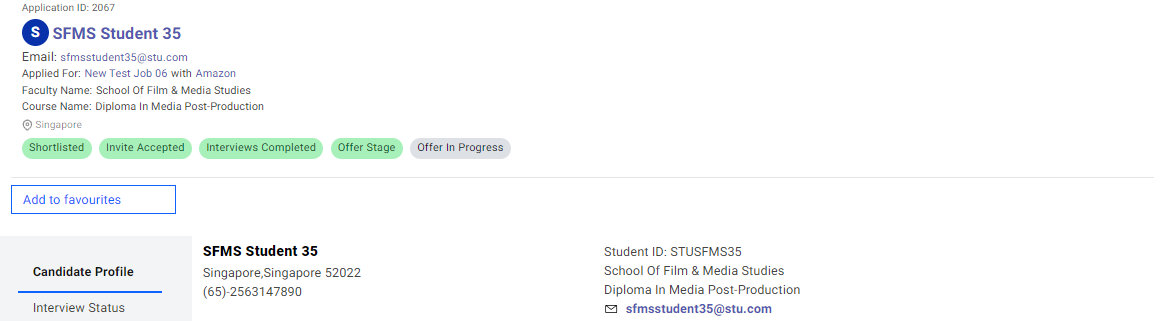
Accessing contact details of applicant
Apart from the email, you can also view contact details of the applicant in the platform.
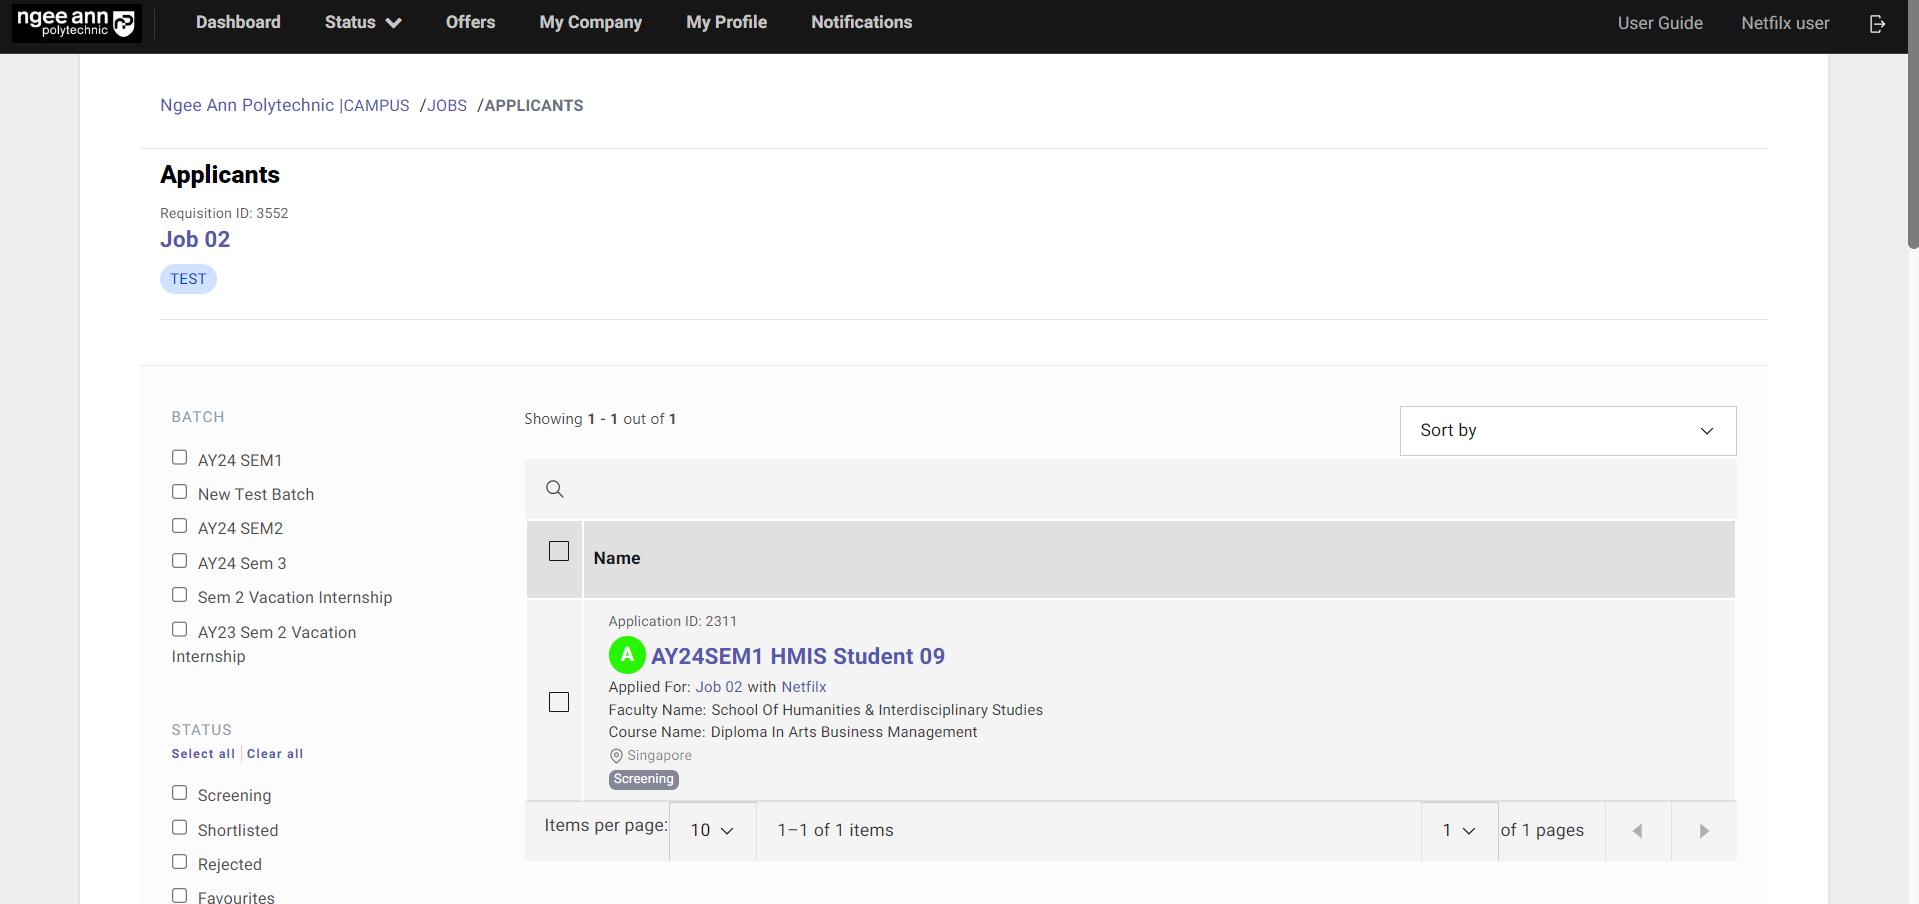
In the main homepage, on the top bar, click on "Status", followed by "Applicants".
Click on the candidate's name.
You will be able to find the email and contact details as indicated above.
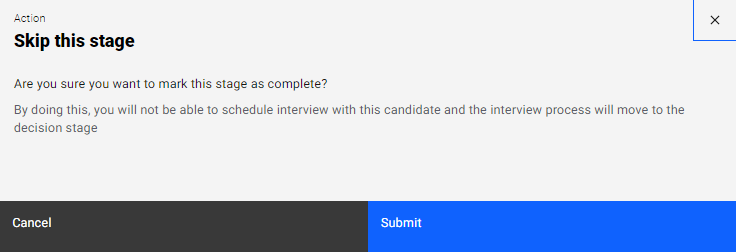
Arrange Interview Offline (i.e. not in the platform)
If you would like to take the interview process offline (via email etc), click on "Arrange an Interview Offline" to skip the interview scheduling process. You are then required to contact the student yourself.
Click on "Submit".
Following up after interviews (Sending an Offer/Reject Application)
After interview has happened
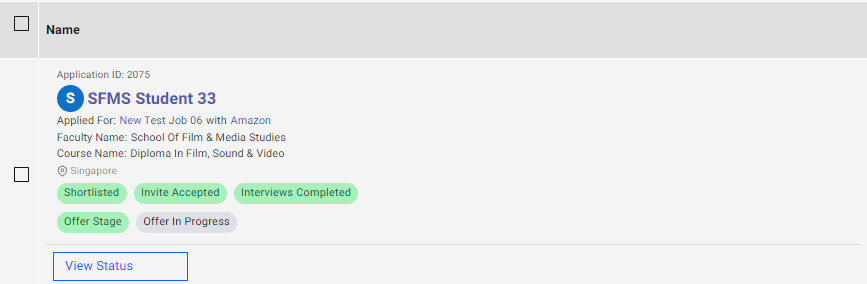
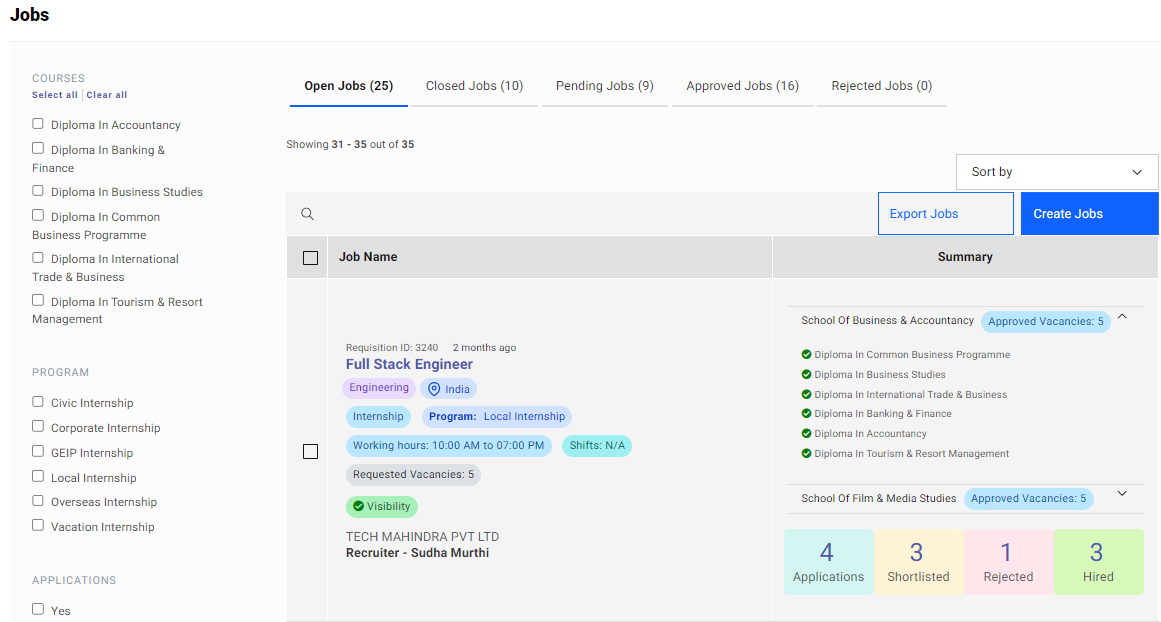
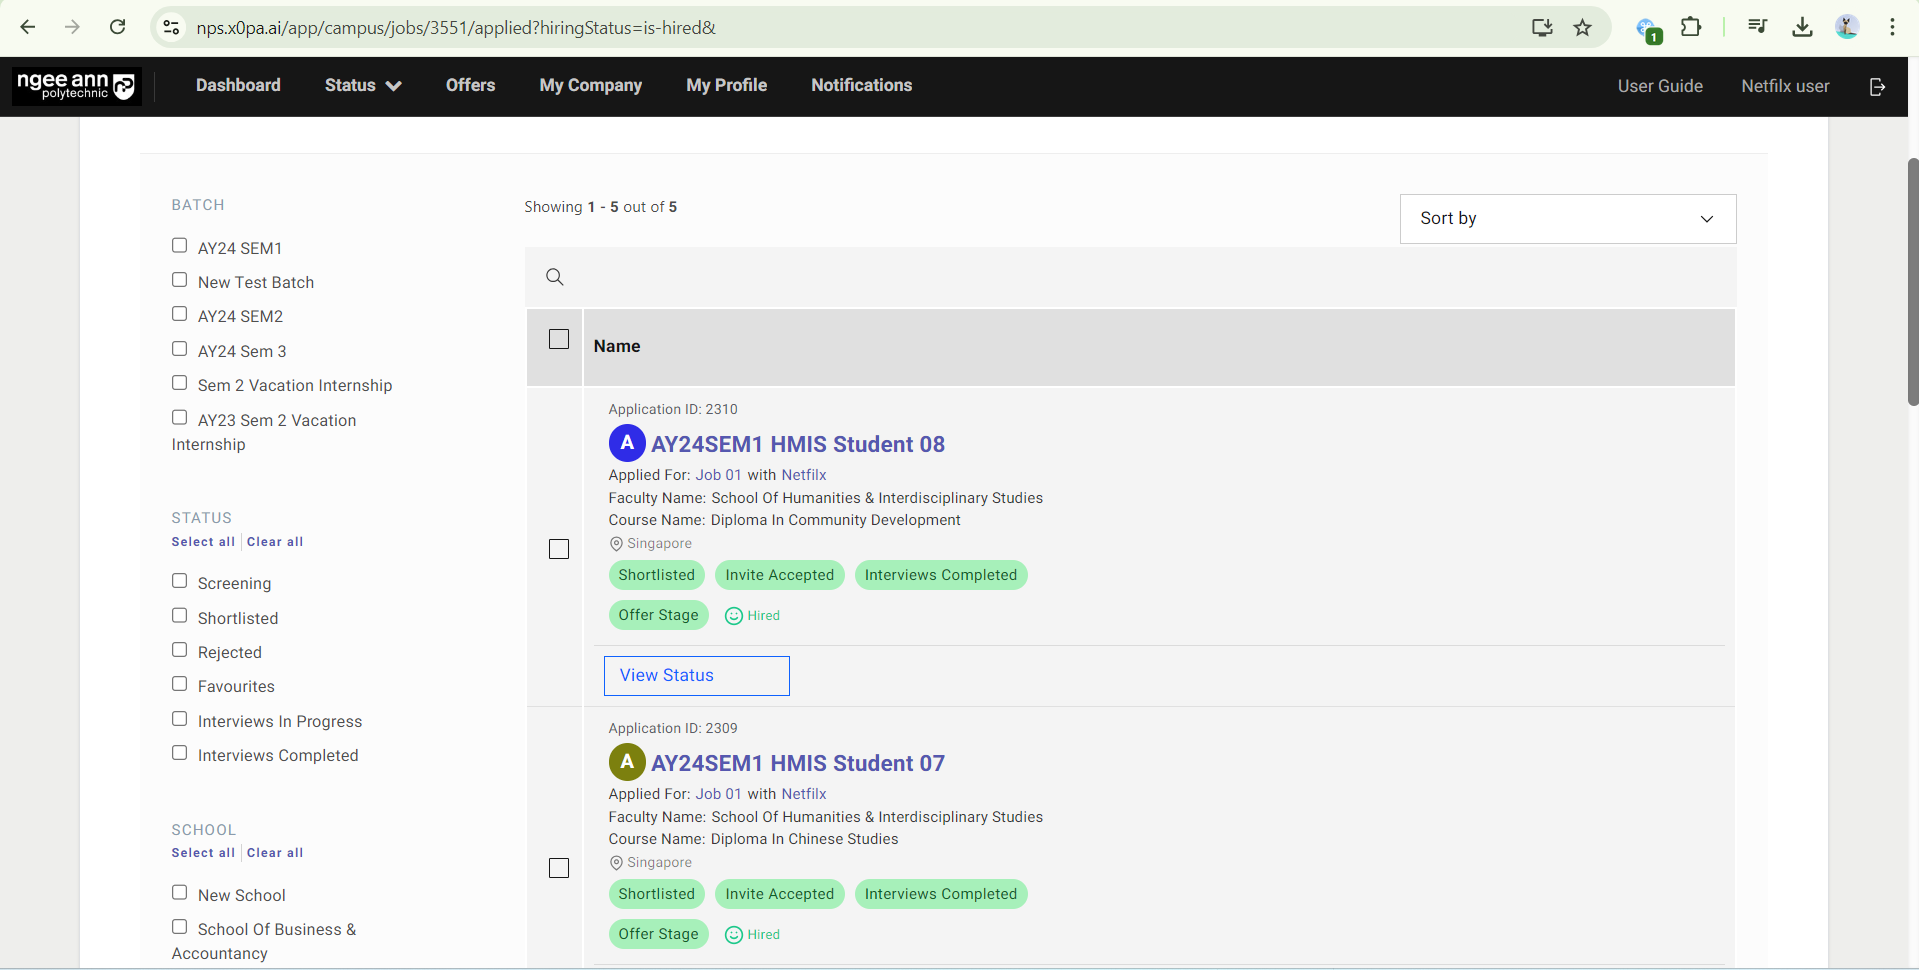
After interview, you are required to offer/reject the interviewed candidate via the platform. On the main dashboard, click on the number above "SHORTLISTED" as indicated by the red box above.
Click on "View Status".

Sending an Offer/Rejecting an application
Click on "Make an offer" if you are interested to offer the student the internship. Otherwise, click on "Reject".
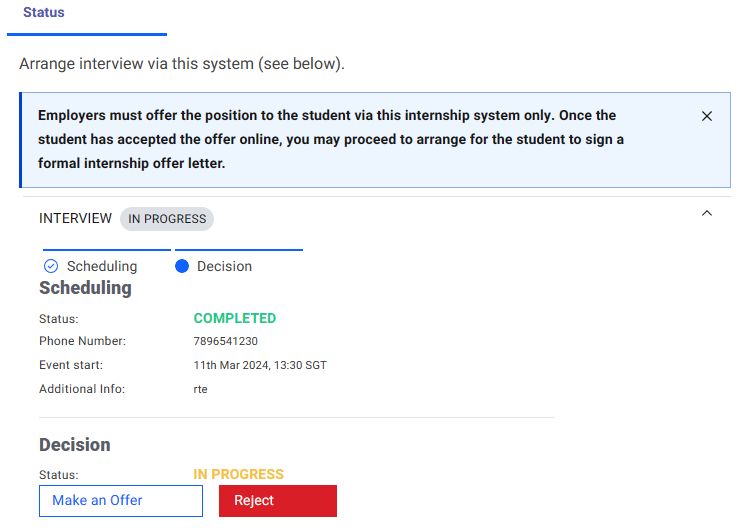
SENDING AN OFFER —
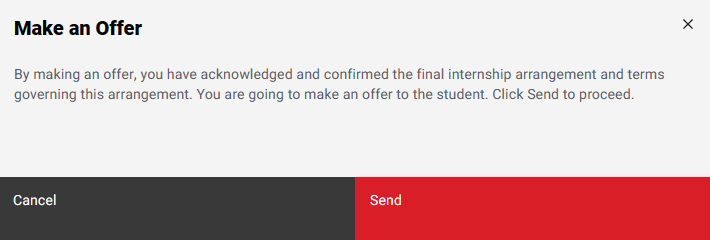
If there's a prompt on which email to send, please select Sent Offer details to students.
It is important to note that making an offer does not confirm the placement of the student. The student would also have to accept the offer to confirm. You will receive an email once the student has confirmed the placement.
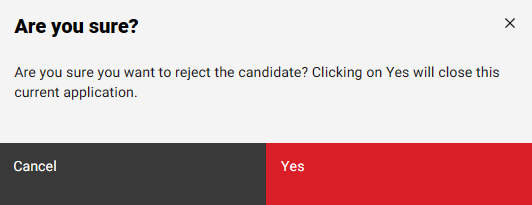
Alternatively, if a candidate is not suitable for the position, you may click on "Reject" to reject the application.
Placement Letter Generation
Placement Letters
! TIP:
There are two different placement letters, Interim & final Placement letters to be generated. Both Interim and final Placement letter can be used to apply for government funding.
(Example: EnterpriseSG - Global Ready Talent grant)
Interim Placement Letter: Produced when a student is hired and before an Internship Supervisor is attached to the student.
Final Placement Letter: Produced when a student is hired and after an Internship Supervisor is attached to the student (Final placement letter will indicate the Internship Supervisor that is attached to the student.)
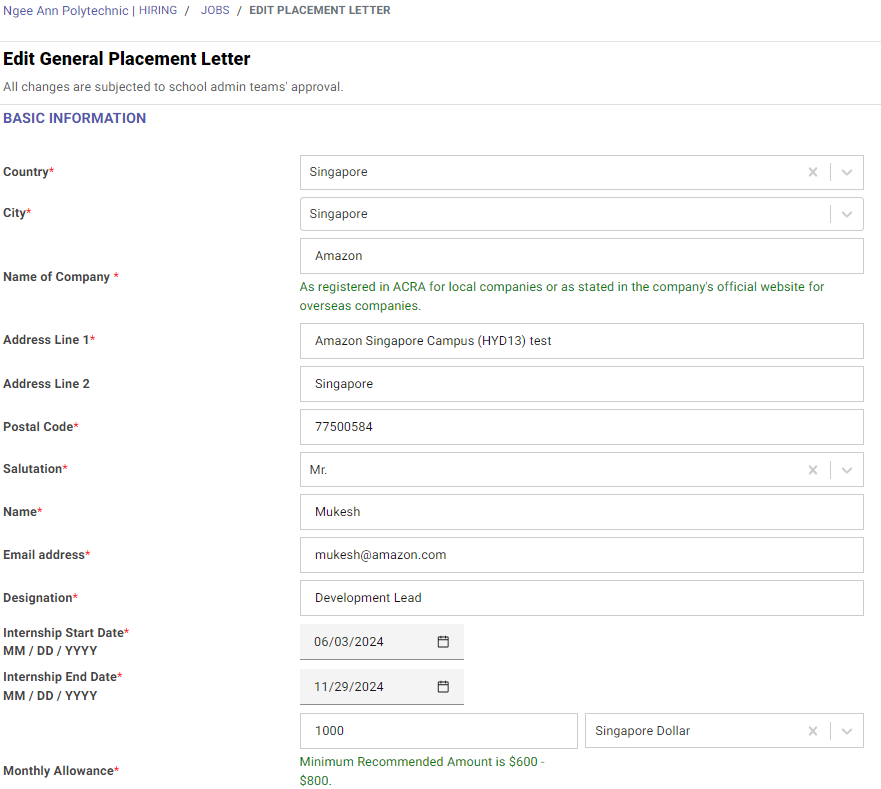
Editing of Placement Letter
All placement letters edit request, will be subjected to approval by Ngee Ann Polytechnic.
If you have a different allowance to amongst student, you may make the edits specifically.
Click on Status > Job. Select Job posting with hired applicants.
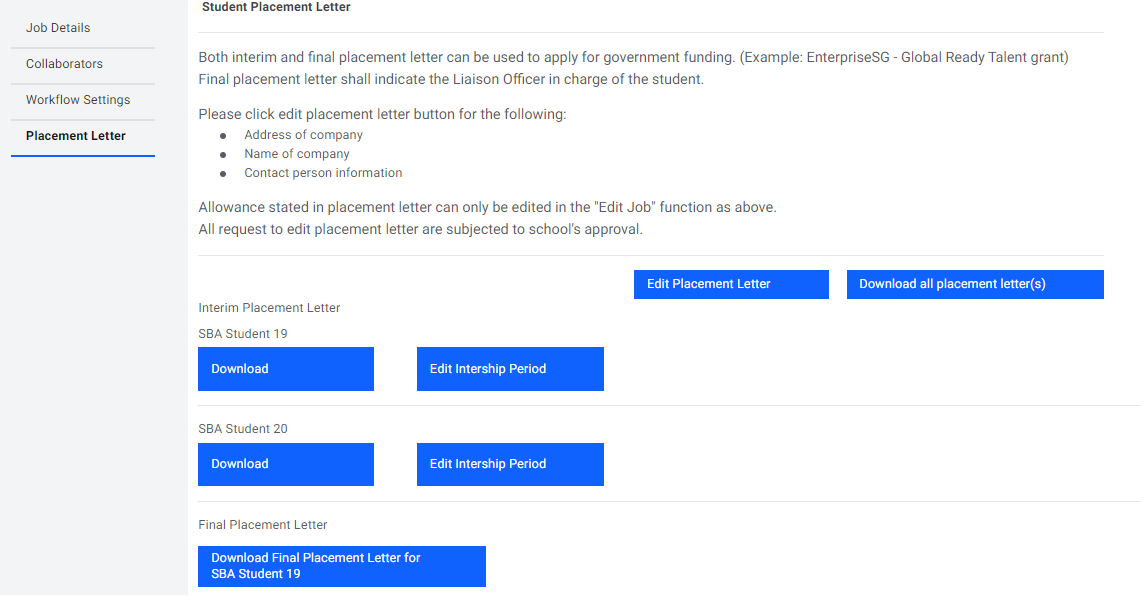
Select "Placement Letter" on the right tab & click on "Edit Placement Letter"
Fill in details that requires edits & submit.
Downloading Placement Letter
“Placement Letter” tab will only appear after the job posting has a hired student. If there are no hires, the “Placement Letter” tab will not be present.
Click on Status > Job. Click on job posting that you would like to retrieve students’ placement letters.

Select "Placement Letter" on the left tab & select download.
Above steps are the same for Self-Sourced Postings as a corresponding job posting is created.
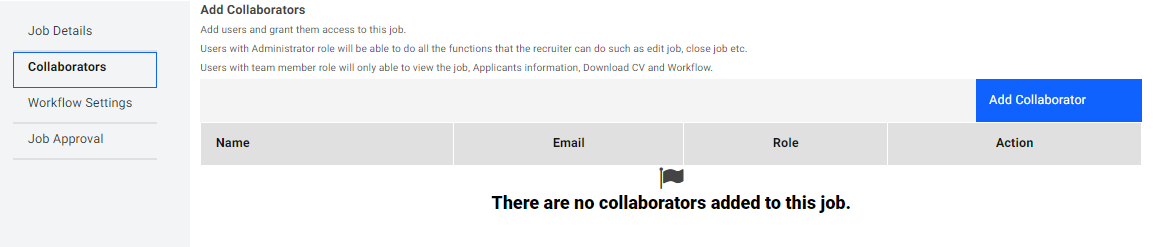
Adding your colleagues to manage your jobs (Collaborator)
For every job in your account, it will be connected to just your email account. If you would like to add another colleague to manage the job, click on the respective job, and then click on "Collaborators" as indicated by the red box.
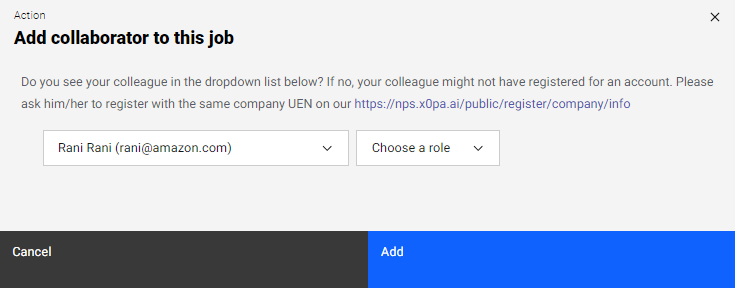
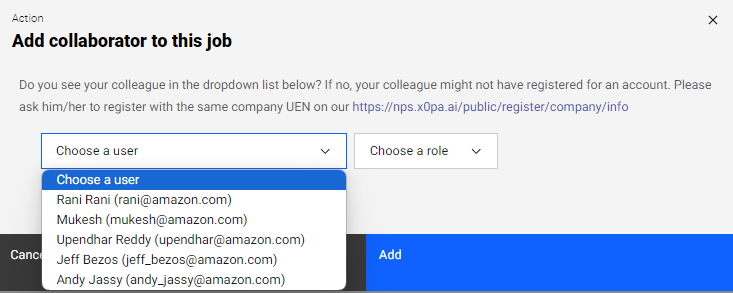
Click on "Add collaborator".
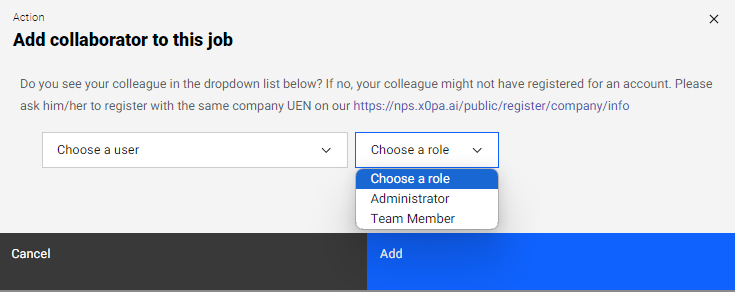
Select your colleague's email and role and then click "Add". If your colleague's email is not in the list, he/she is required to register an account.
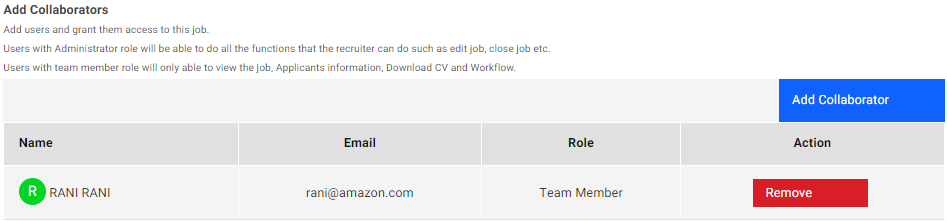
Users with Administrator role will be able to do all the functions that the recruiter can do such as edit job, close job etc.
Users with team member role will only able to view the job, Applicants information, Download CV and Workflow.
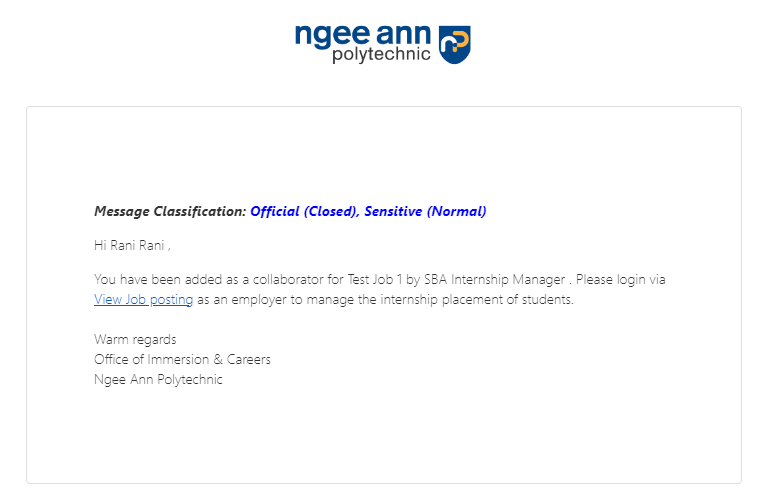
Your colleague is now able to login and manage the job. He/she will also receive an email as well.
Closing your Job Posting
In the event where job is no longer available (e.g position has been filled by someone else), you may opt to close the job.
Input reason of closing job and click "Yes".
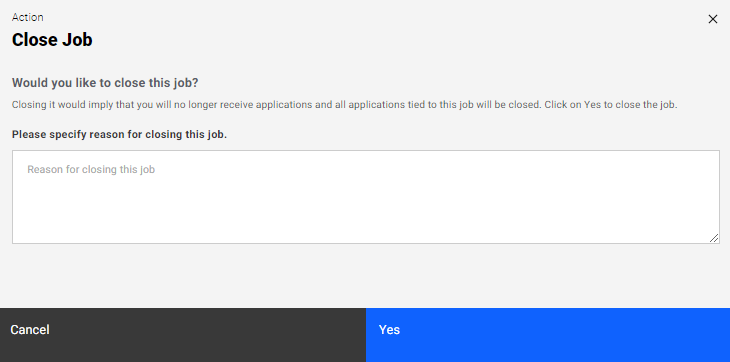
CLOSING A JOB:
Once the job is closed, this process cannot be reversed. Should you wish to accept students again, please proceed to create/clone another job posting.
Following up with a Self-Sourced Application
! TIP:
If you have engaged with a prospective student and plan to hire through self-sourcing, the student will need to apply from their end first.
Once student have applied, you will receive an email notification.
All employers will have to be registered to access the system.
Step 1: Receiving Self-Source Email Notification
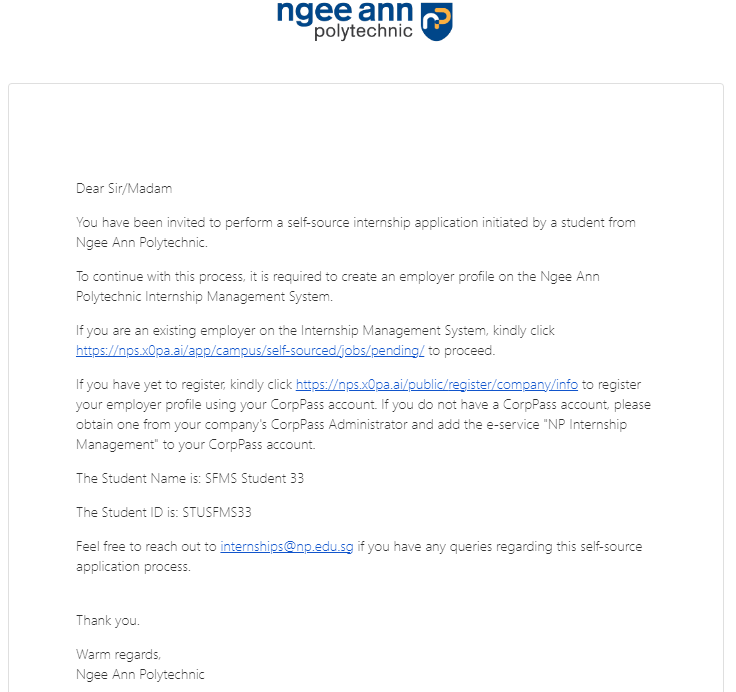
If you did not receive any email, ensure student have applied for self-source application and entered the correct email address.
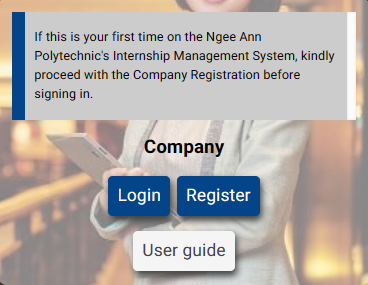
Step 2 : Login/Register to NP Internship Platform
Step 3 : Fill in Application Details
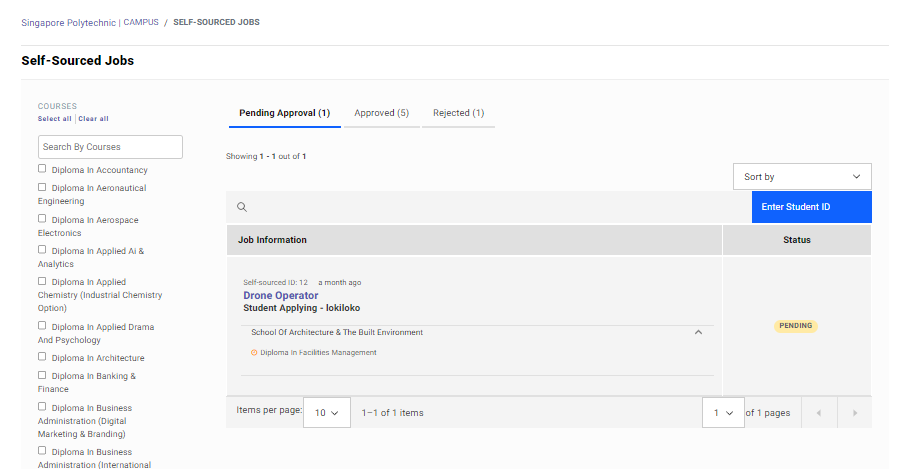
Click on Status > Self-Source Application.

If there is no application in view, search student using "Enter Student ID". The student ID can be found in the email received.
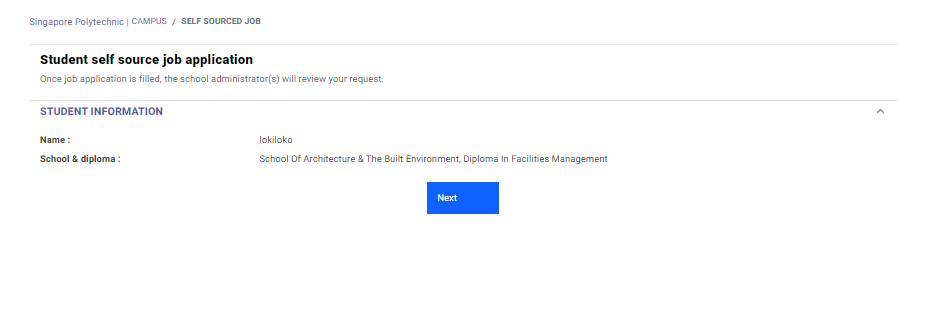
Click on Self-Source Application.
Click on Next.
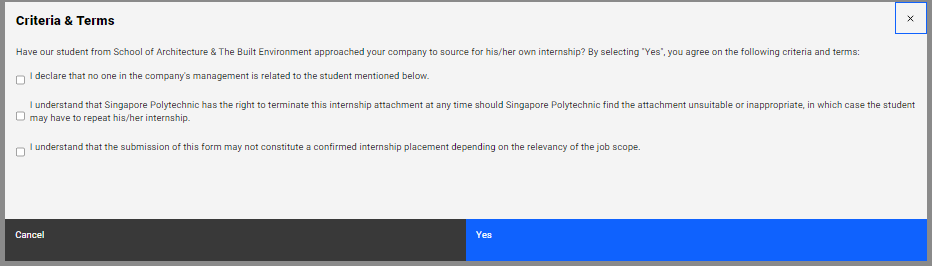
Terms & Conditions before filling in Self-Source Application details.
Applications is similar to creating a job posting
Please note that it is a requirement to produce an offer letter to the student for confirmation on the Position.
Application Details
Upon Submitting Application you will receive an email notification.
Step 4: Awaiting Approval
Internship Managers/Coordinators will review the application to approve/reject.
Once approved, an email notification will be sent.

Congratulations, now student will be hired!
On-The-Job Training (OJT)
Create OJT Job
OJT Admins:
Job Level OJT:
Create OJT (Manually):
Step 1:
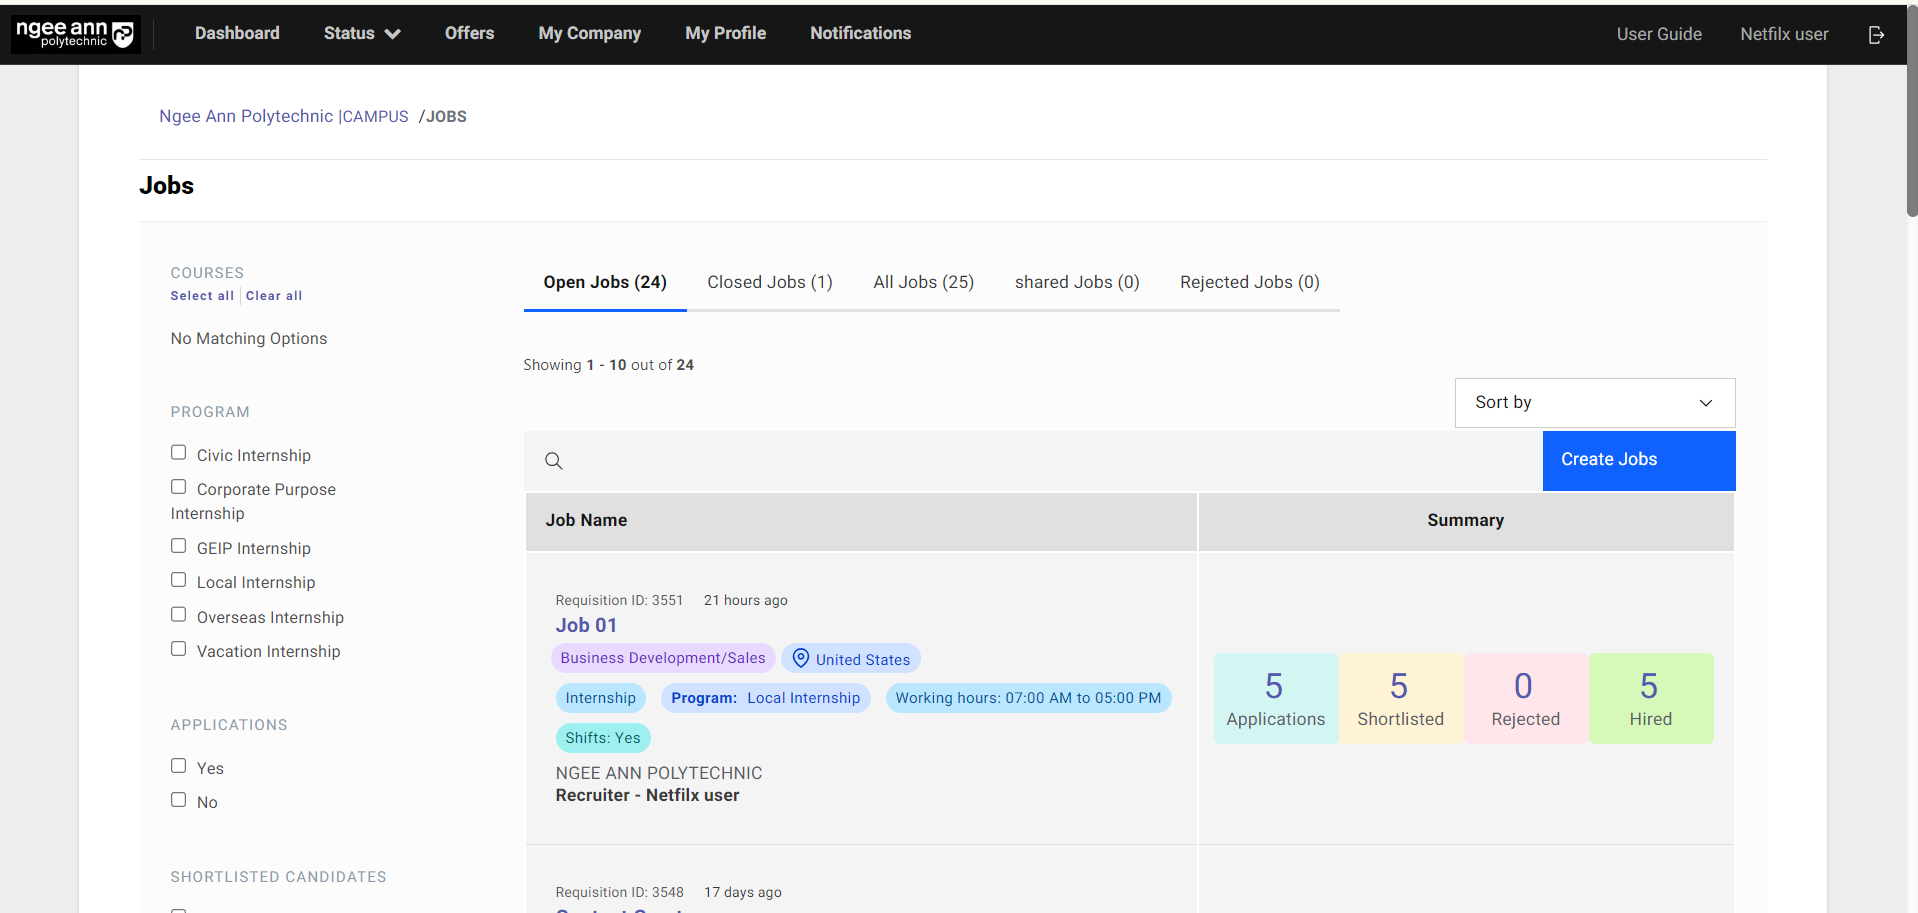
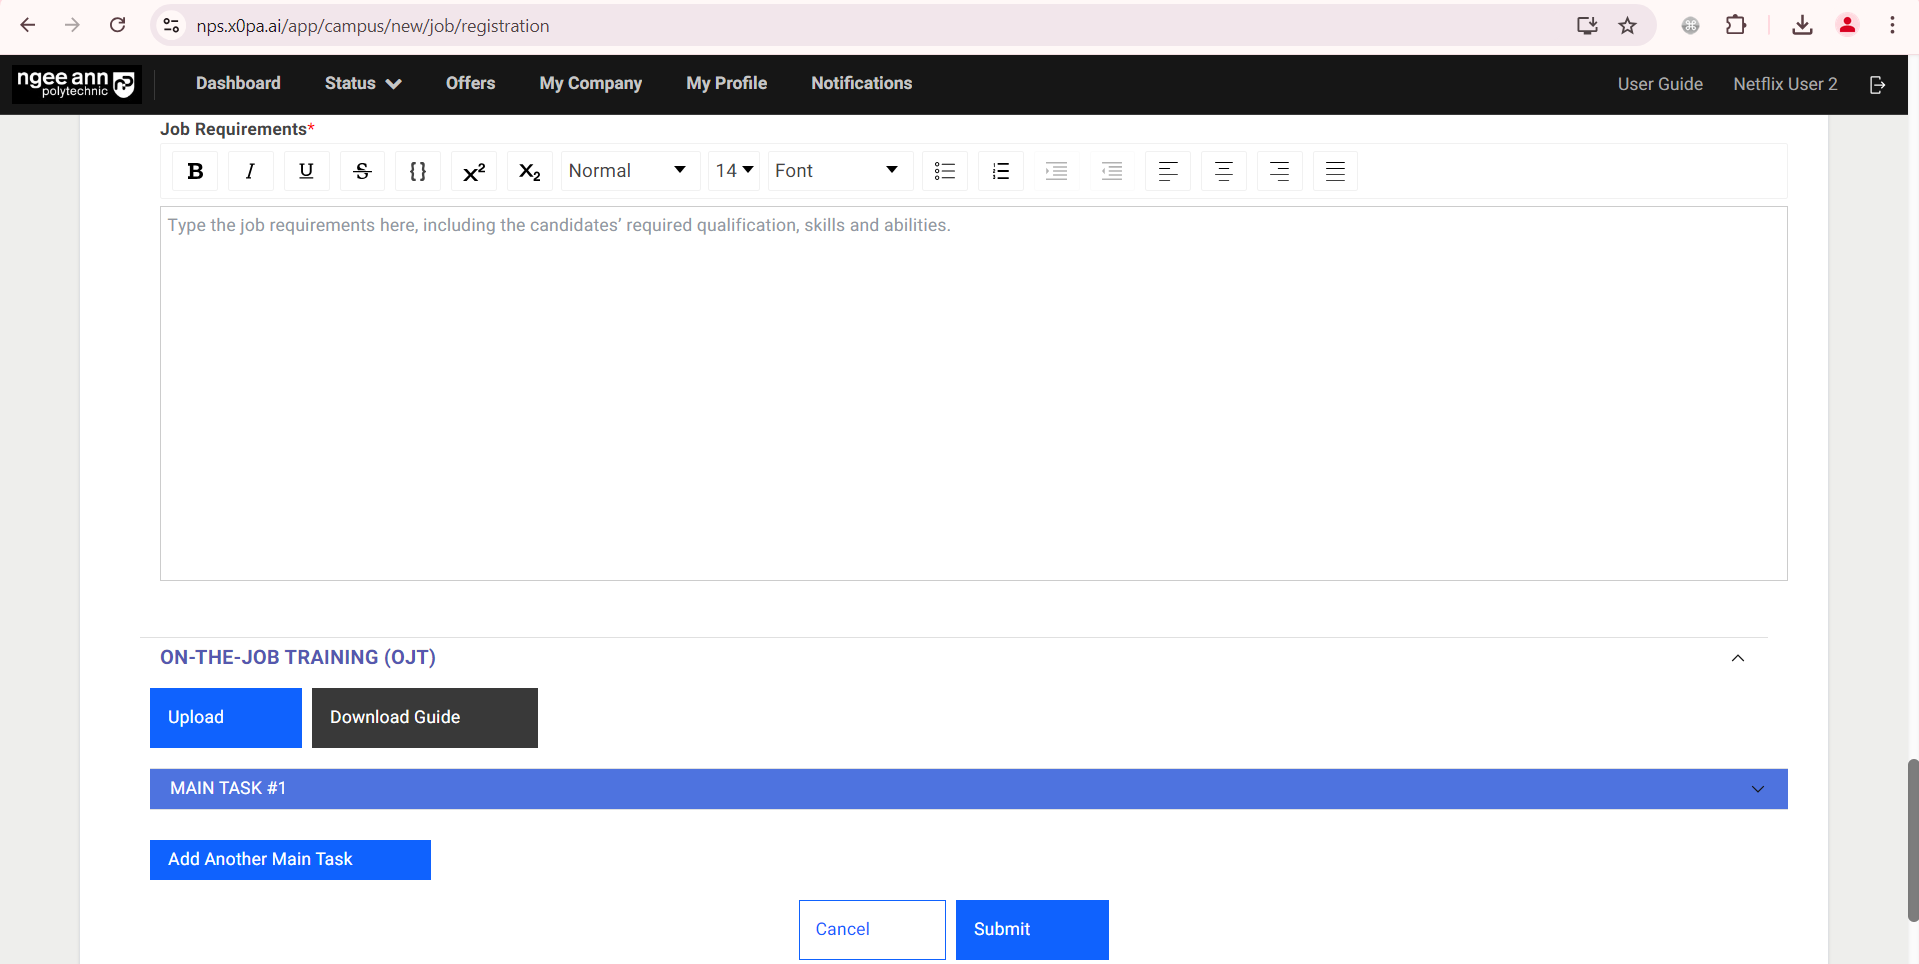
- Click on the “Create Jobs” button.
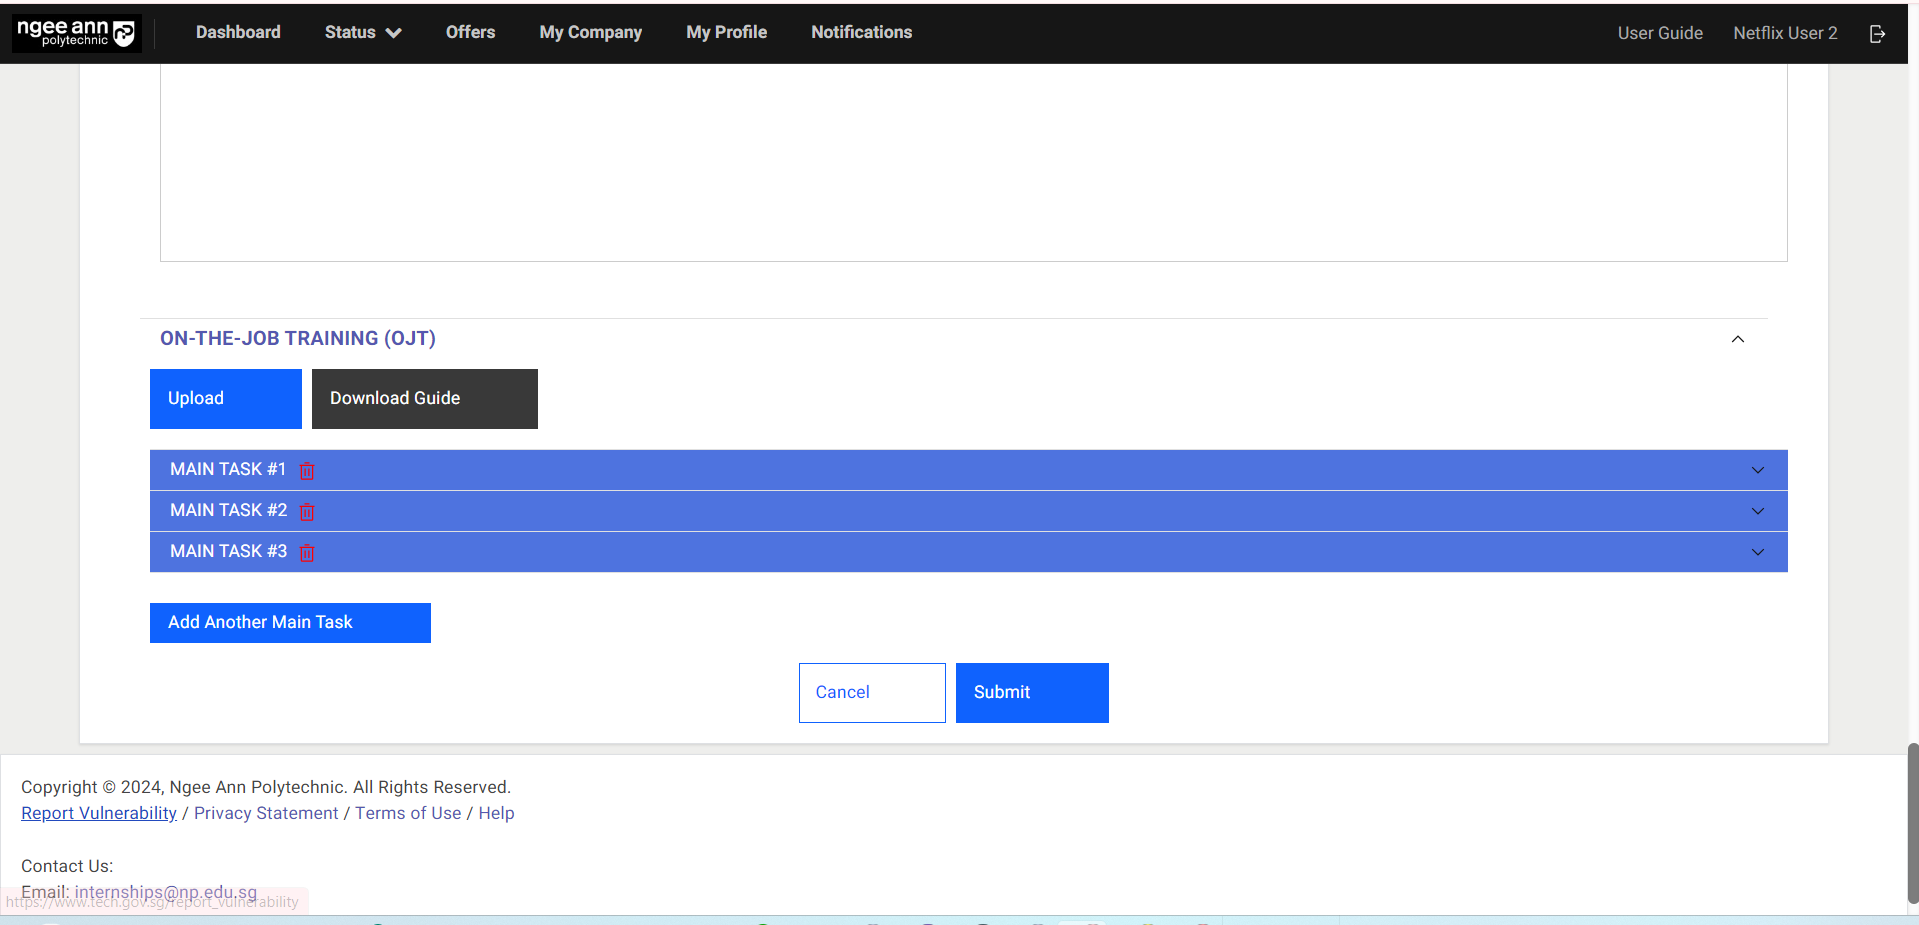
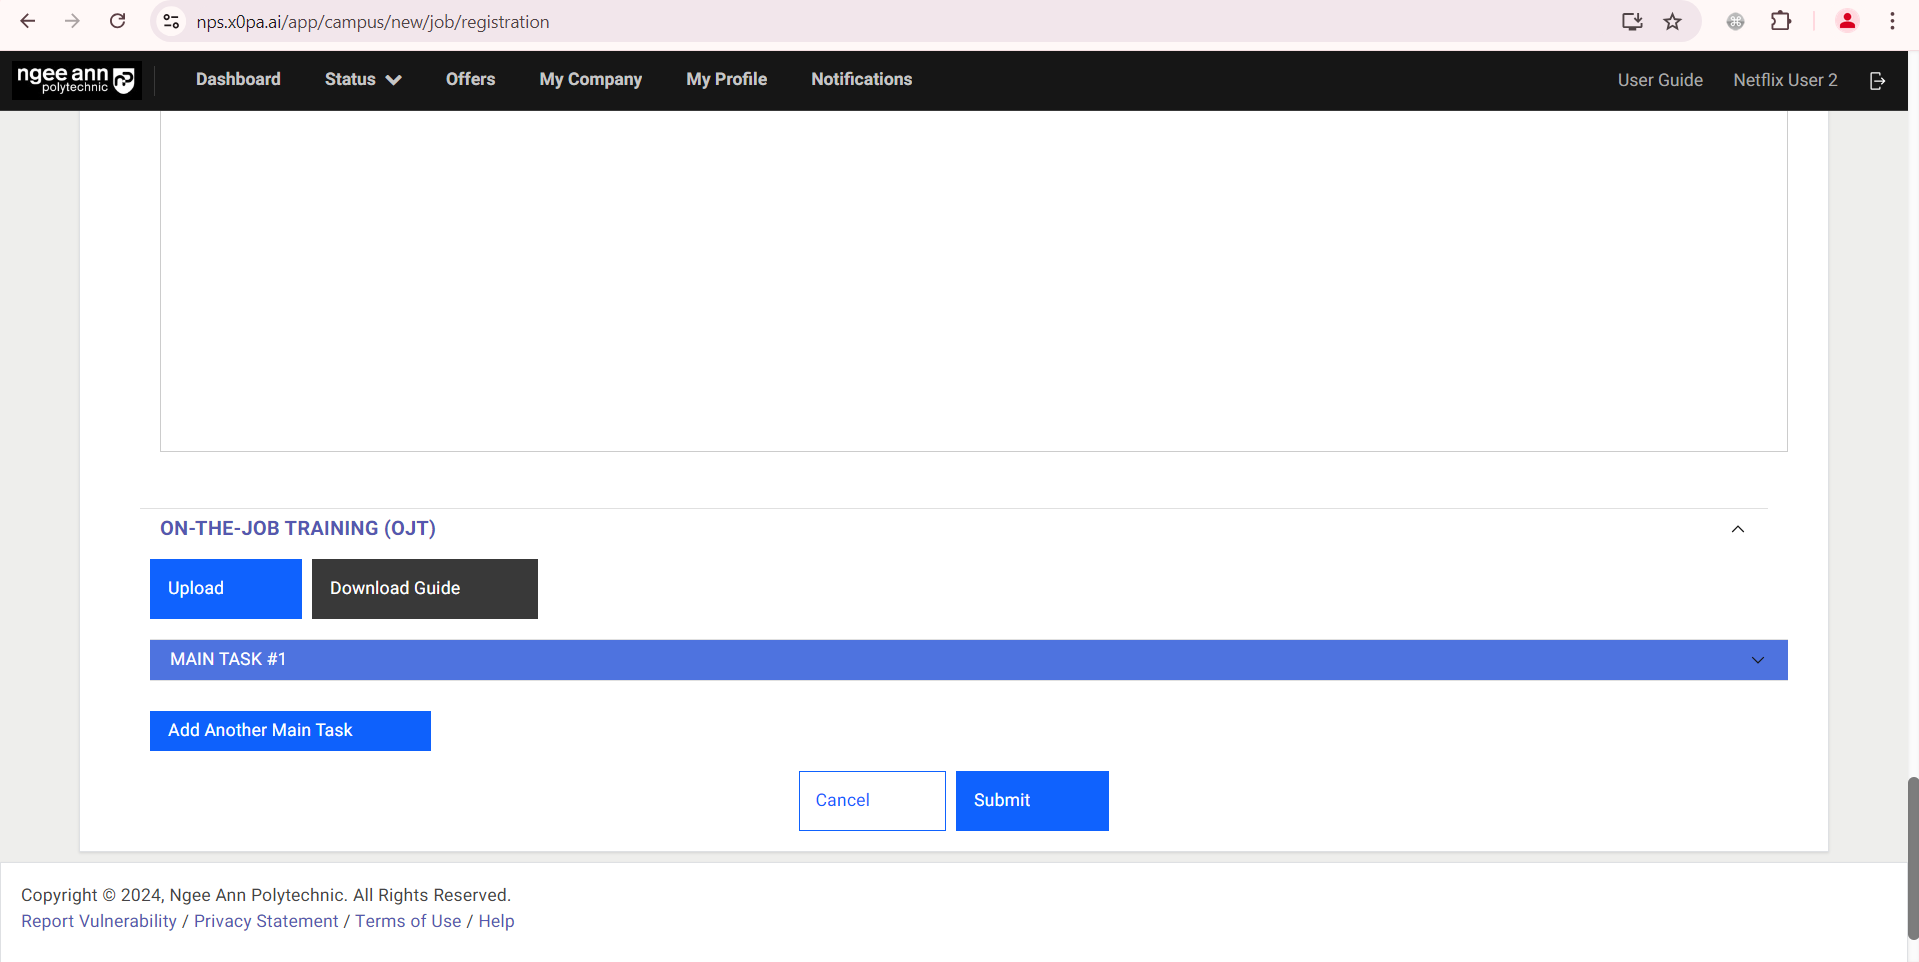
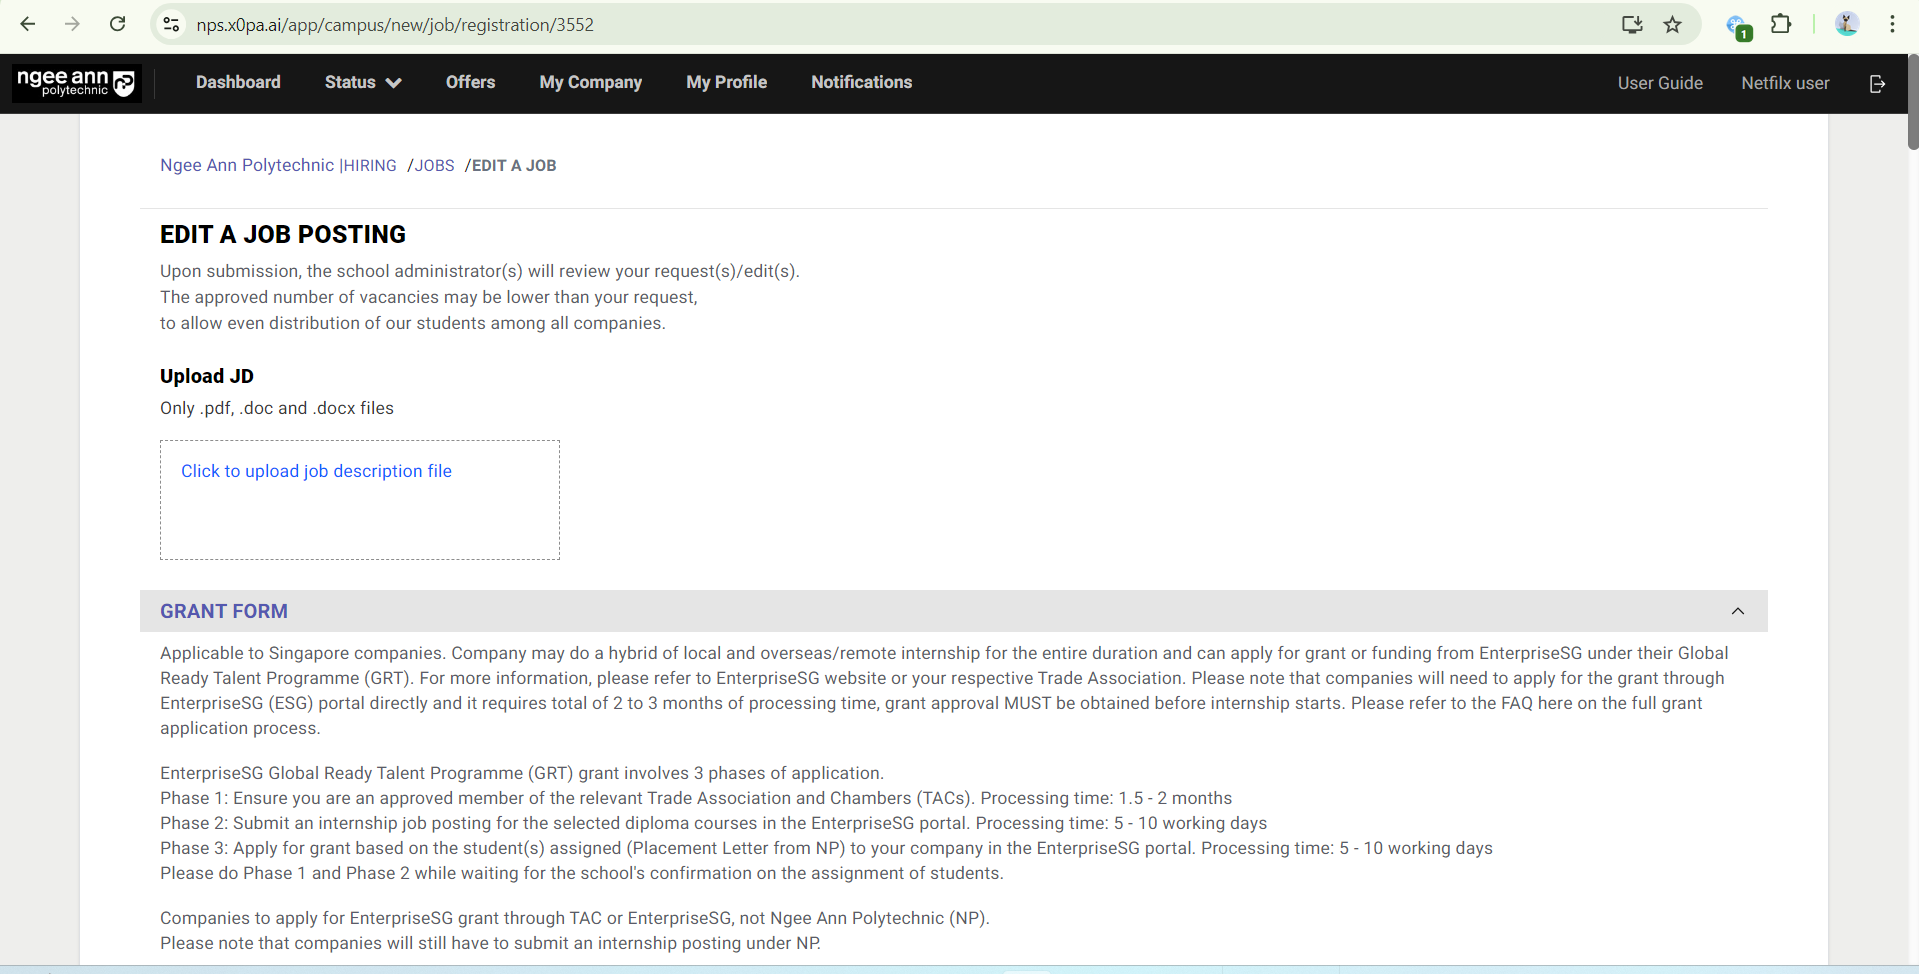
- Fill in Job Details, scroll to the bottom for the On-The-Job (OJT) section

Step 2:
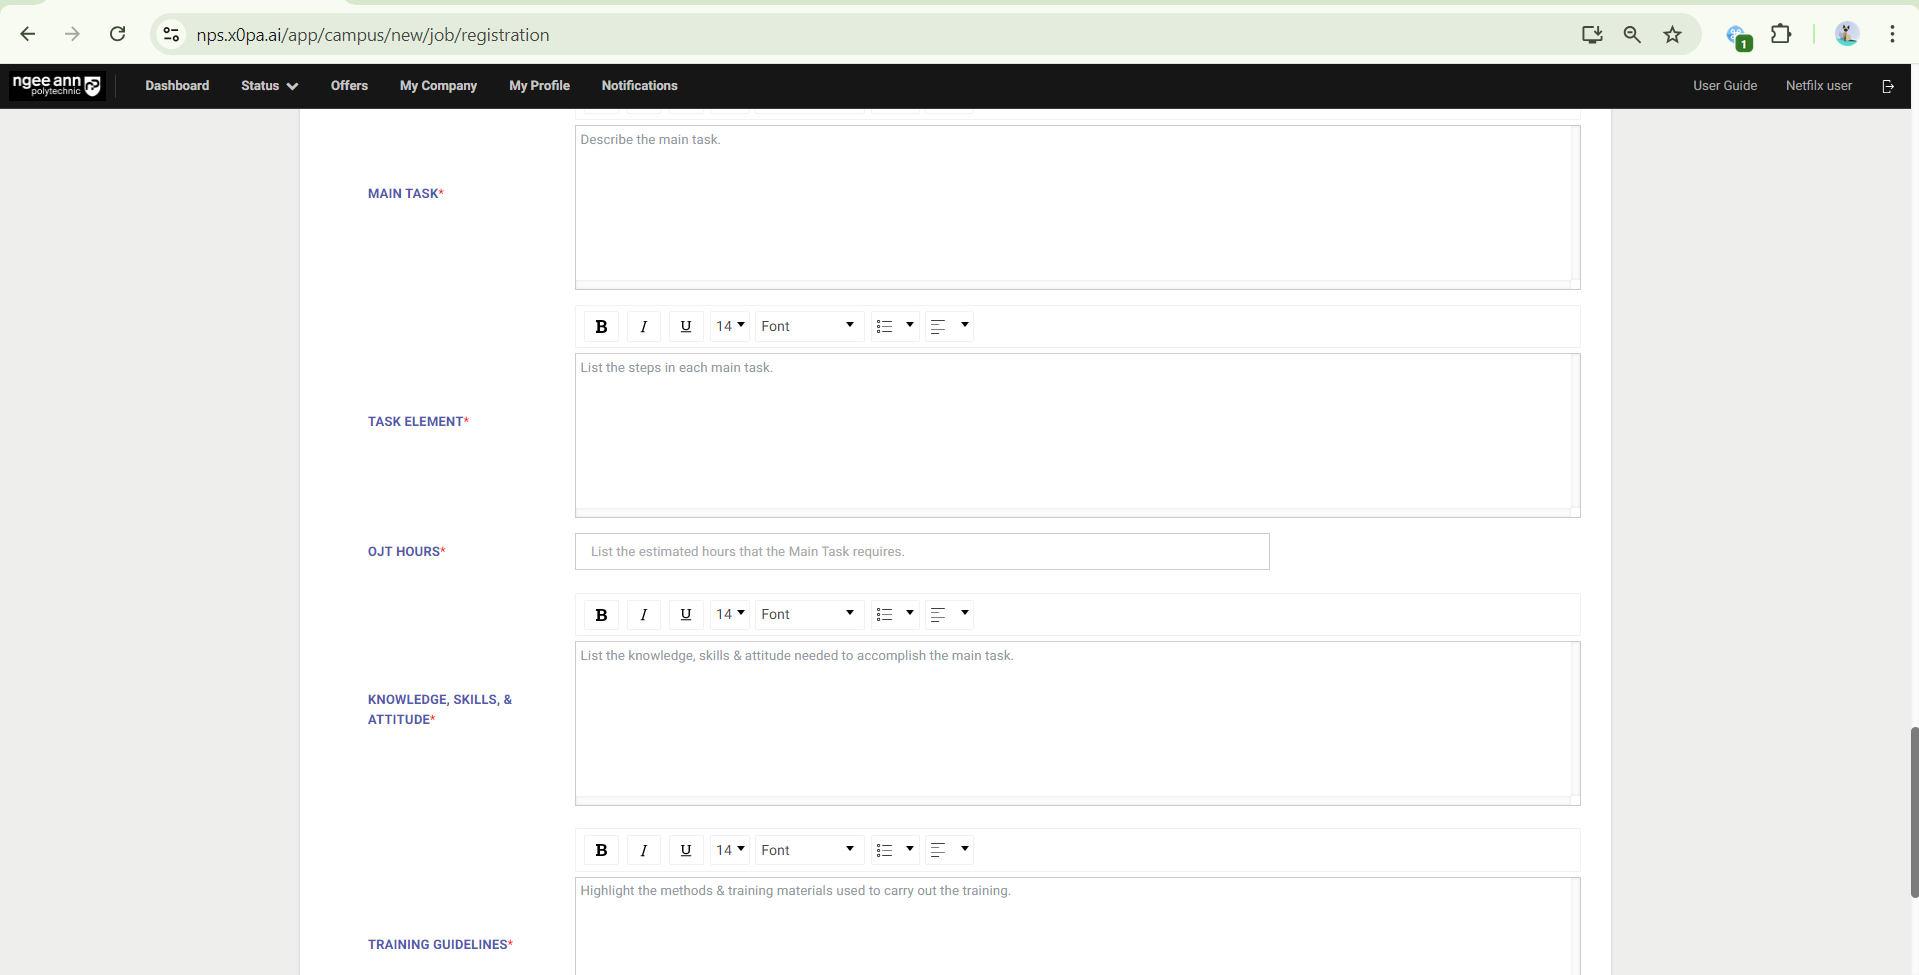
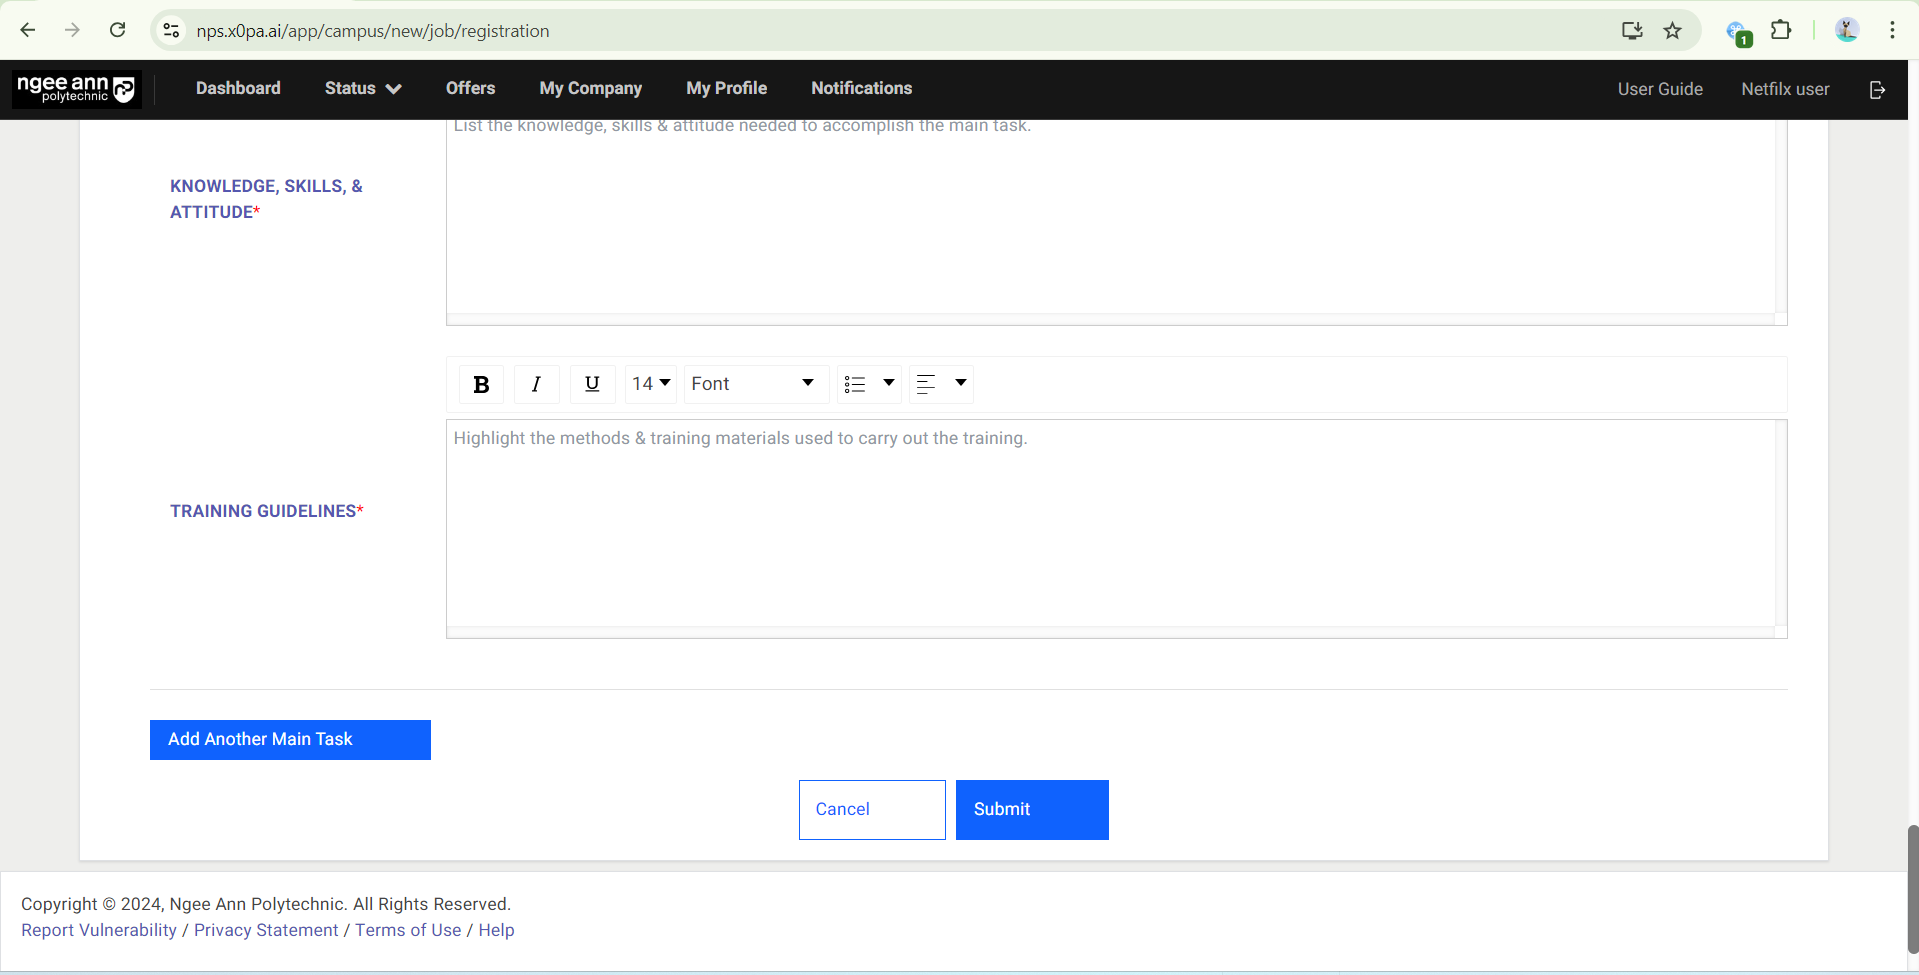
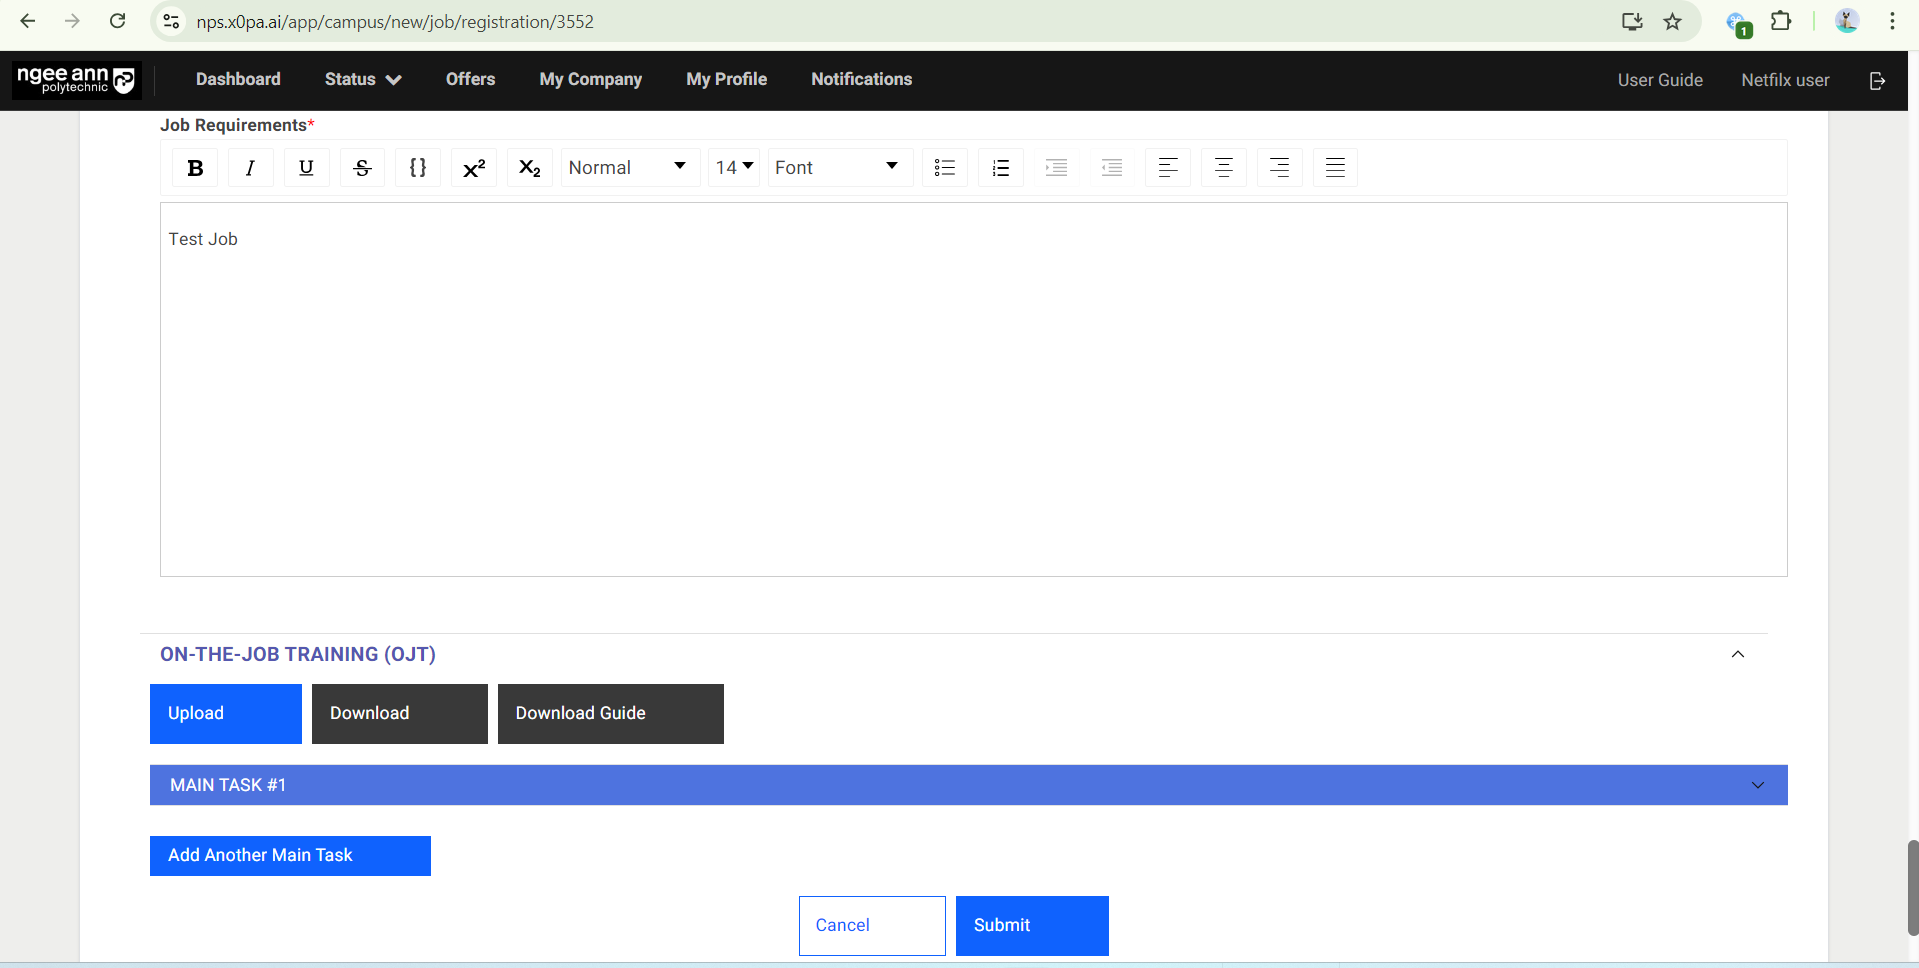
Fill in OJT details in the fields:
- Main Tasks
- Task Element
- OJT Hours
- Knowledge, Skills & Attitude
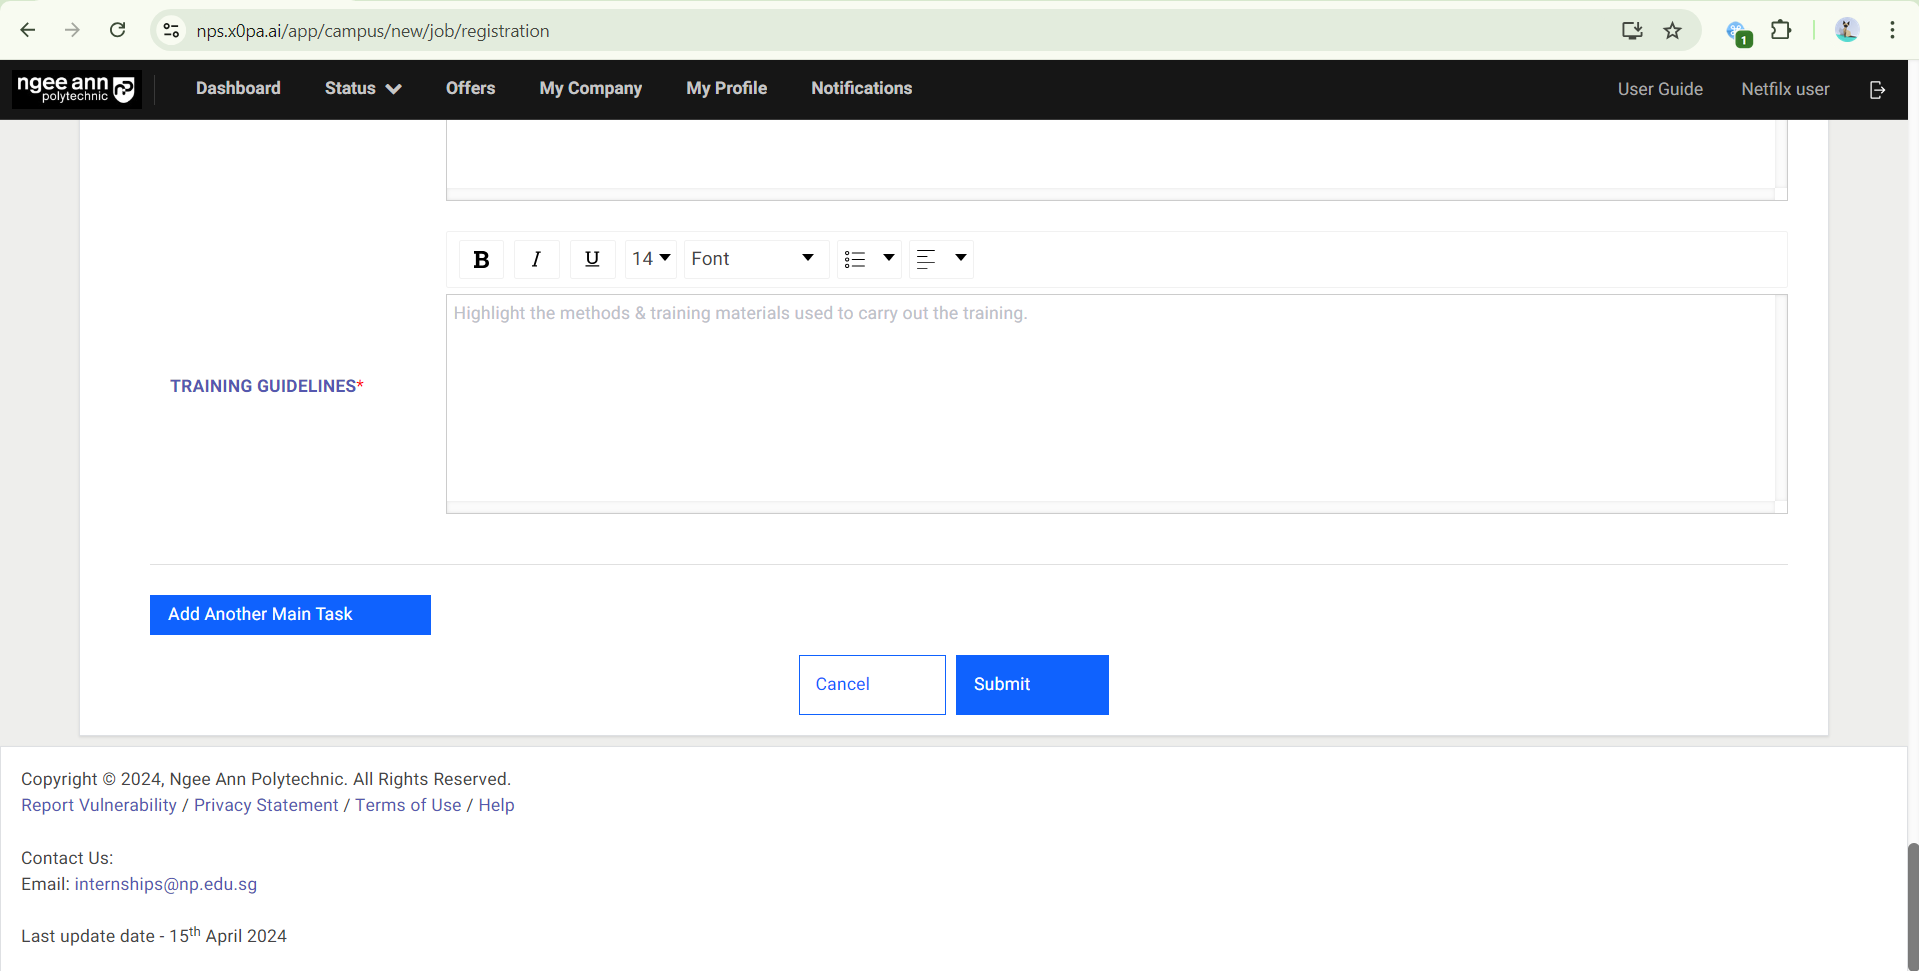
- Training Guidelines
Step 3:
- Click the “Add Another Main Task” button to add multiple main tasks.
- Fill in all details of each main task.
Step 4: If there are multiple main tasks, a “Trashcan” icon will appear beside each main task. Click on the icon to delete the main task.
Step 5:
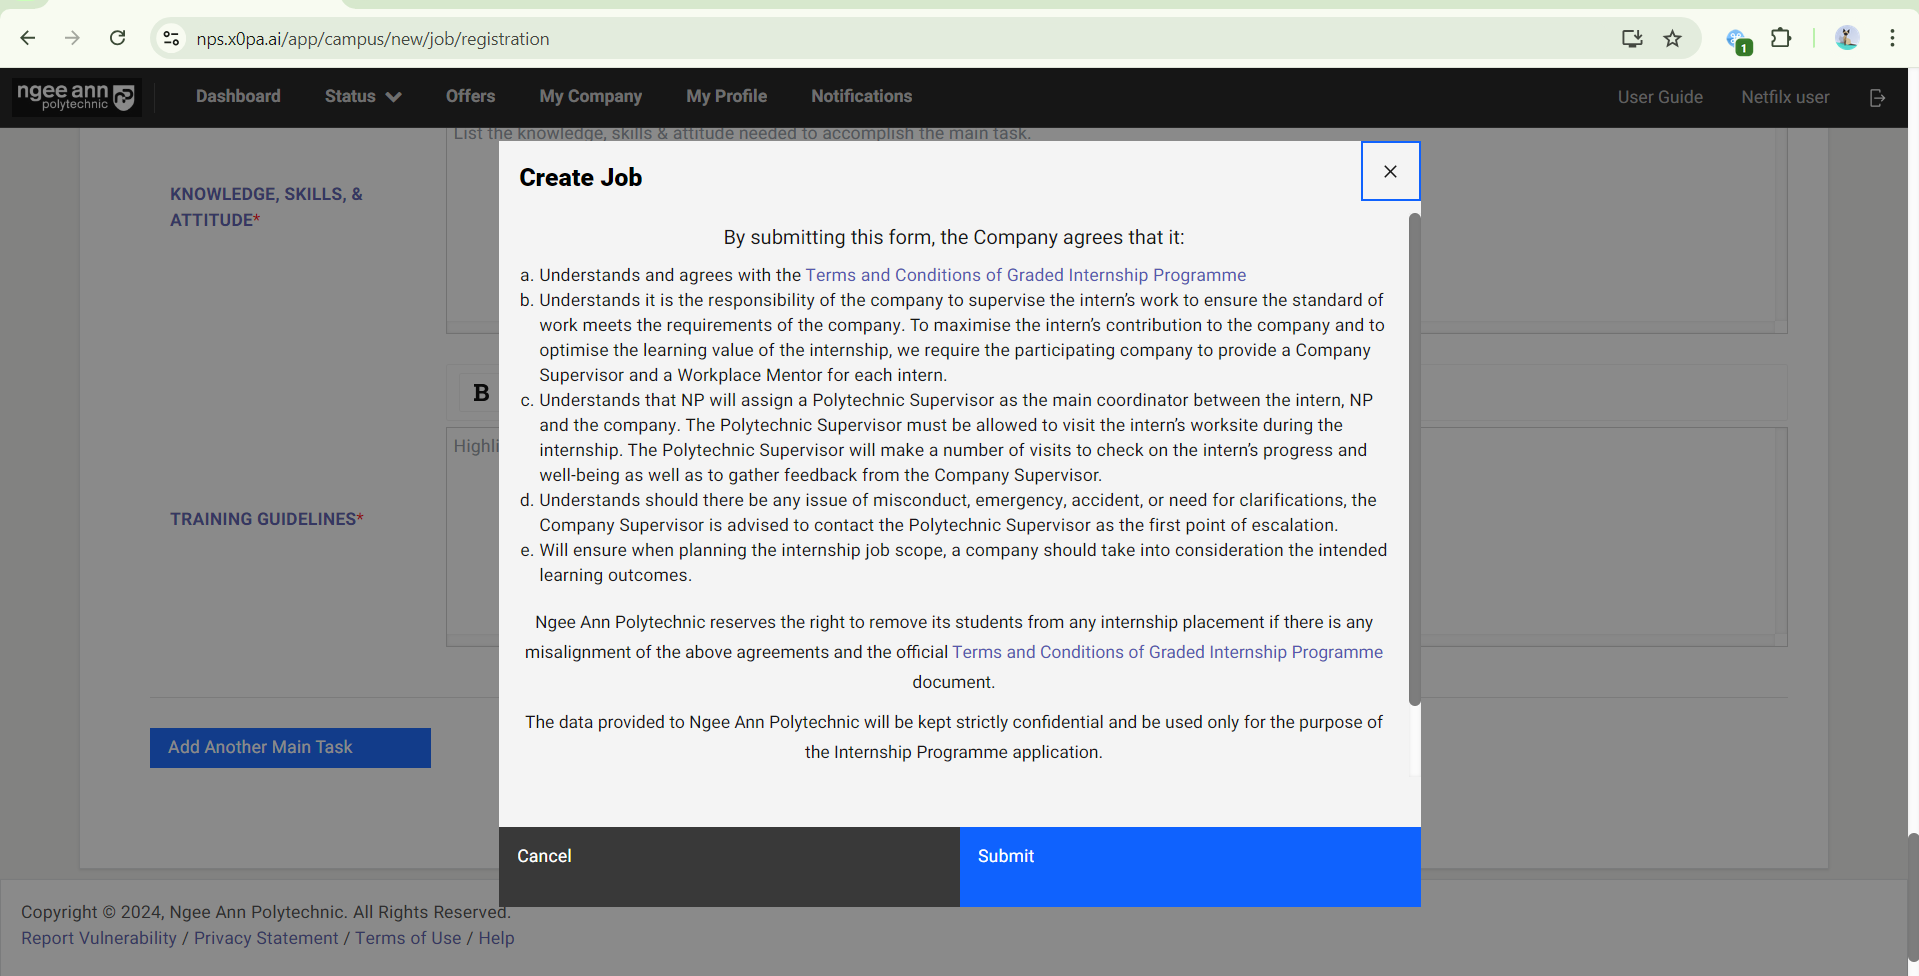
- Once the job and OJT details are filled and ready to submit, click on the “Submit” button.
- In the pop-up window, click on the “Submit” button.
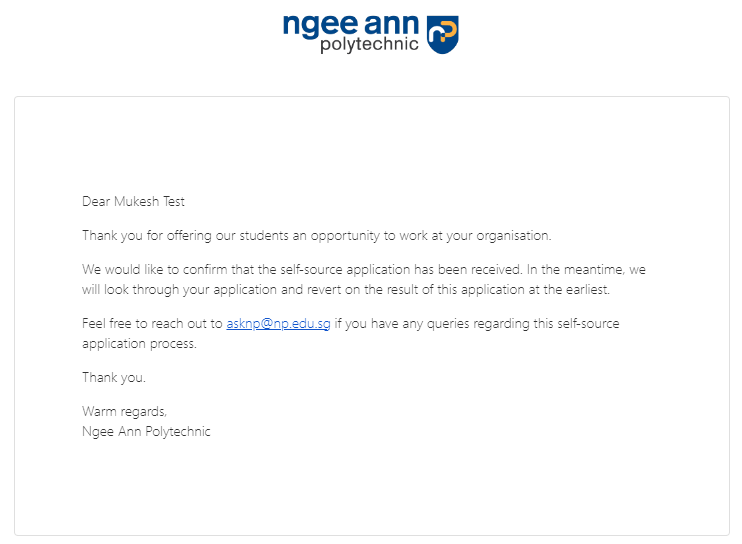
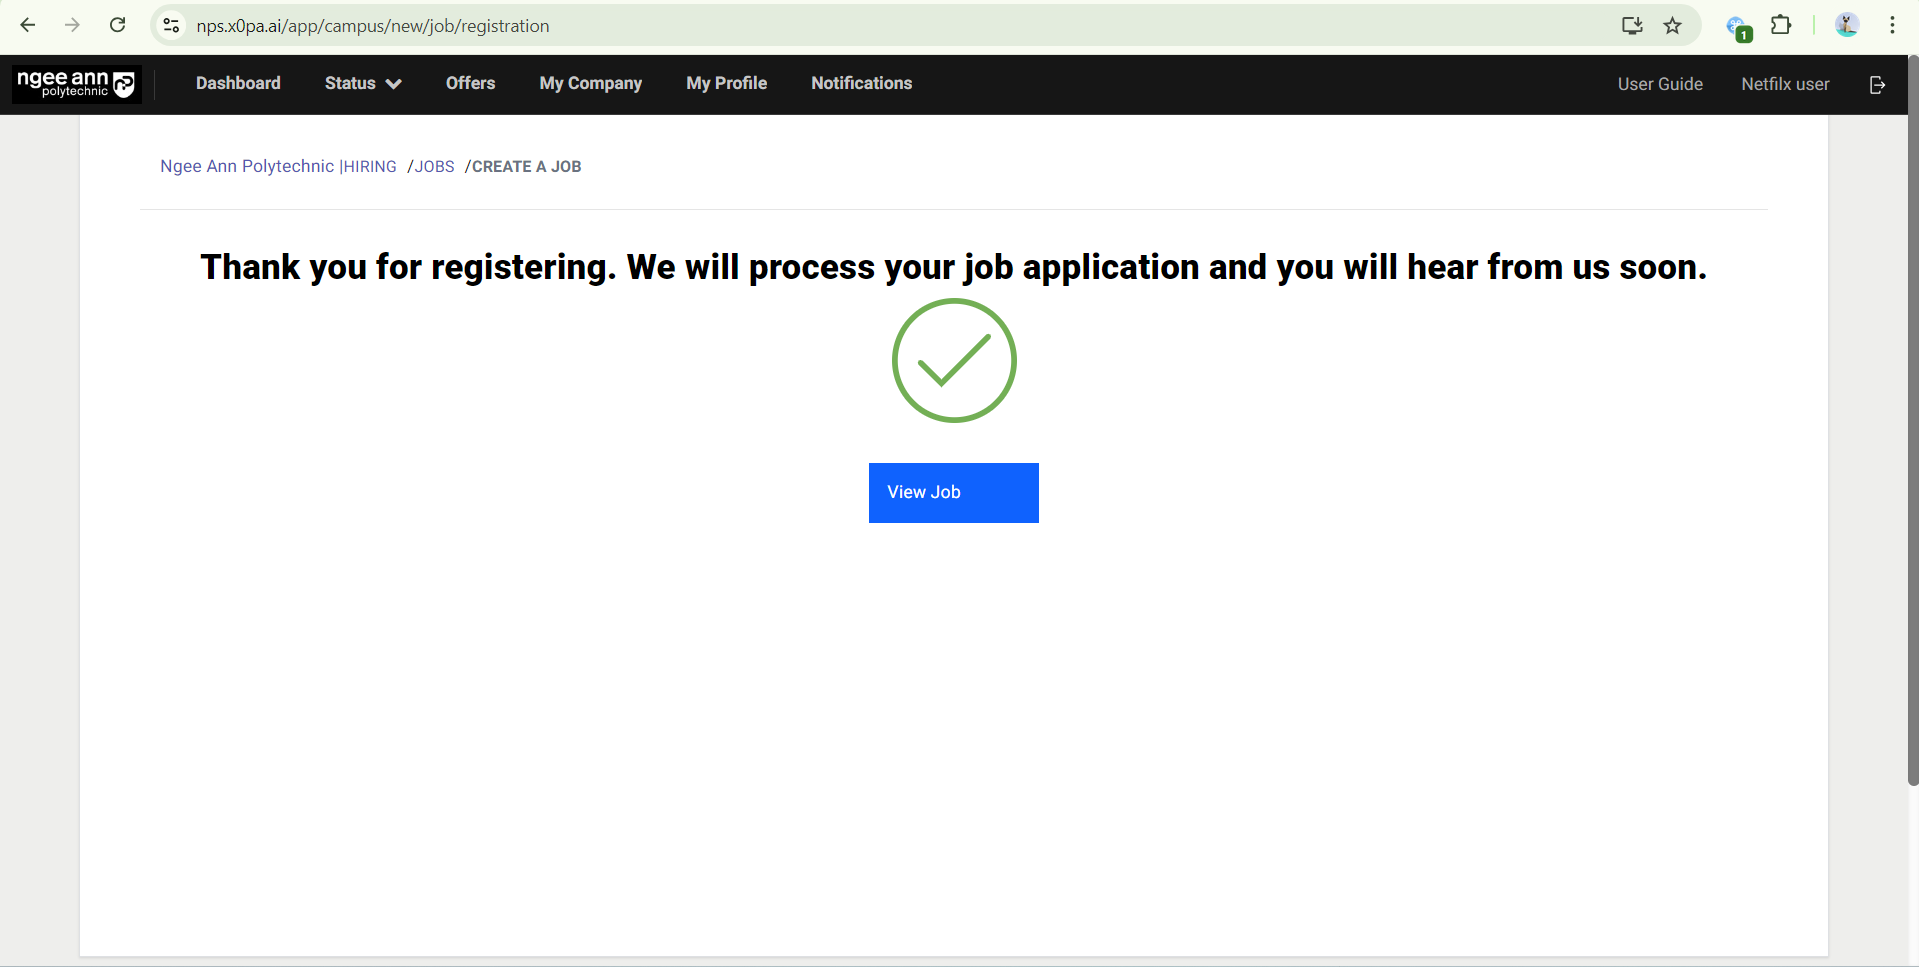
- Once the job was submitted successfully “Thank you for registering. We will process your job application and you will hear from us soon.” page will be shown


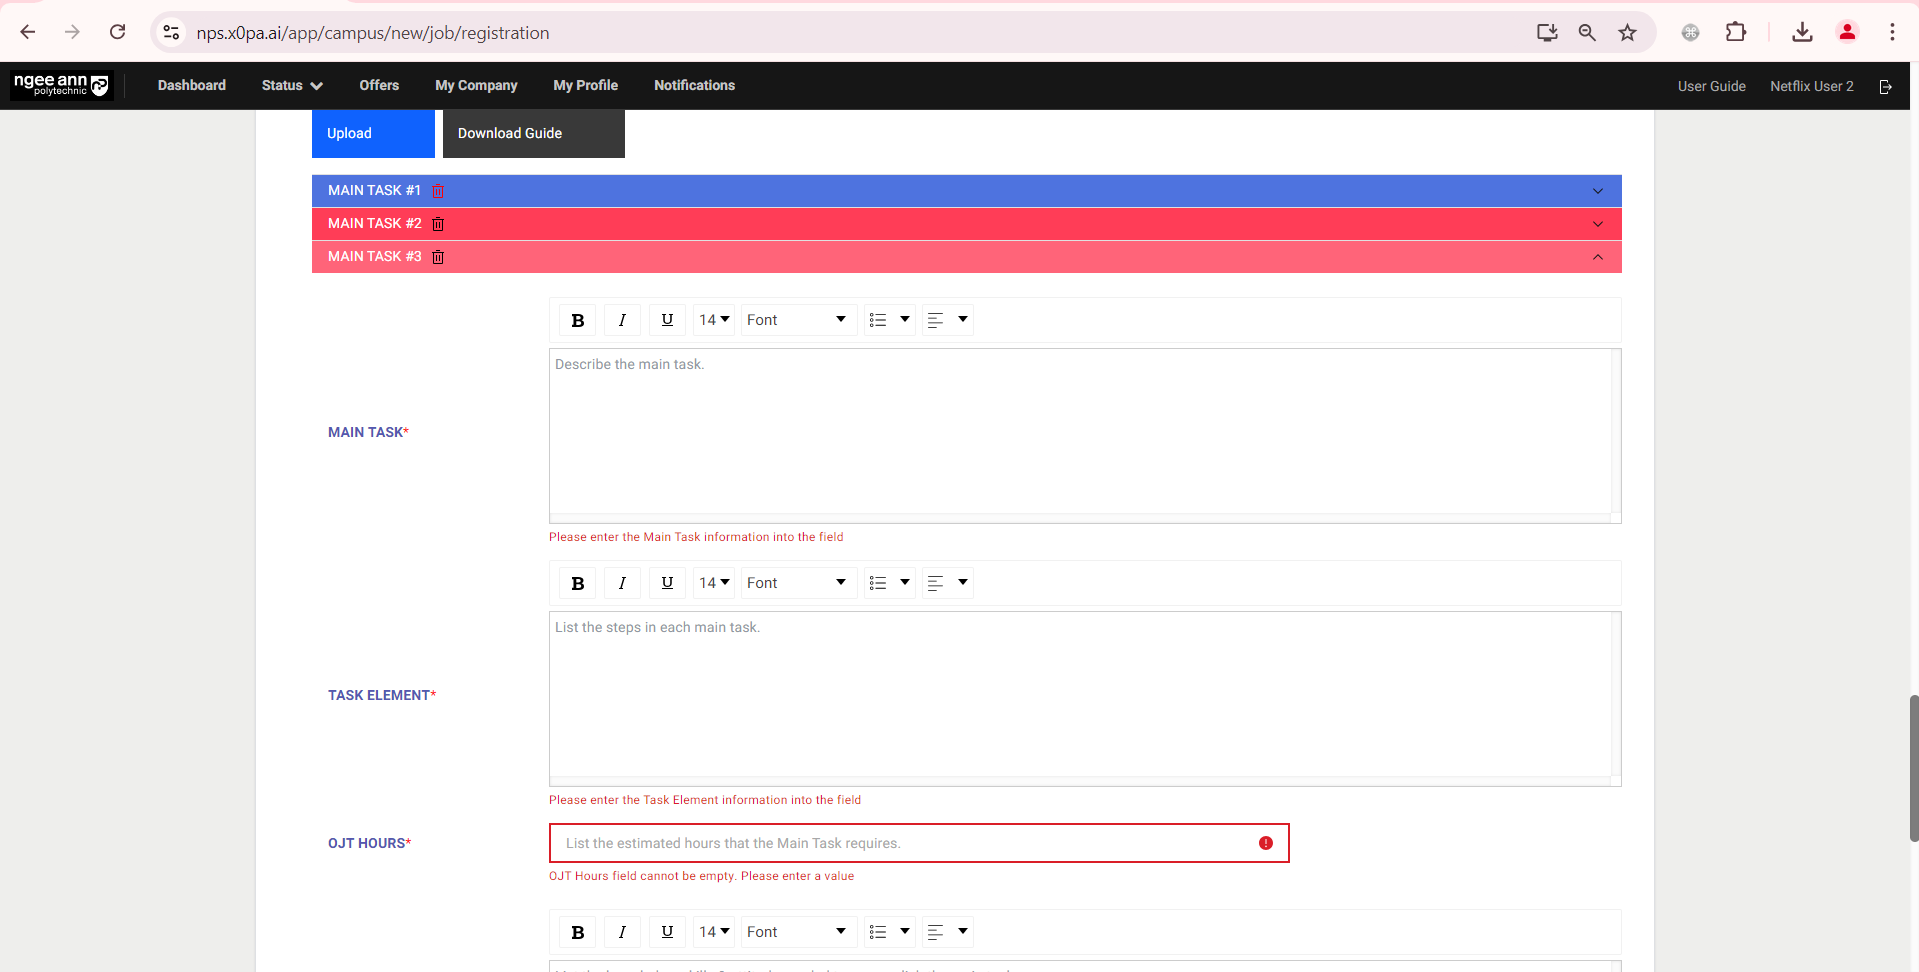
Step 6: The “Main Task X number” accordion will be highlighted in red colour and a validation error will be shown on the field when any OJT field is filled with an invalid or empty field during job submission.
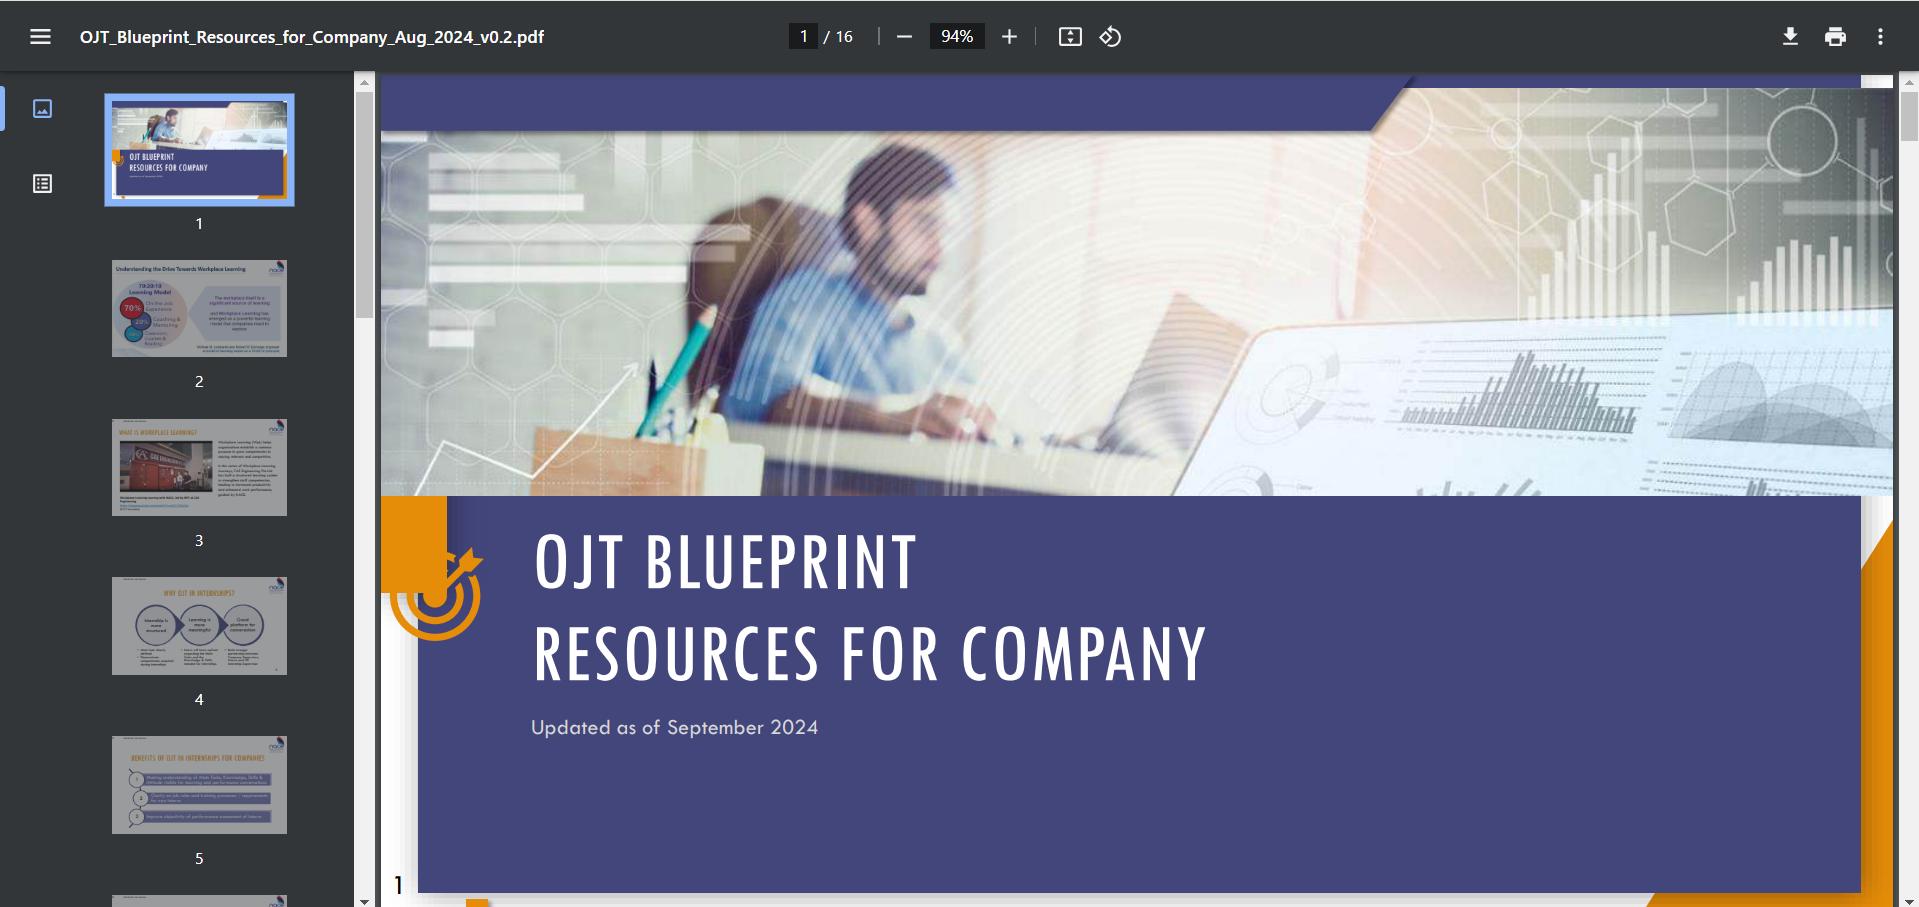
Step 7: The “OJT Blueprint Resources for Company” PDF file can be viewed and downloaded when clicking on the “Download Guide” button
Create OJT (Bulk Upload OJT Data)
Step 1:
- Click on the “Create Jobs” button.
- Fill in Job Details, scroll to the bottom for the On-The-Job (OJT) section


Step 2:
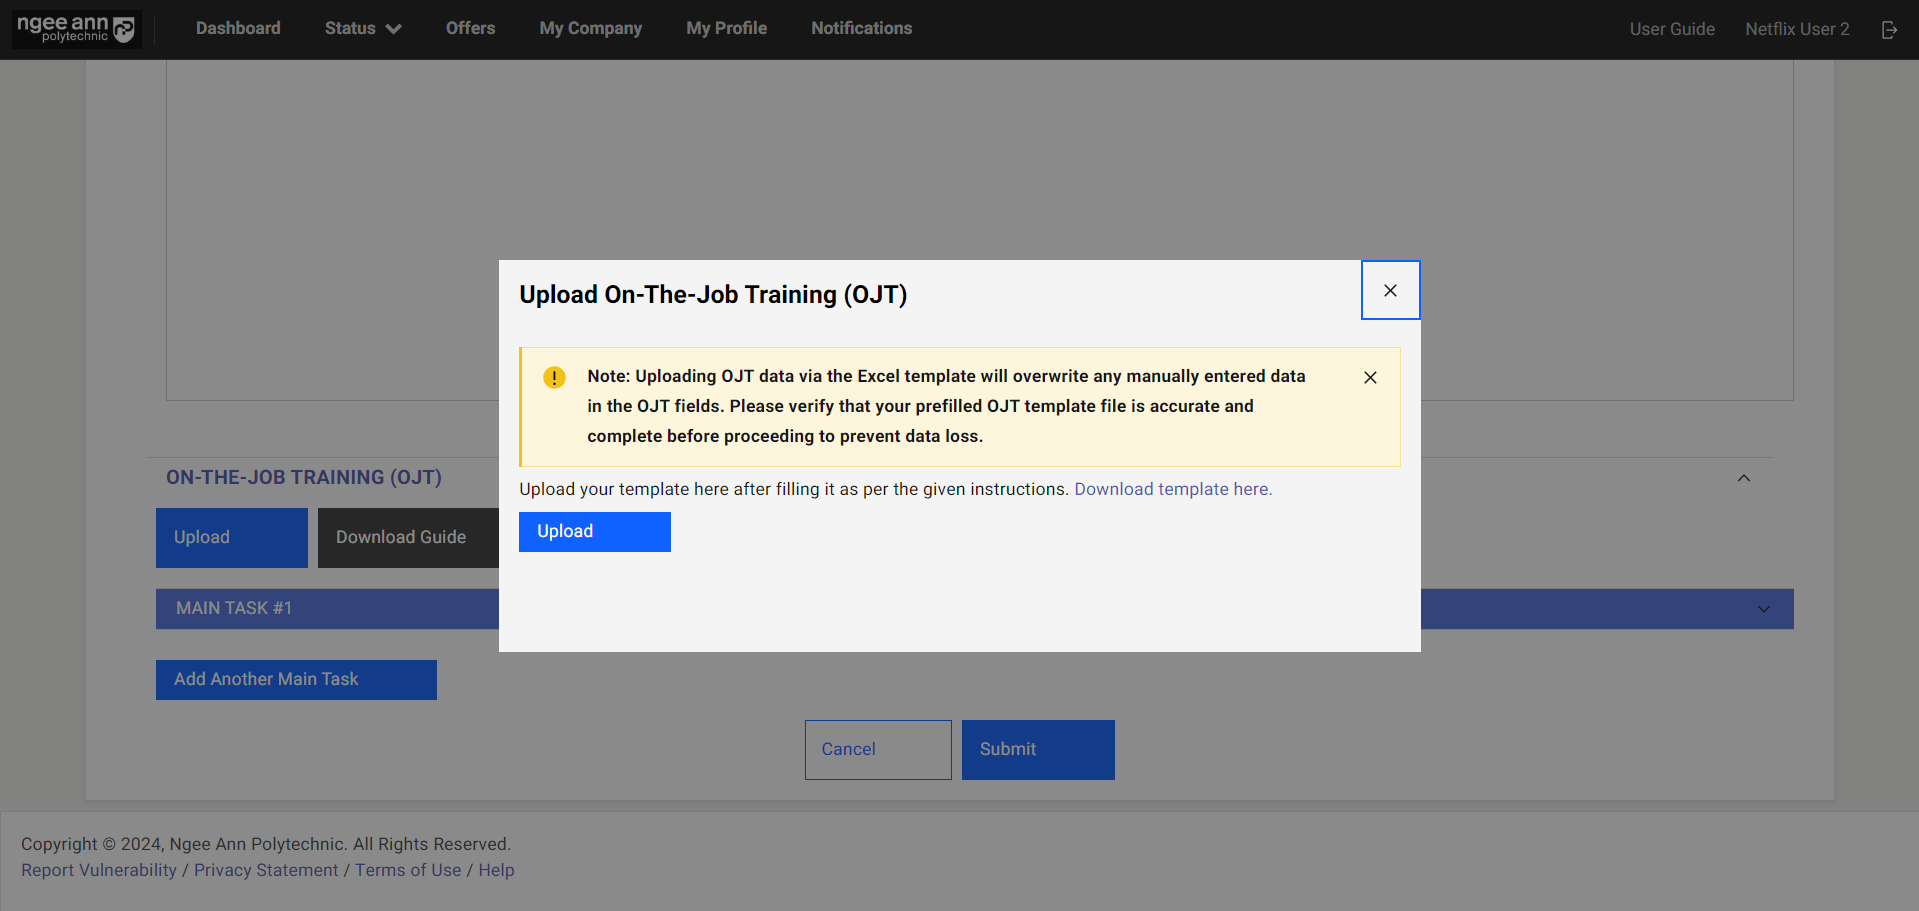
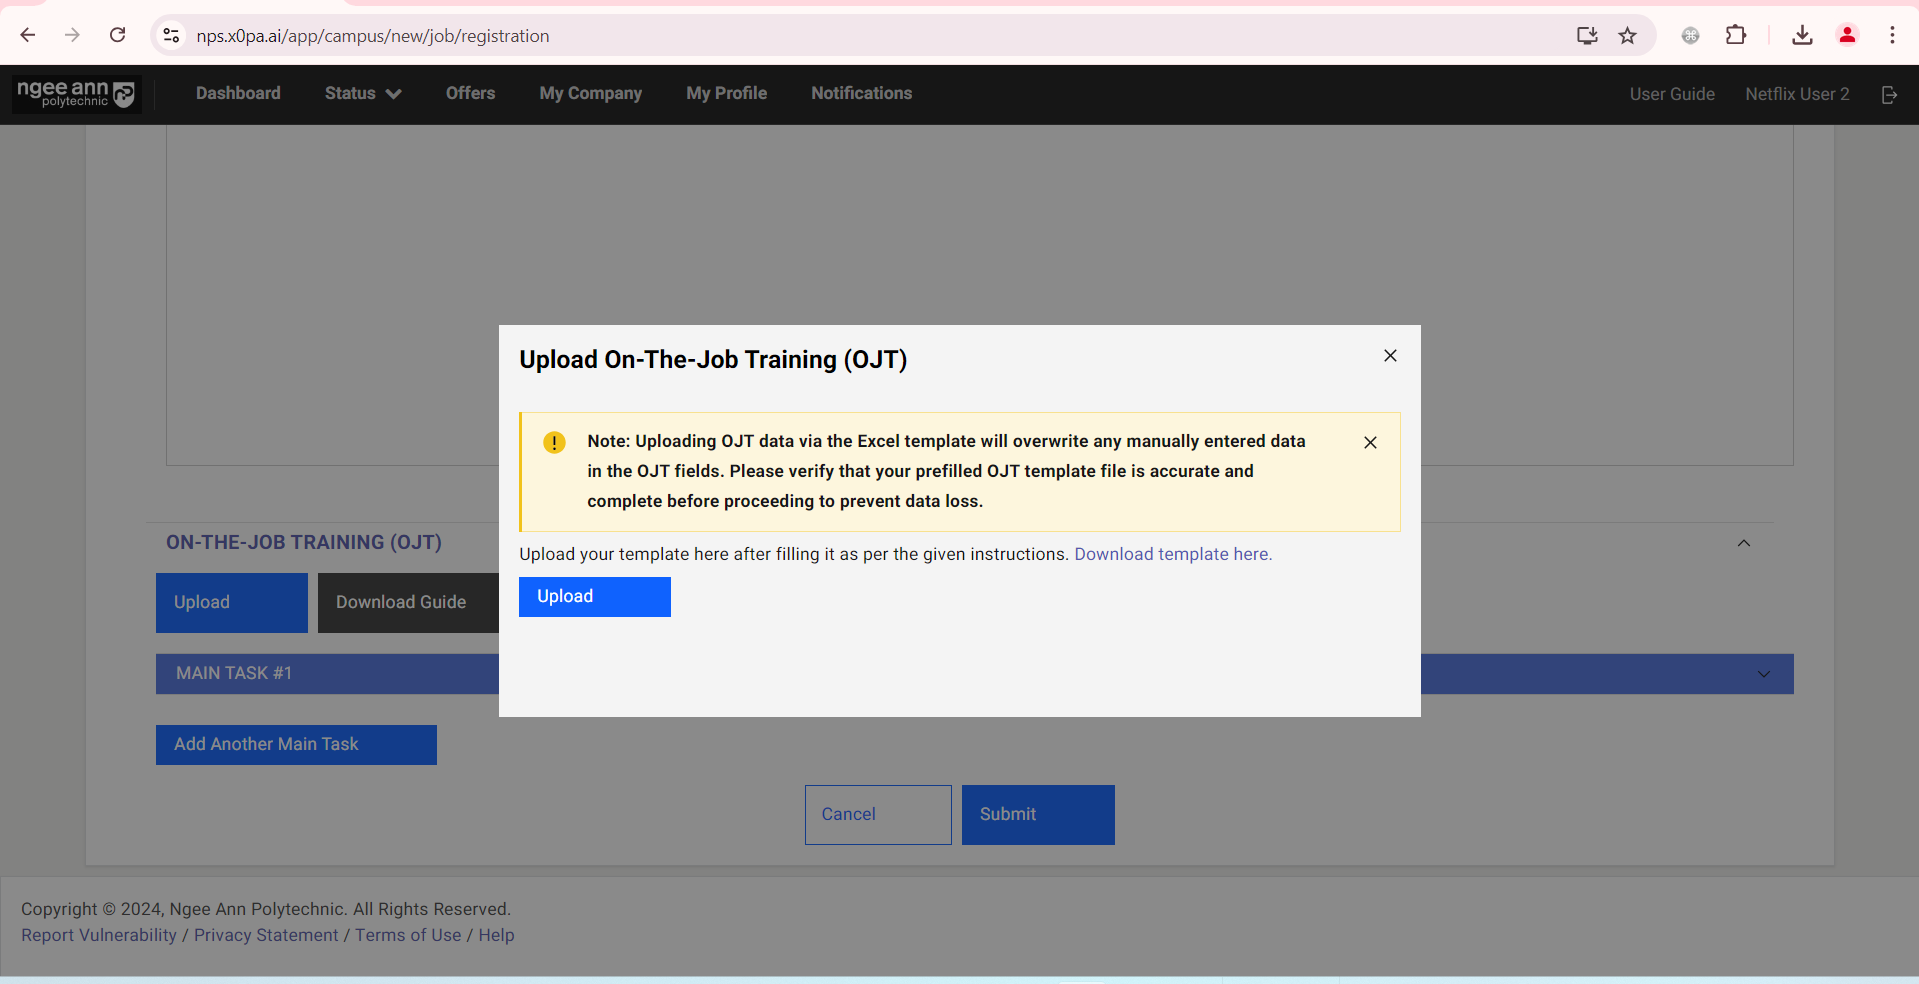
- OJT data can be uploaded in bulk. Click on “Upload”.
- In the pop-up window, click on “Download template here”.
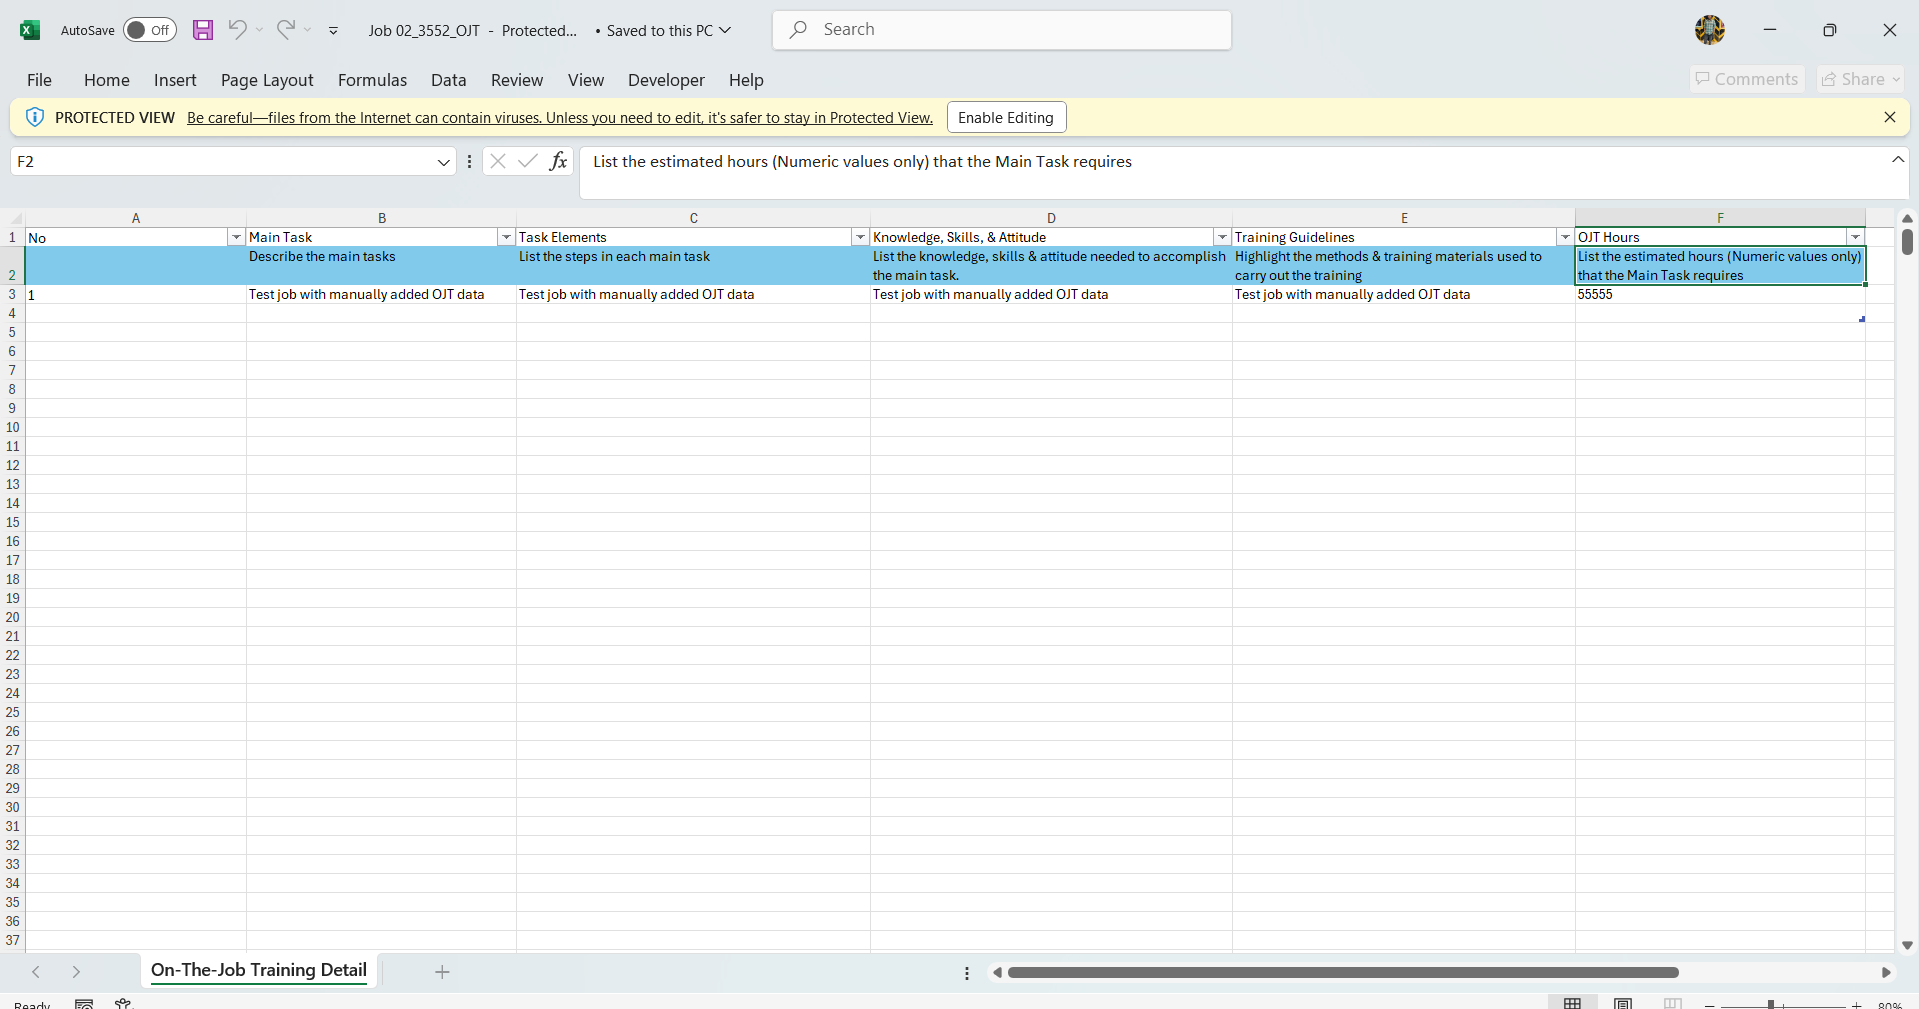
Step 3:
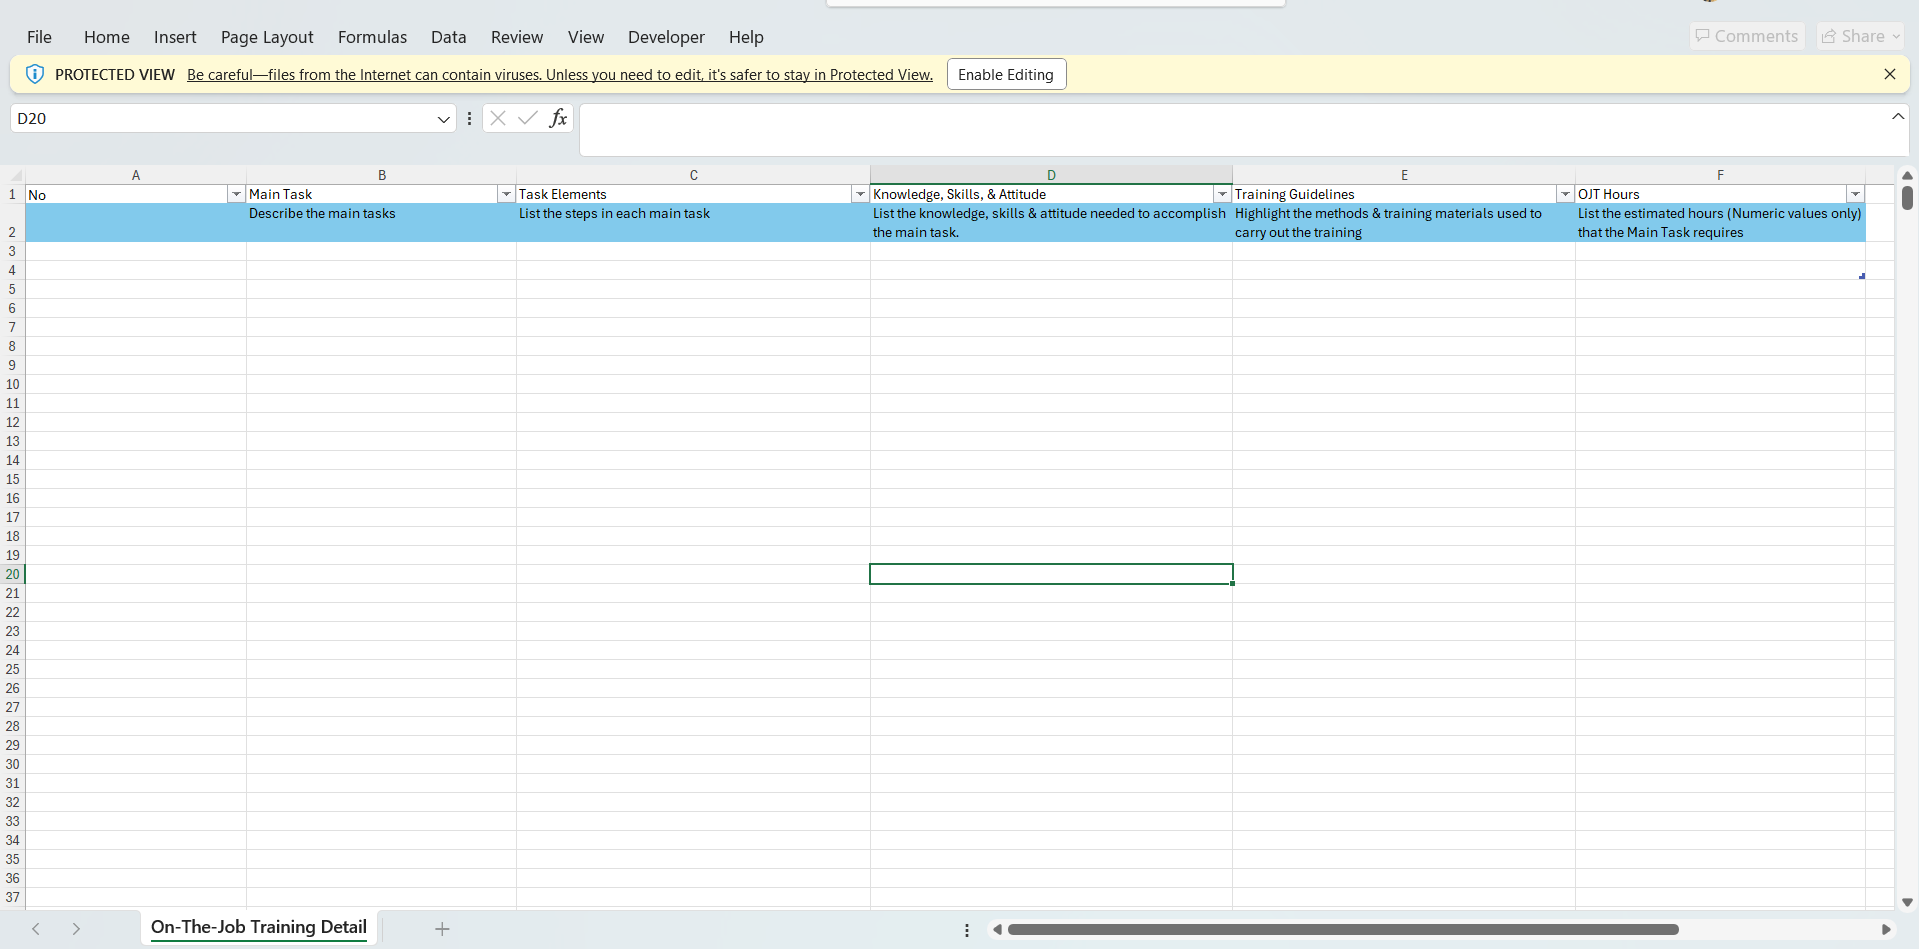
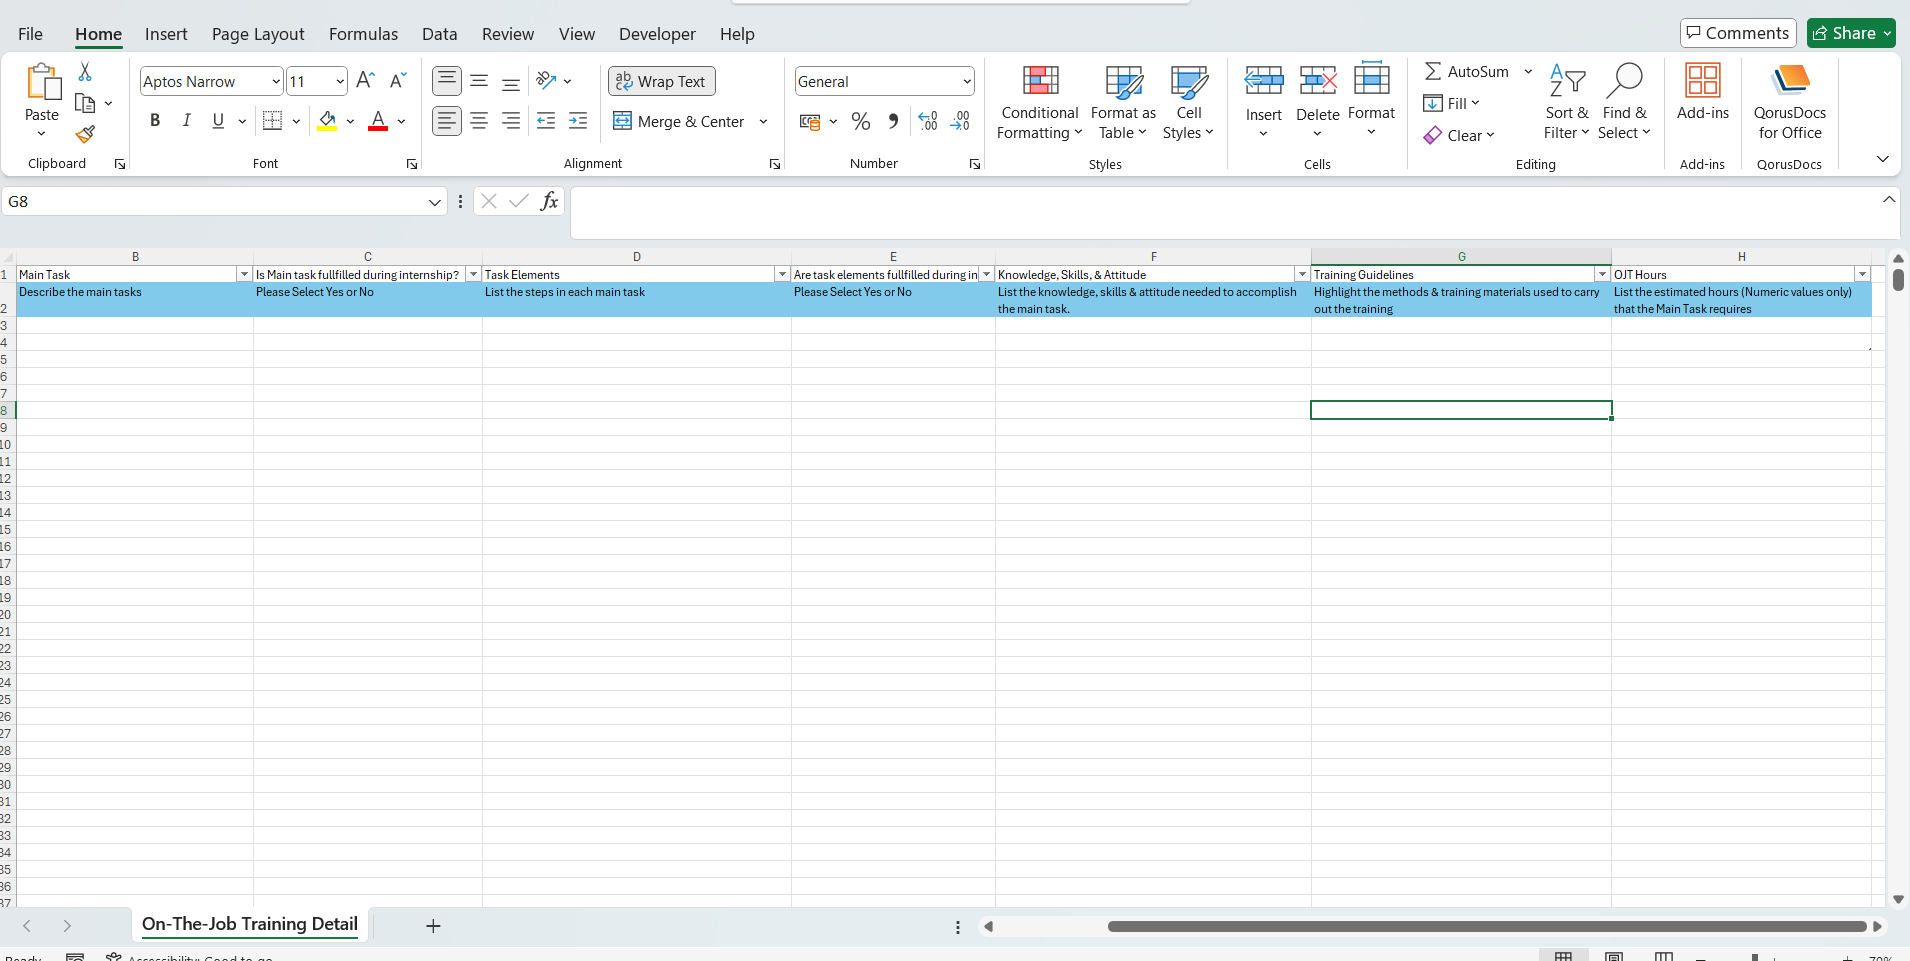
- Open the downloaded template. Fill in OJT details. Save the template.
- Click on the “Upload” button. Select the pre-filled OJT template and upload the file.
Step 4:
- OJT details will be filled out automatically based on the uploaded template.
Note: The uploaded template will overwrite any previous details that have been filled.

Step 5:
- Once the job and OJT details are filled and ready to submit, click on the “Submit” button.
- In the pop-up window, click on the “Submit” button.
- Once the job was submitted successfully “Thank you for registering. We will process your job application and you will hear from us soon.” page will be shown

Edit OJT Details (Job Level)
Step 1:
- If Job/OJT details must be updated, click on the “Edit Job” button.
- Edit the Job/OJT Details. Once all necessary details are updated, click on the “Submit” button.
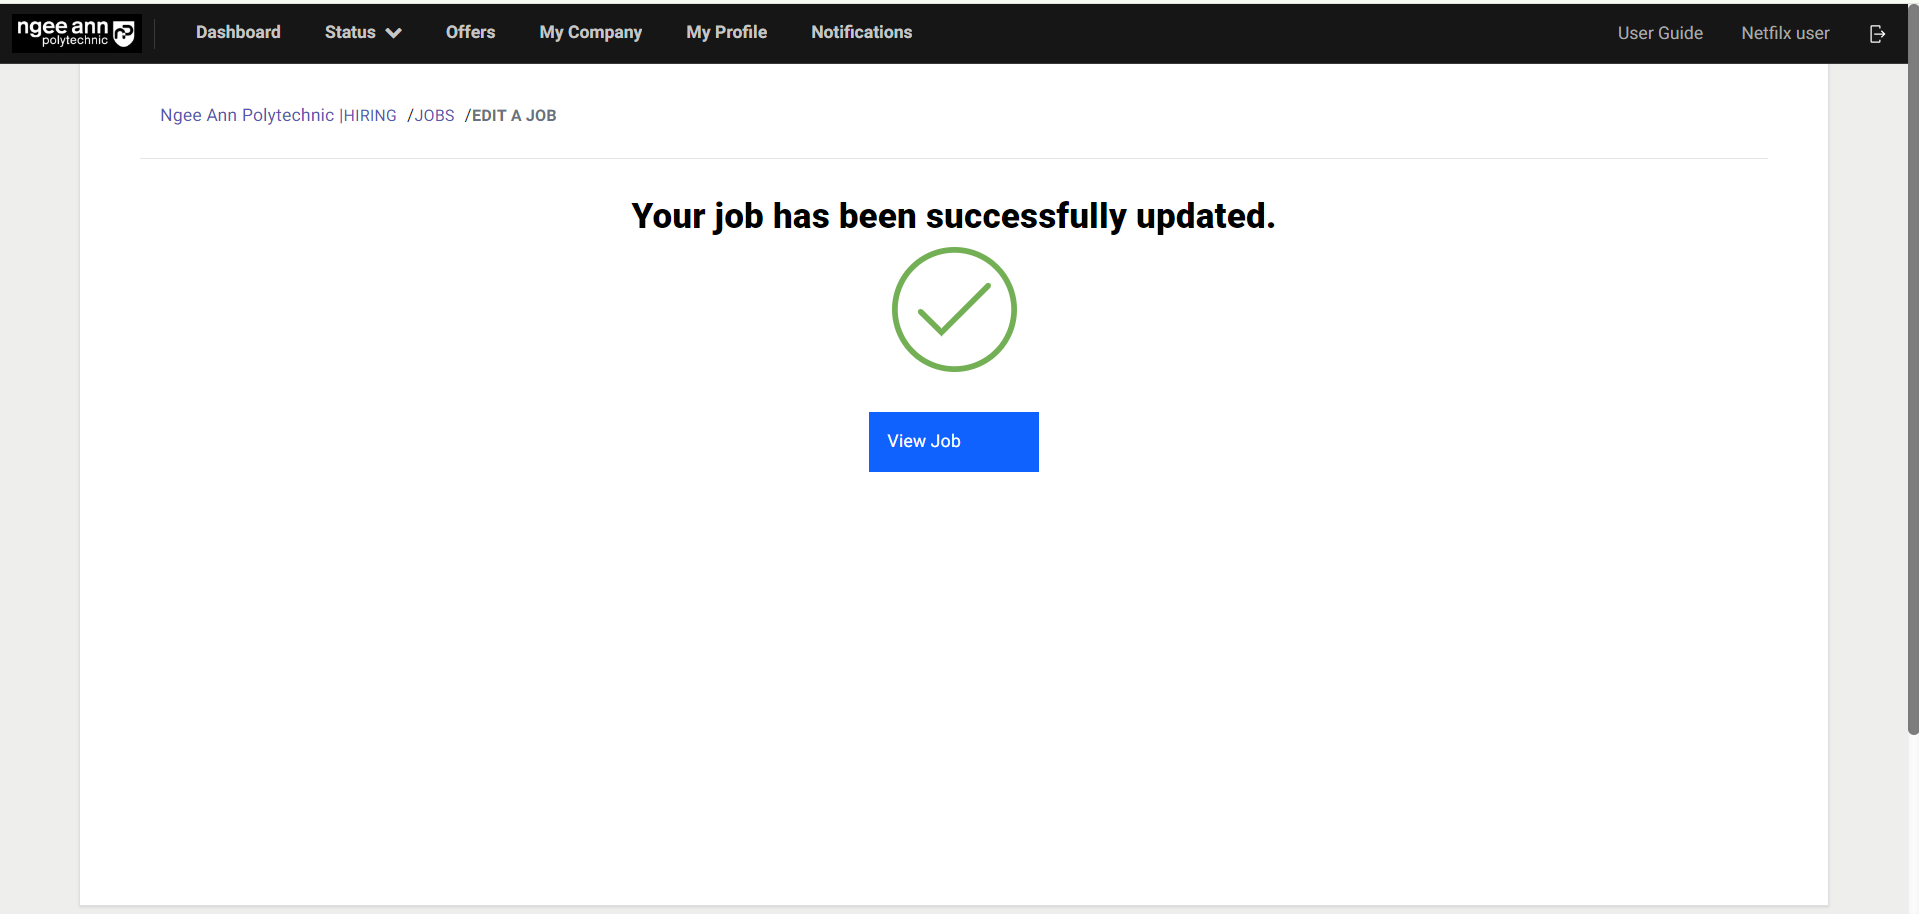
- “Your job has been successfully updated.” page is shown once the job was edited successfully
Note: If Job/OJT details are edited, the job will be routed to the Internship Manager/Coordinator to approve again.
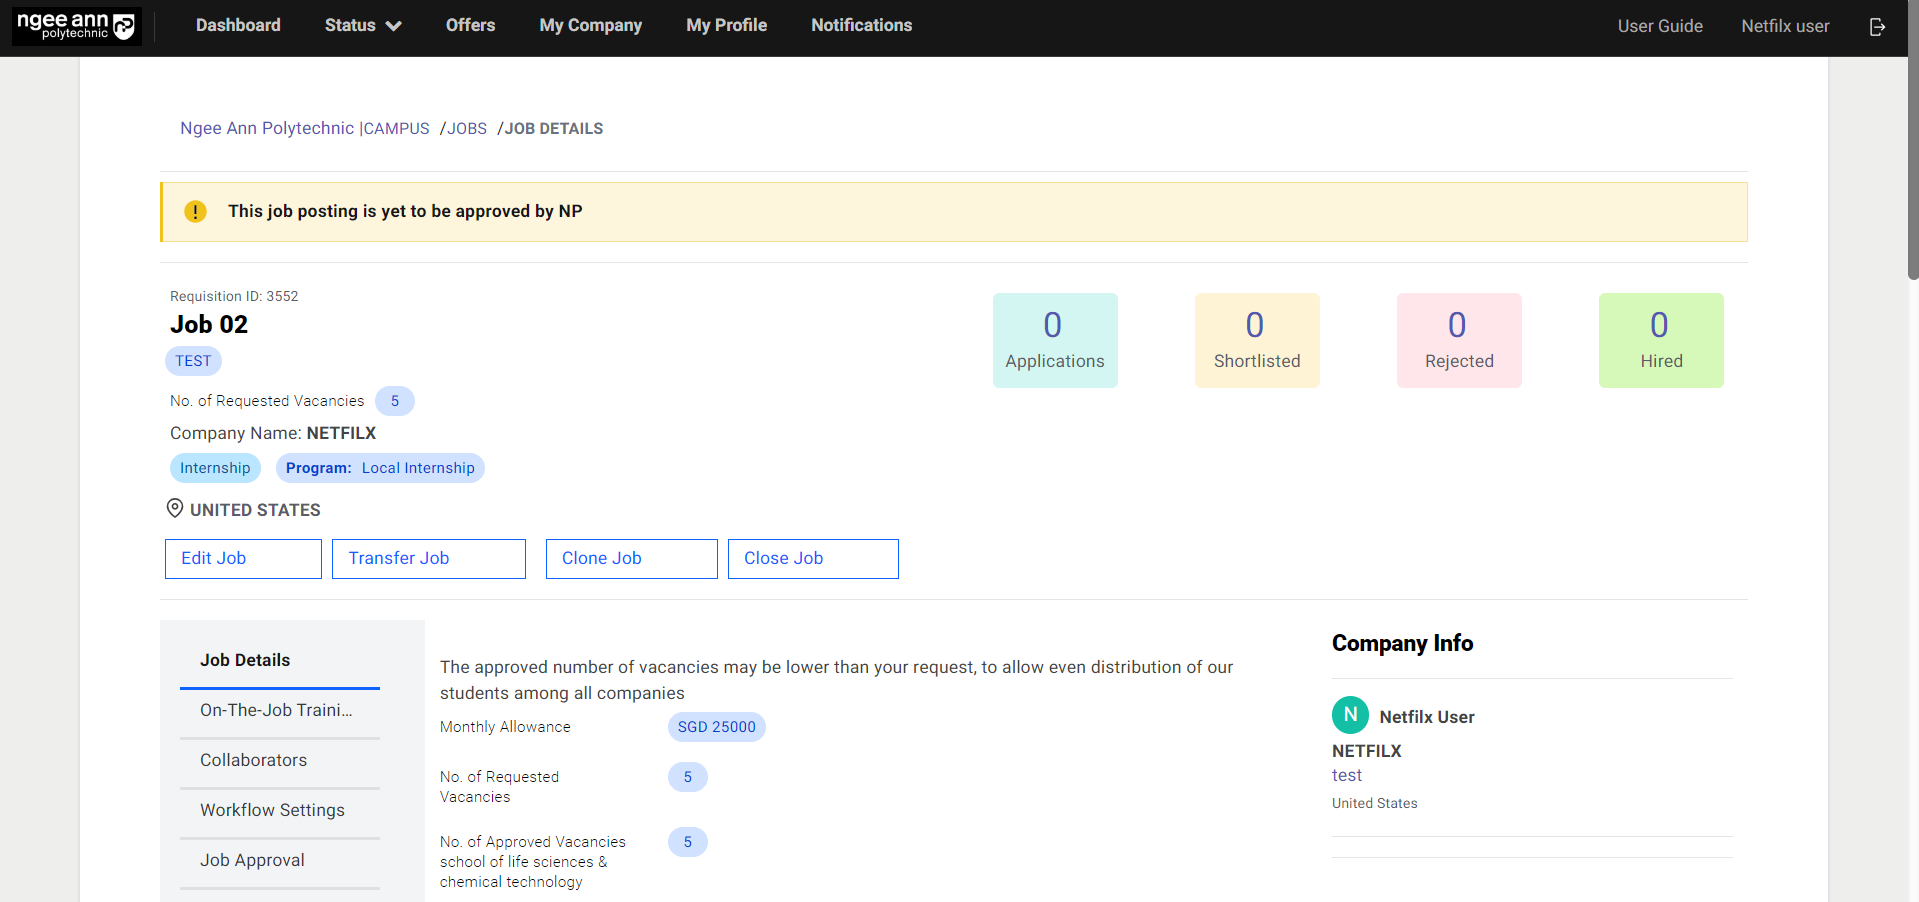
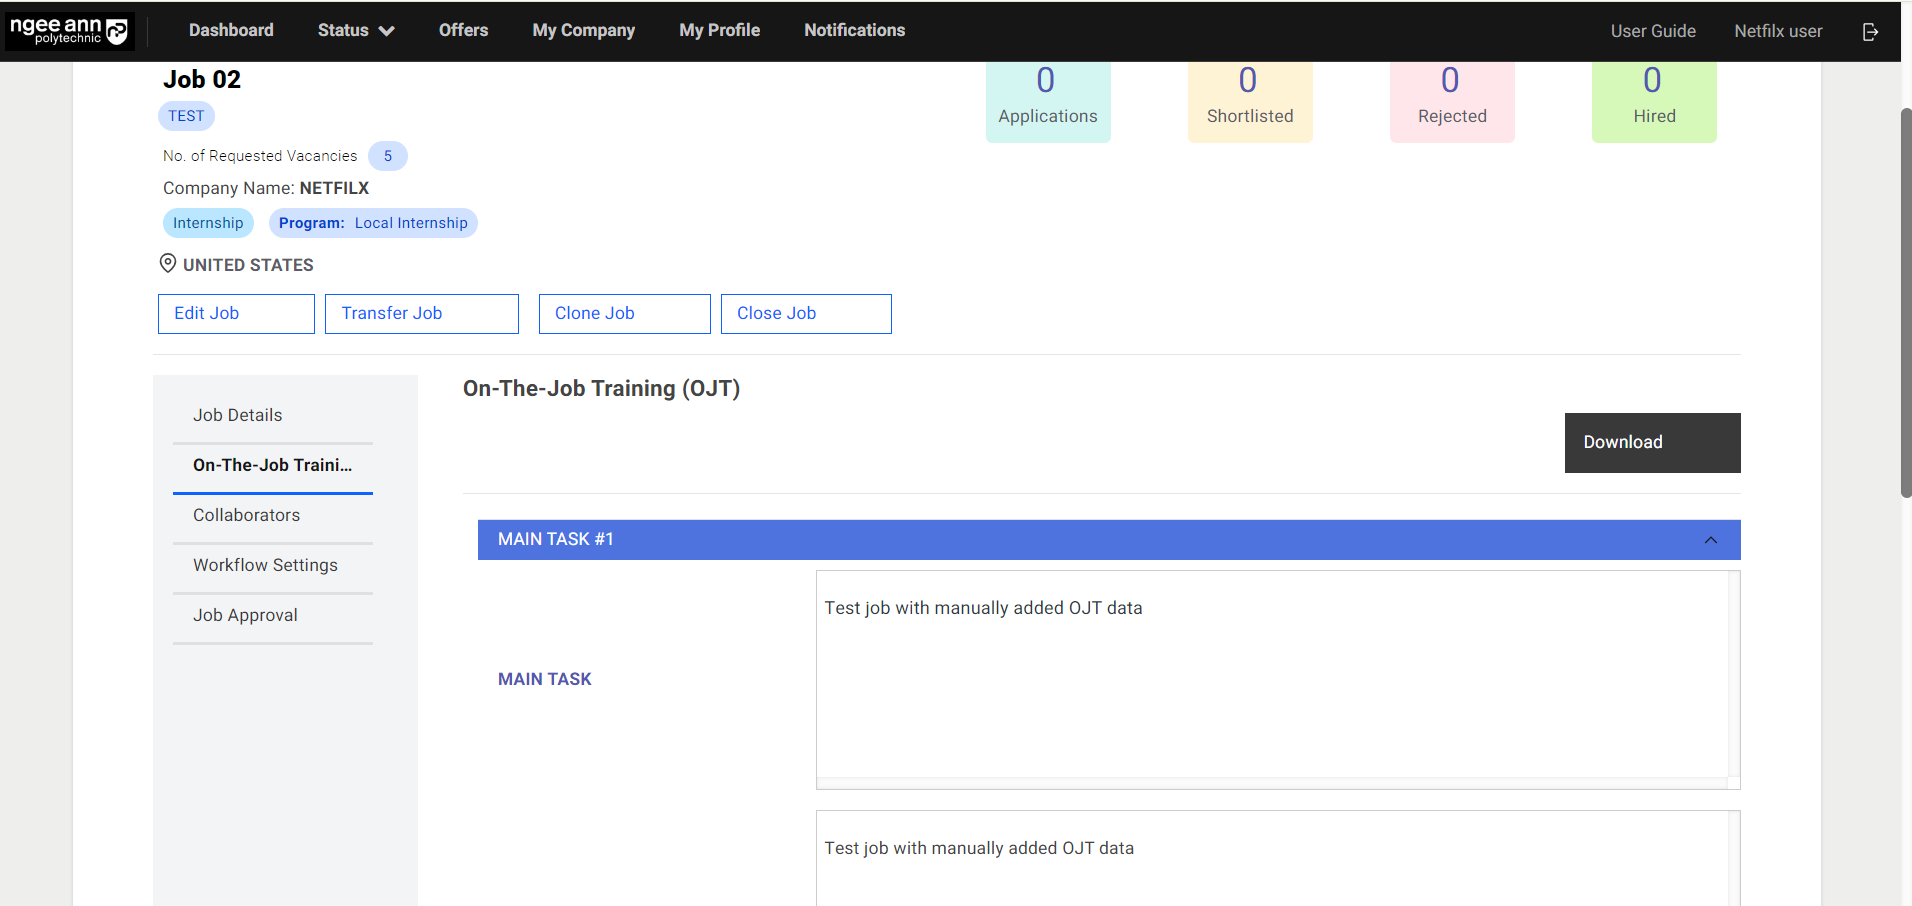
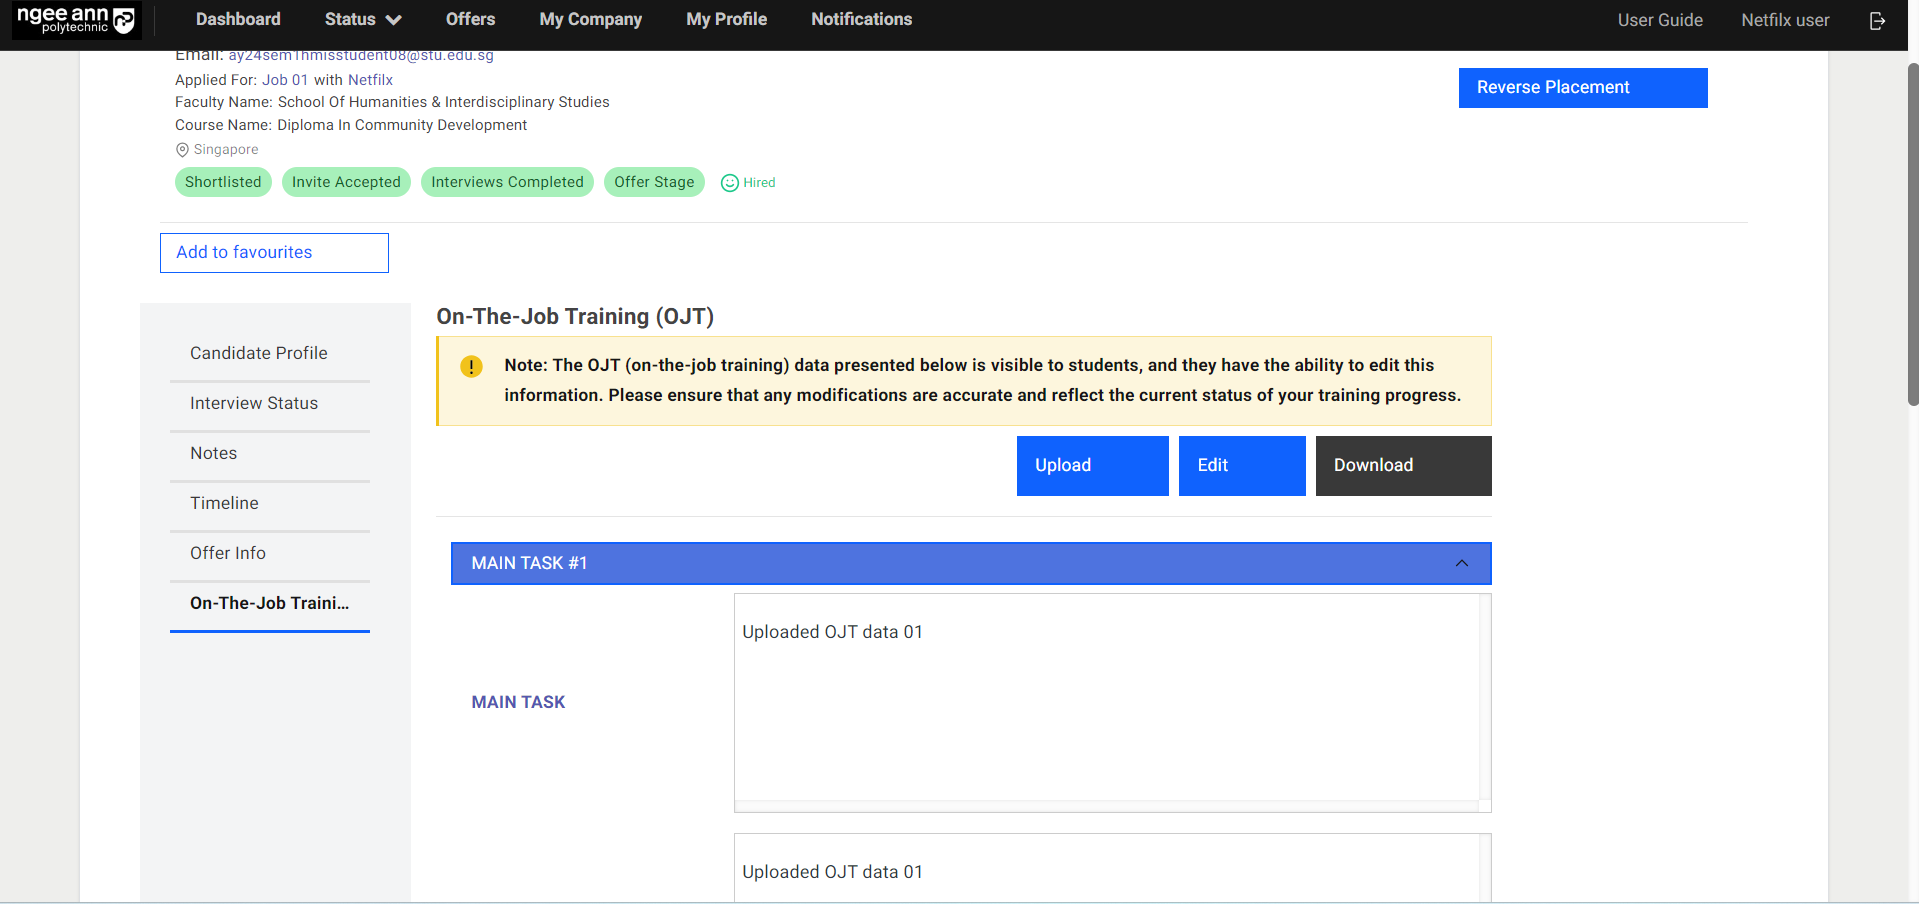
View OJT Details (Job Level)
Step 1:
- To view OJT details, click on the “On-The-Job-Training” button.
- Expand the main task to view the details.
Step 2:
- To export OJT details, click on the “Download” button.
- Open the downloaded file to view the OJT details.
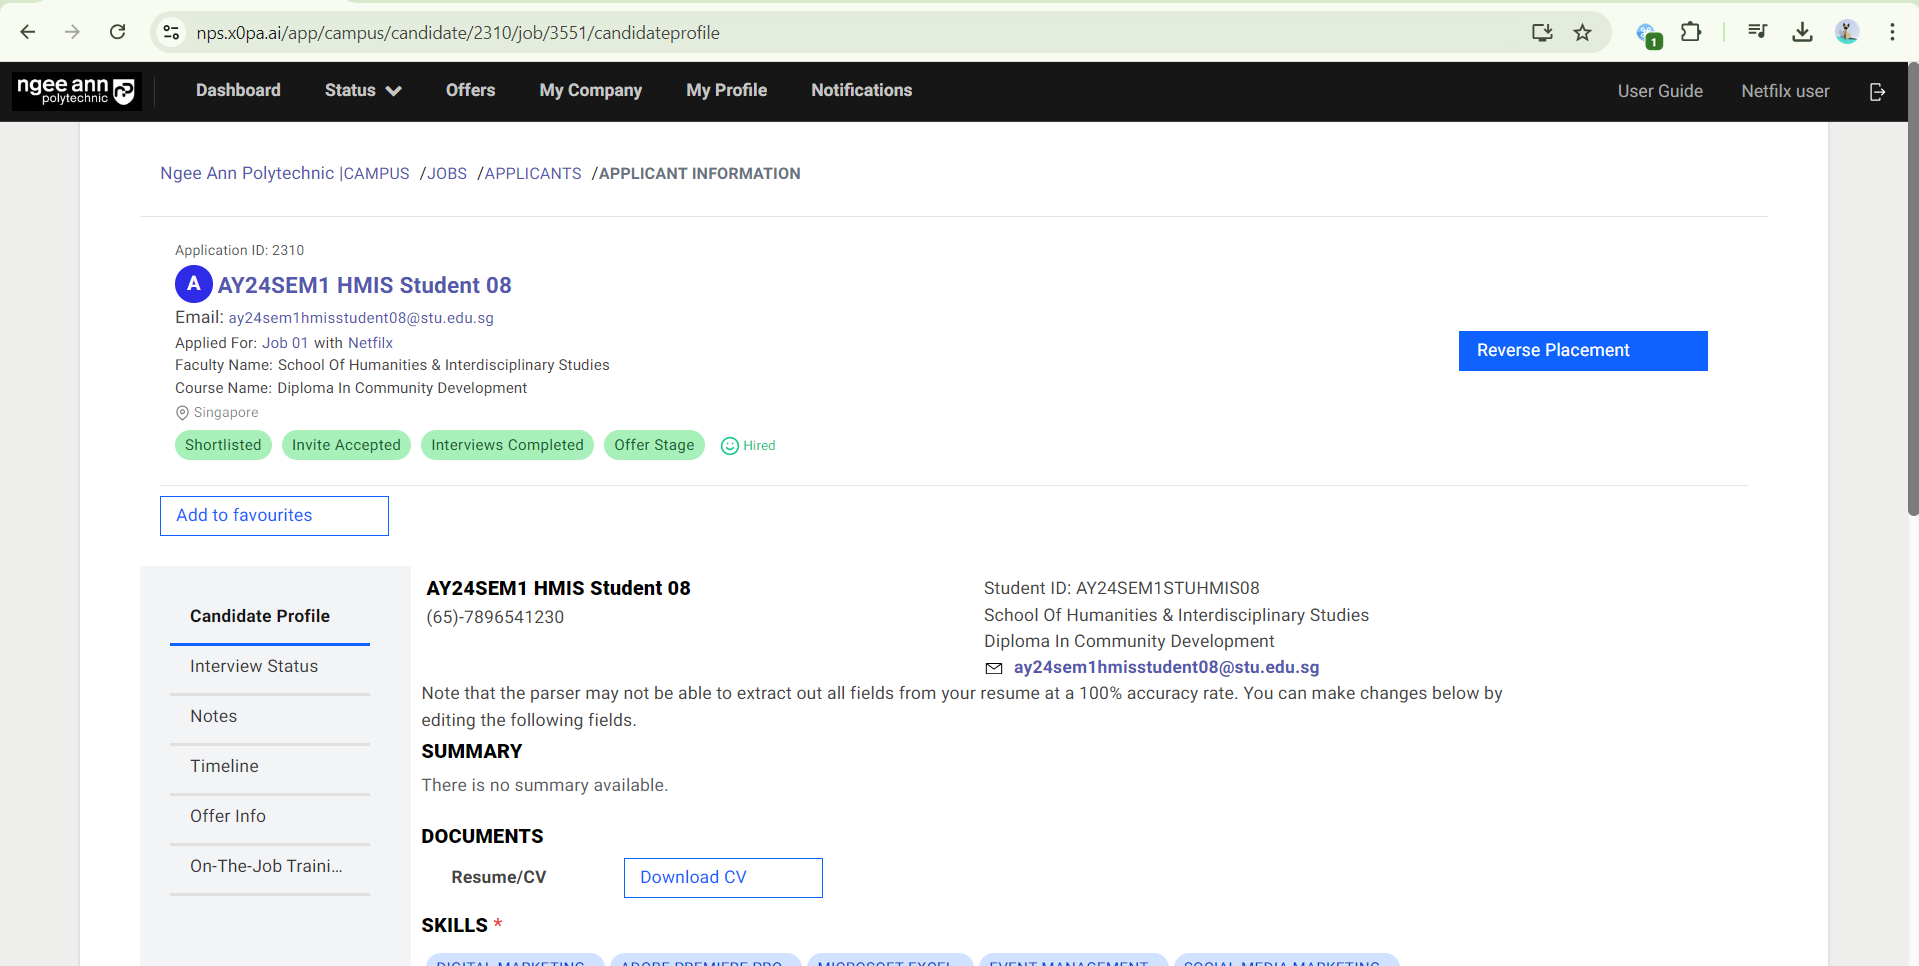
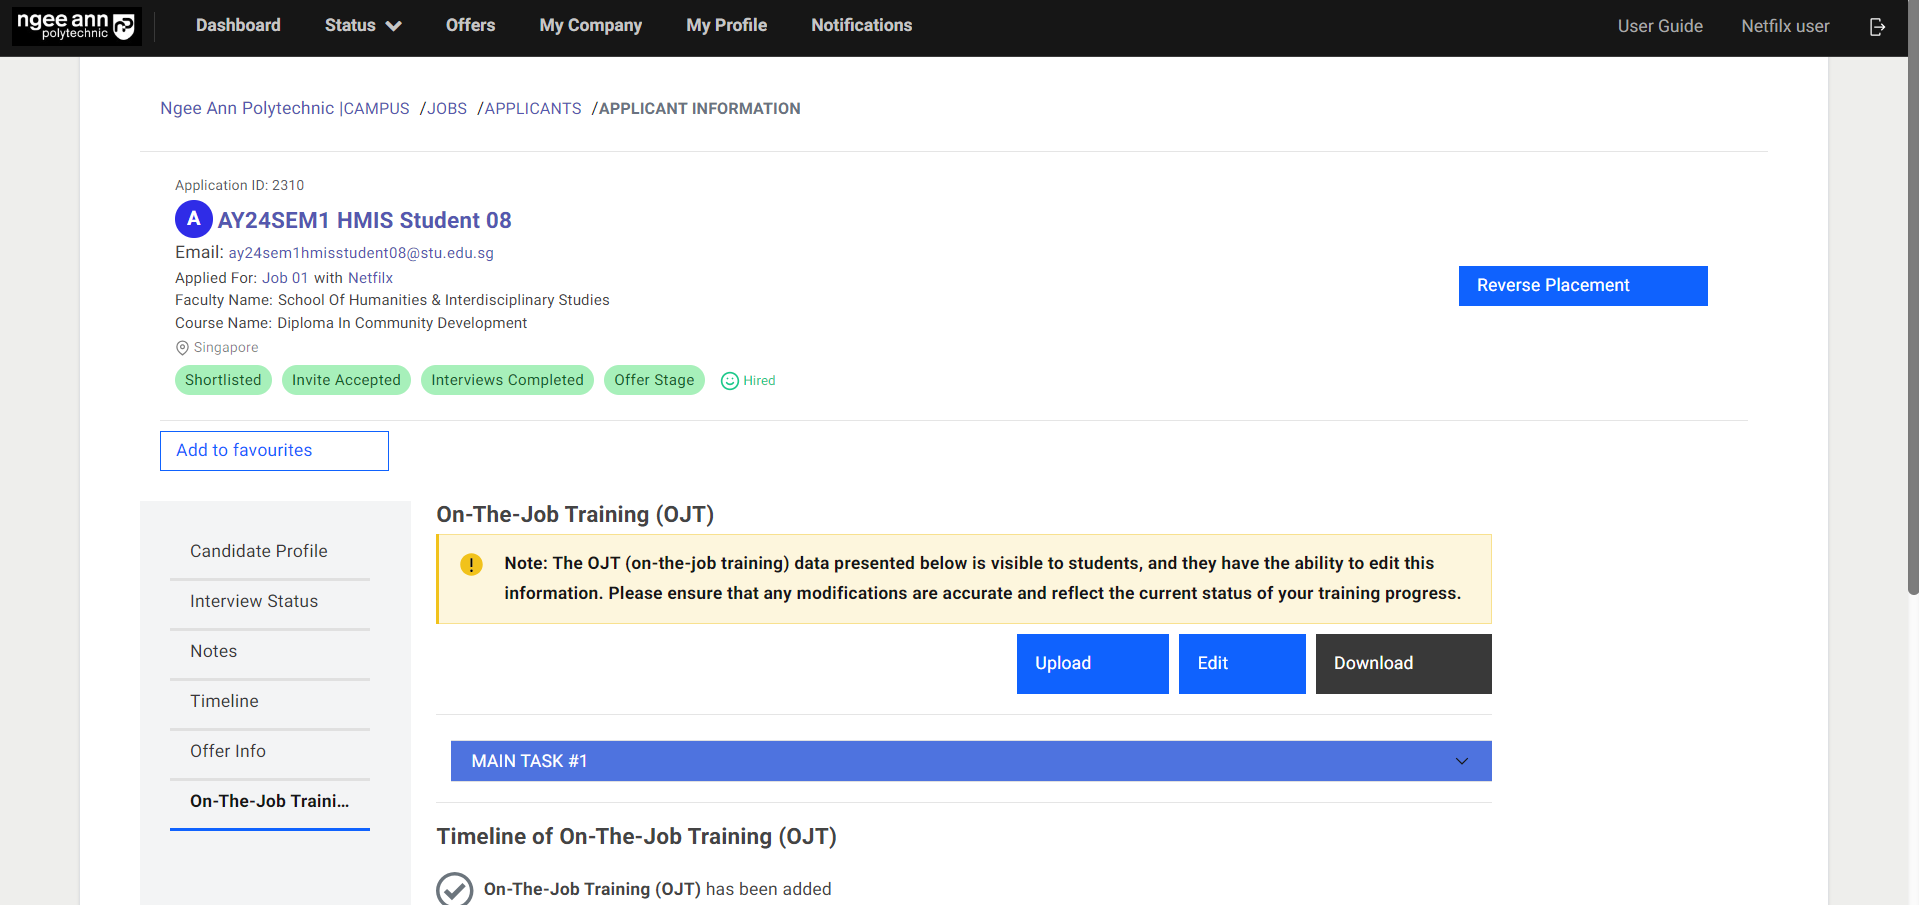
View OJT Details (Student Level)
OJT Before Student/Applicant Hired
Note: OJT (On-the-Job Training) data will be visible once students have been hired for the job
Step 1:
- In the OJT Job, click on the number of “Applications/Shortlisted/Rejected”.
- Click on the Student Name.
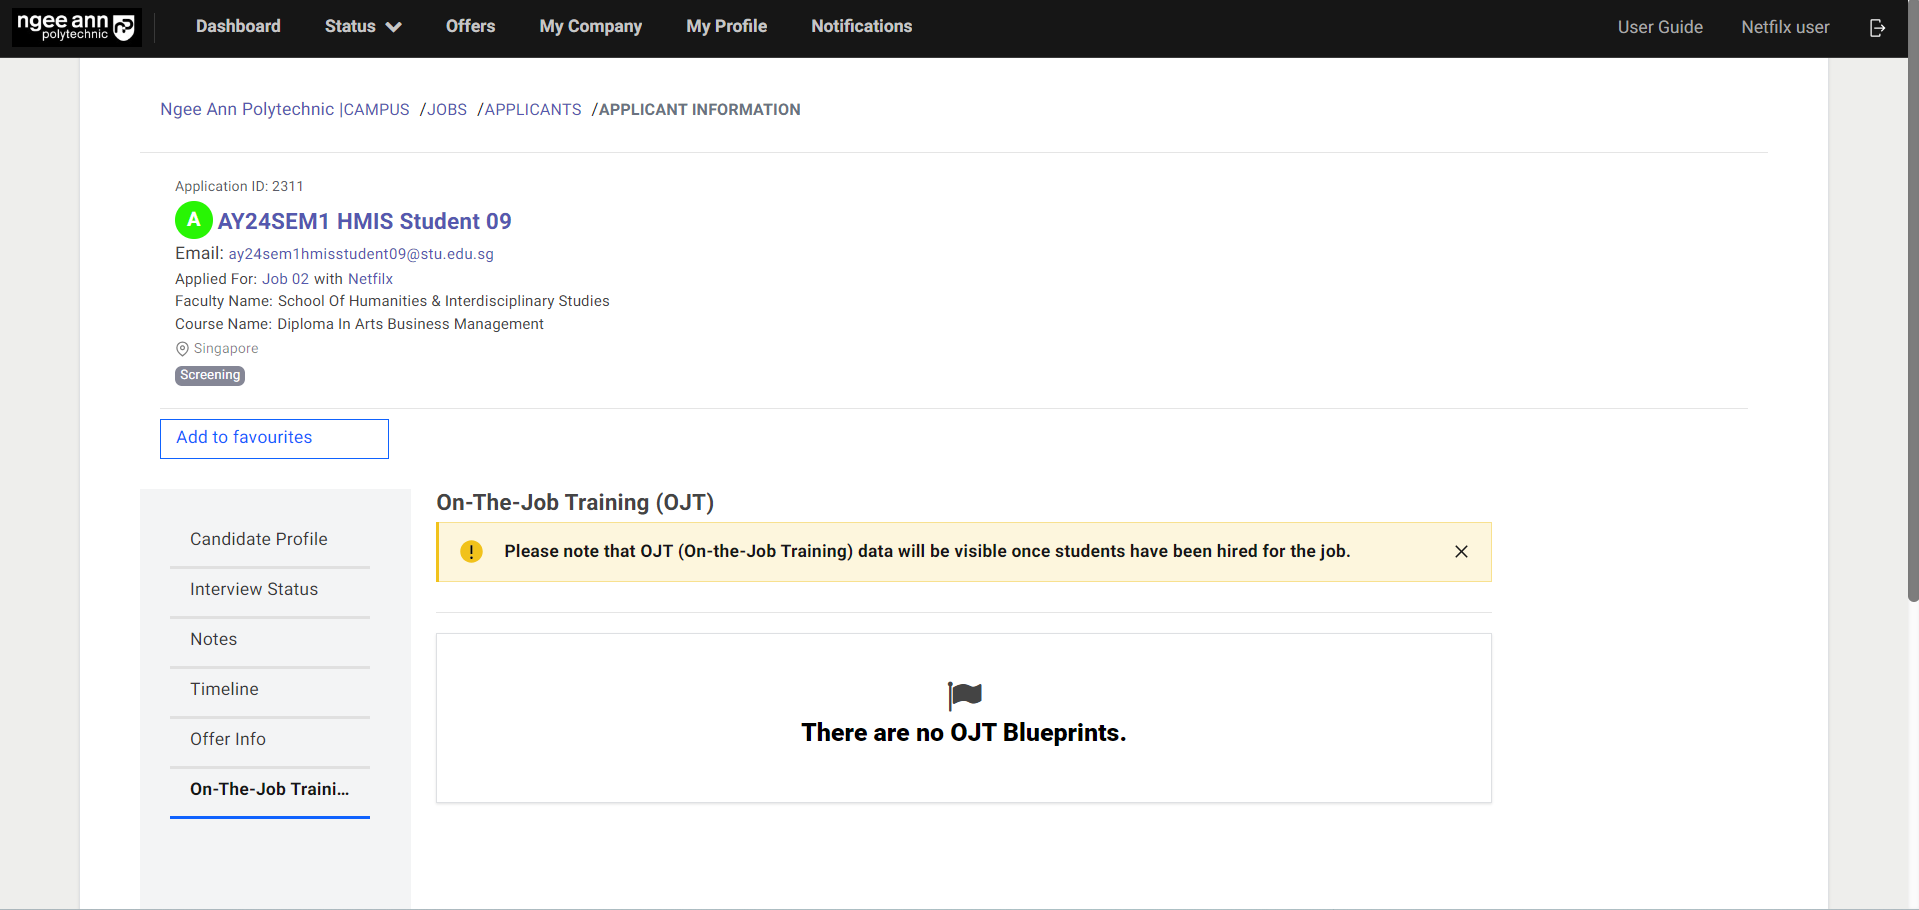
Step 2:
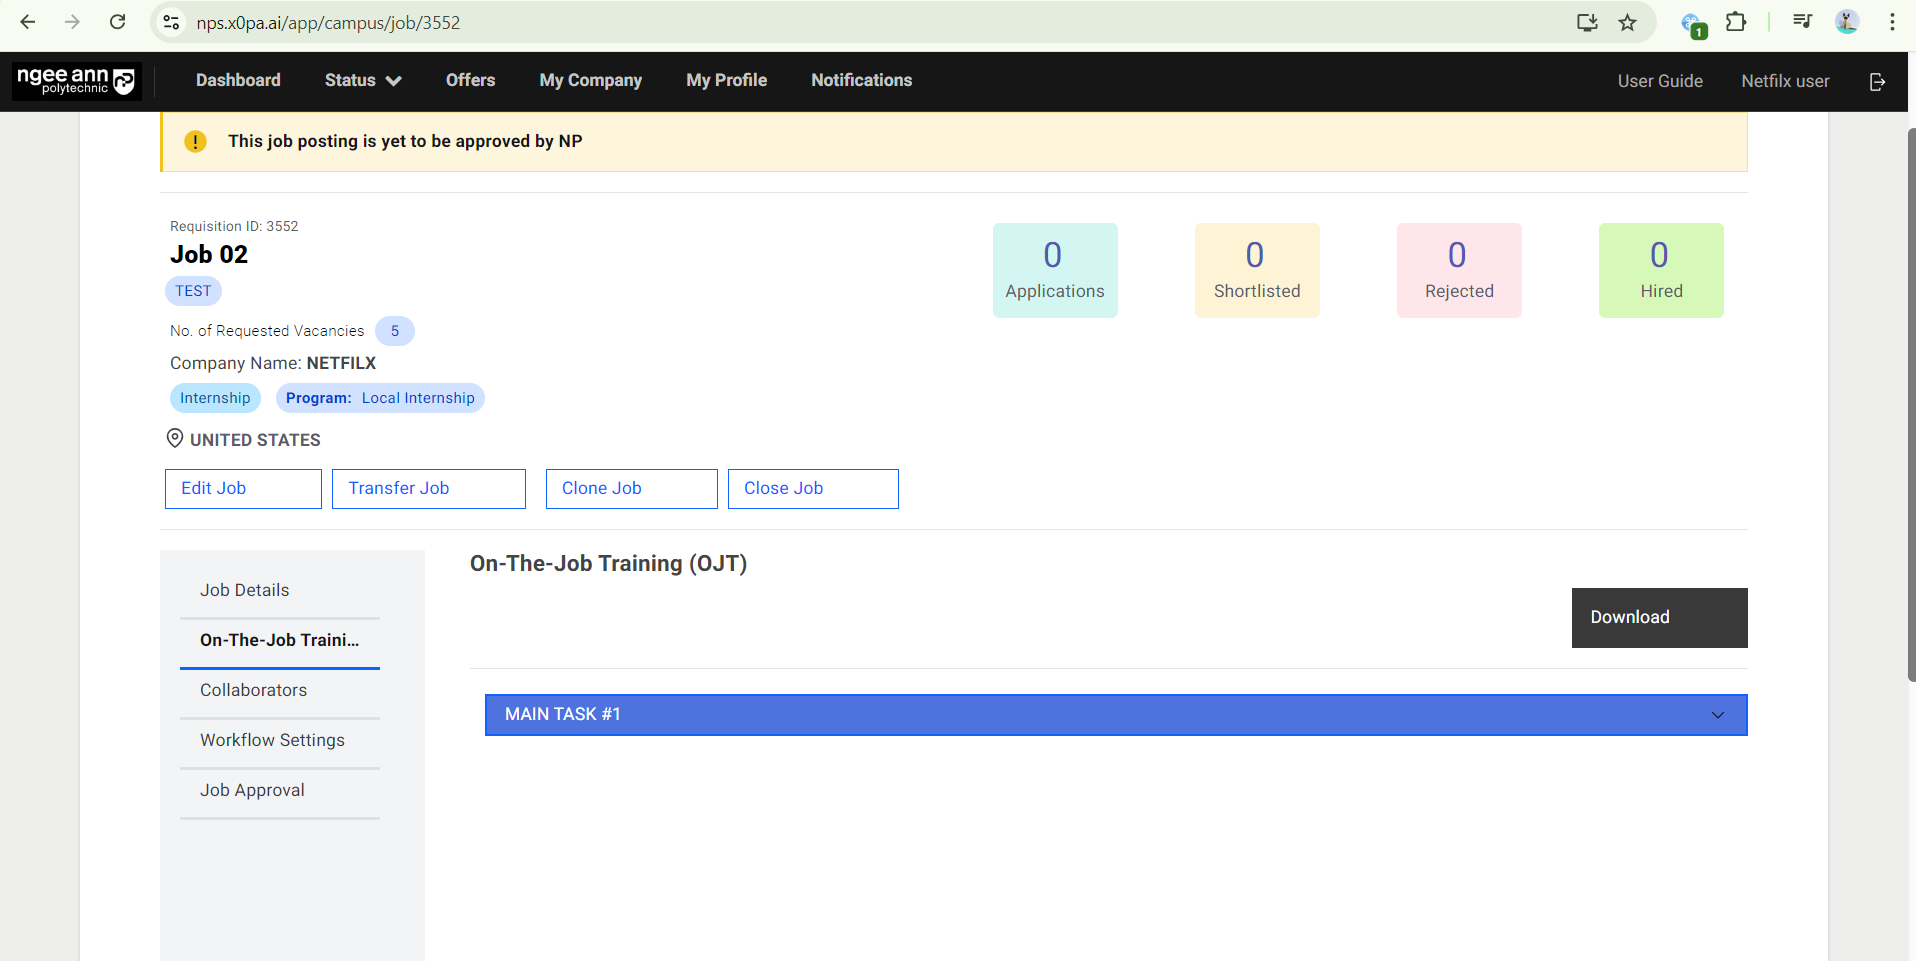
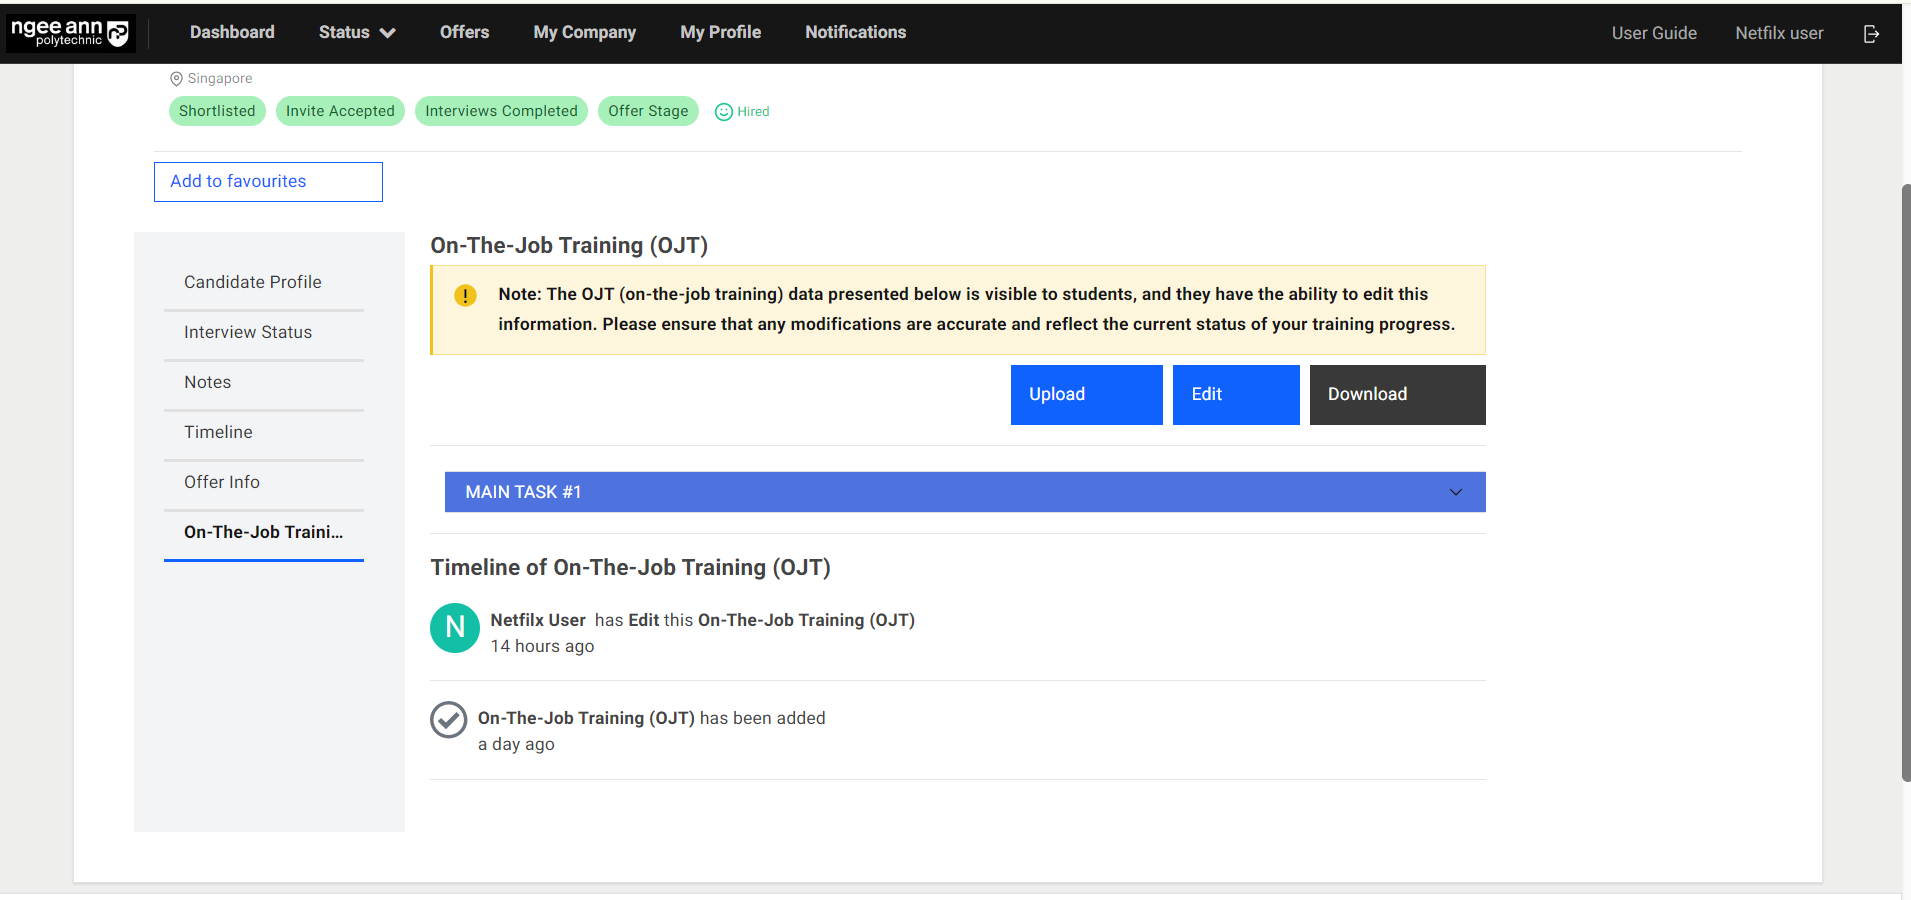
- Click on the “On-The-Job Training (OJT)” section tab.
- You will see the “Please note that OJT (On-the-Job Training) data will be visible once students have been hired for the job.” message banner under “On-The-Job Training (OJT)”
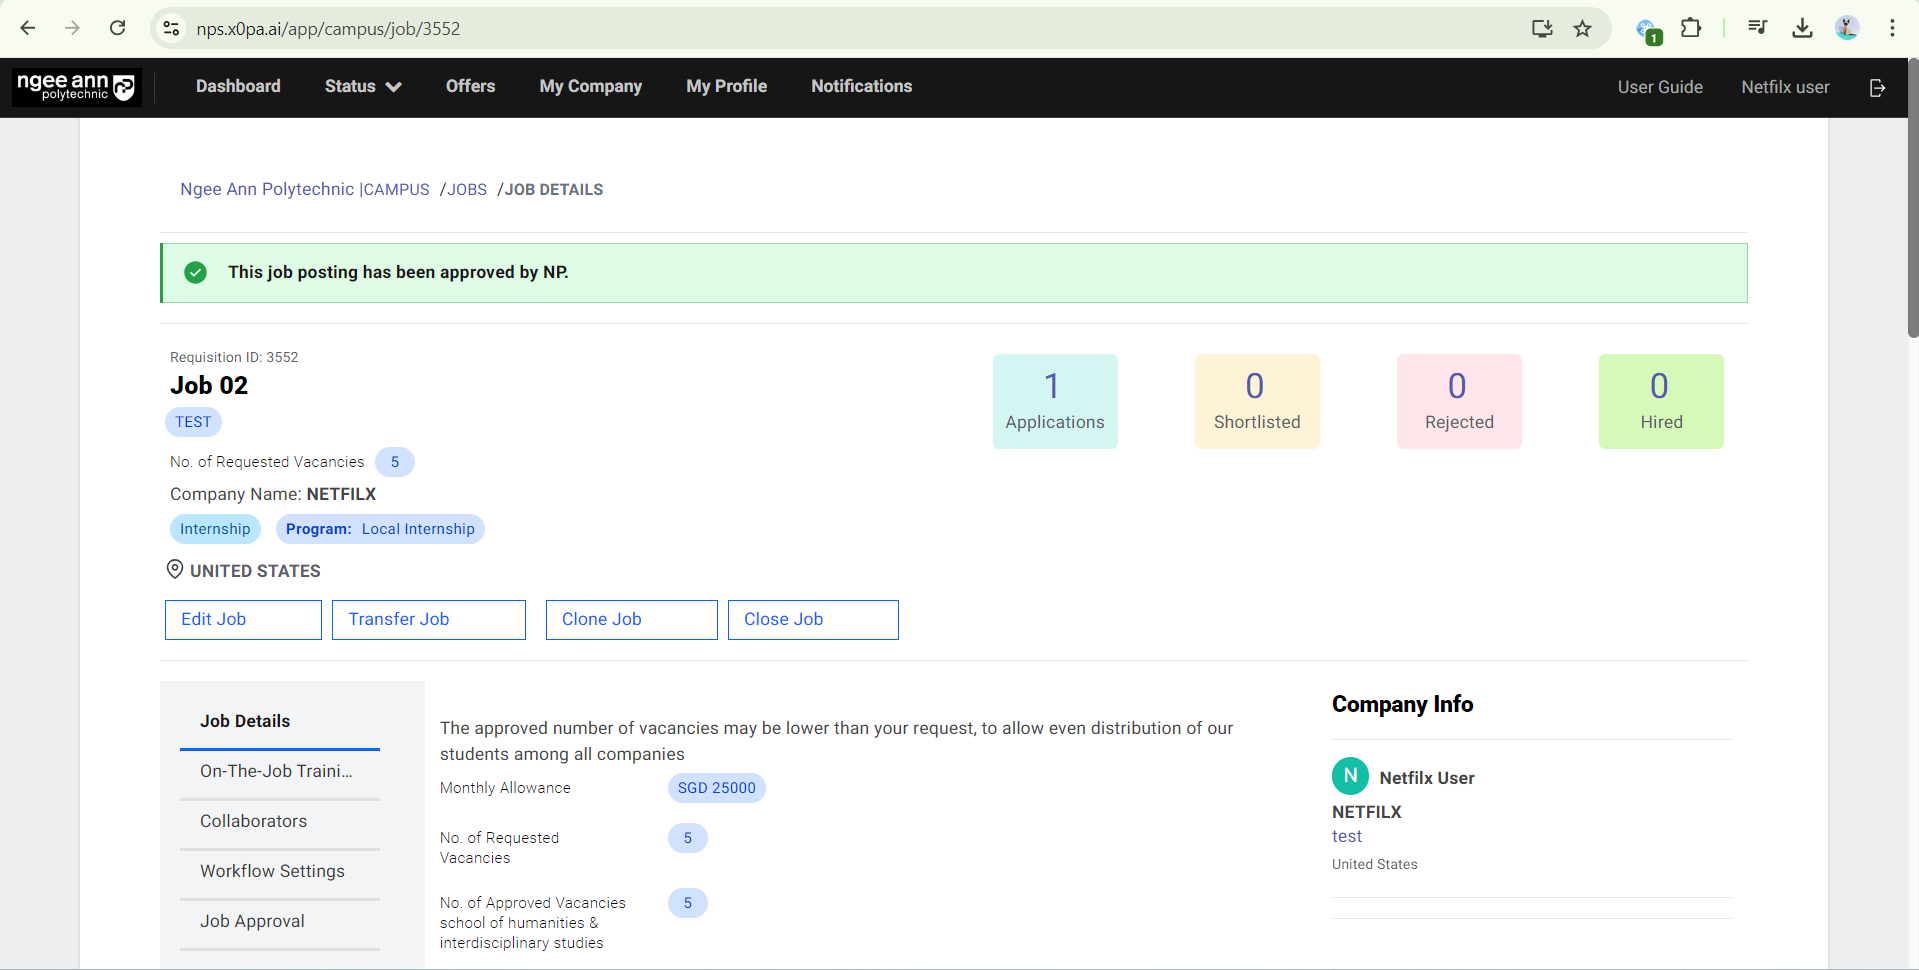
OJT Data Once Student Hired for the Jobs
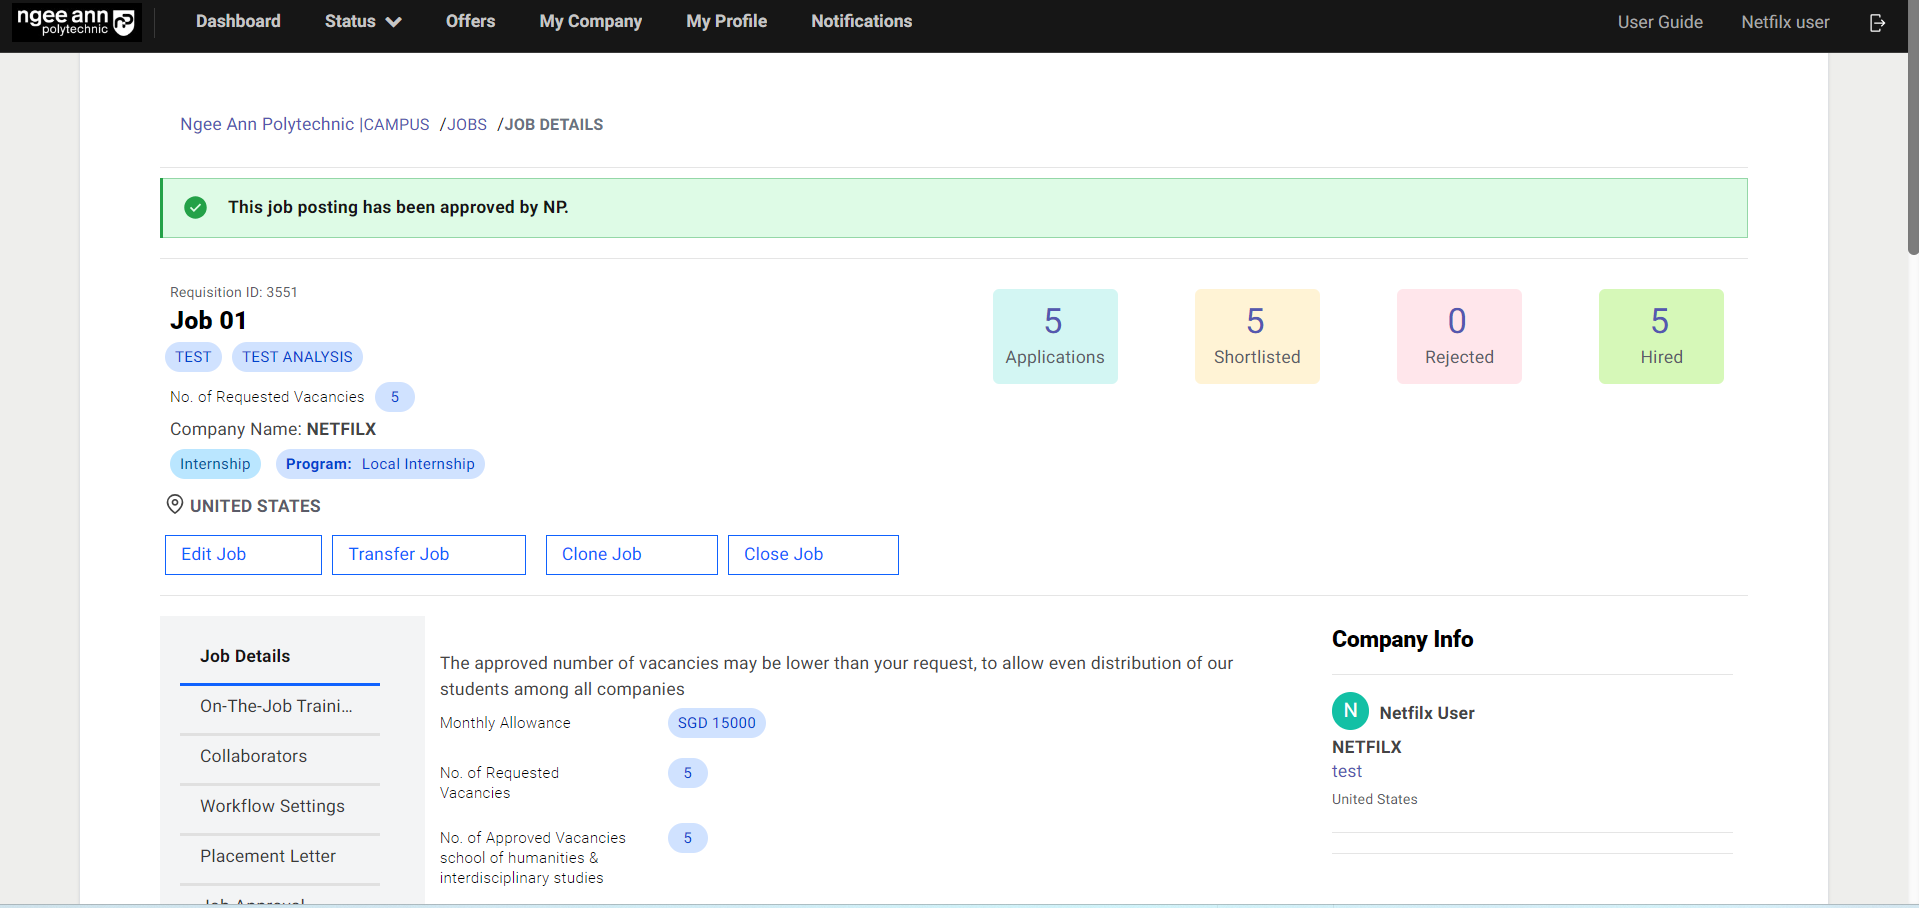
Step 1:
- In the OJT Job, click on the number of “Hired”.
- Click on the Student Name.

Step 2:
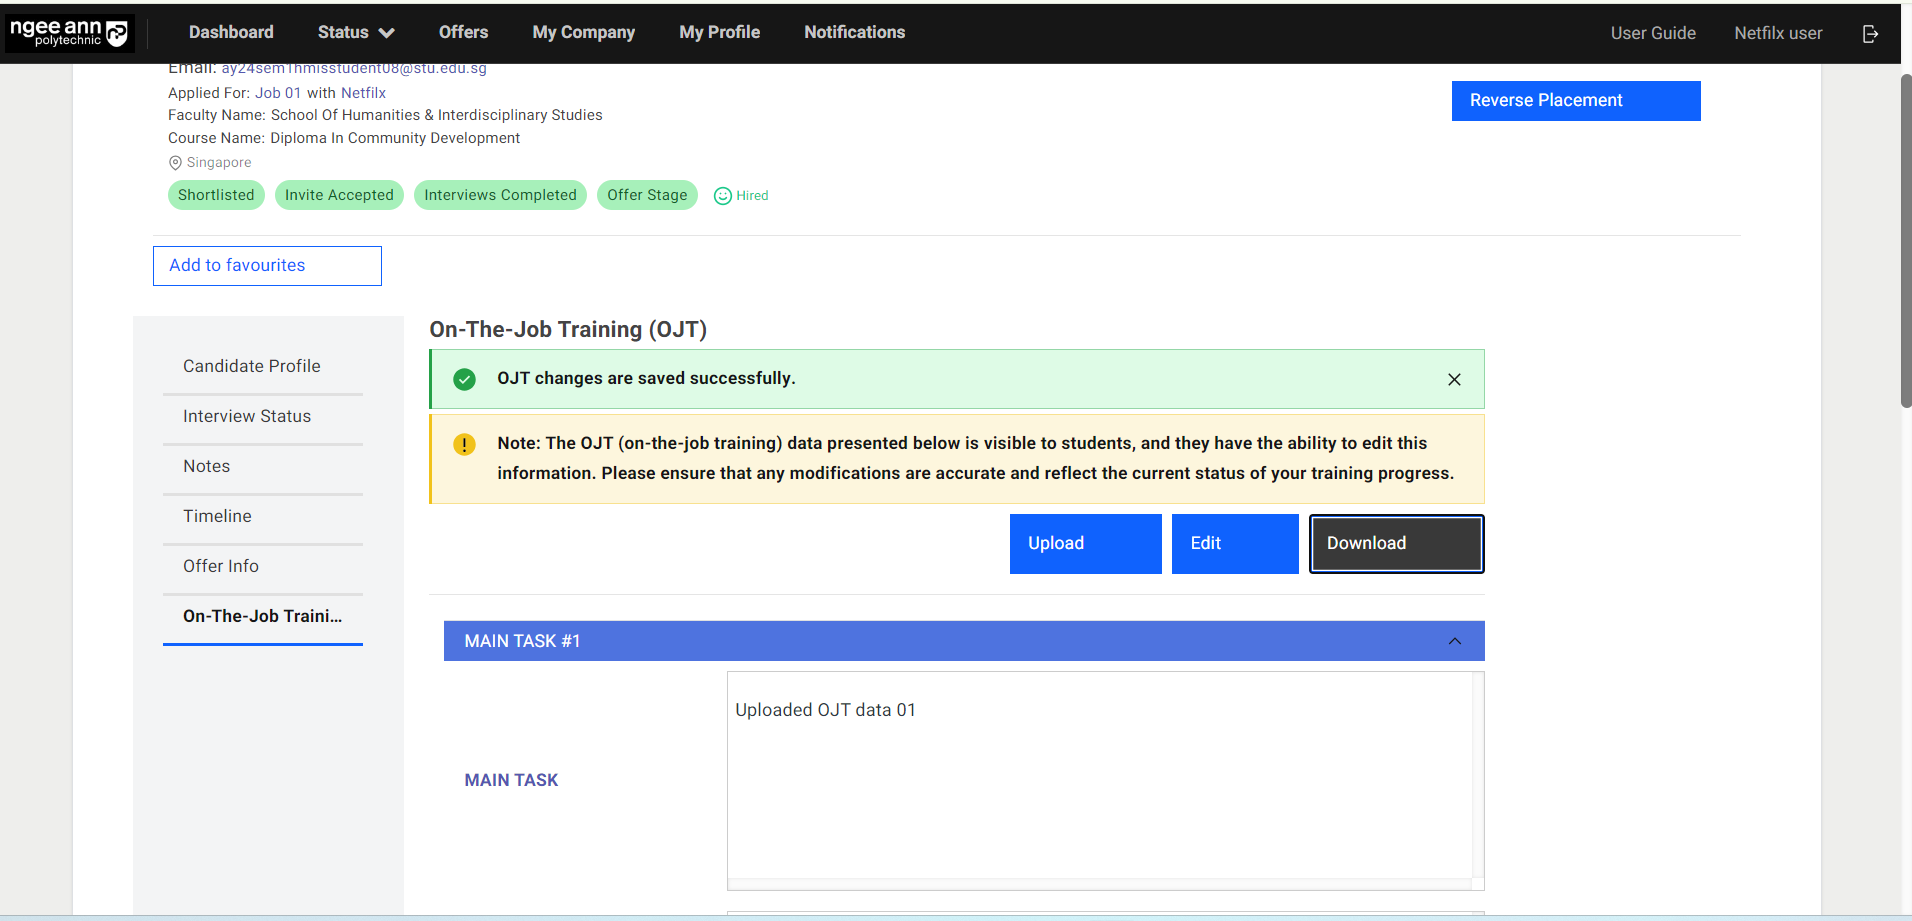
- Click “On-The-Job Training (OJT)” to edit OJT Details.
- You will see OJT details under the “On-The-Job Training (OJT)” section

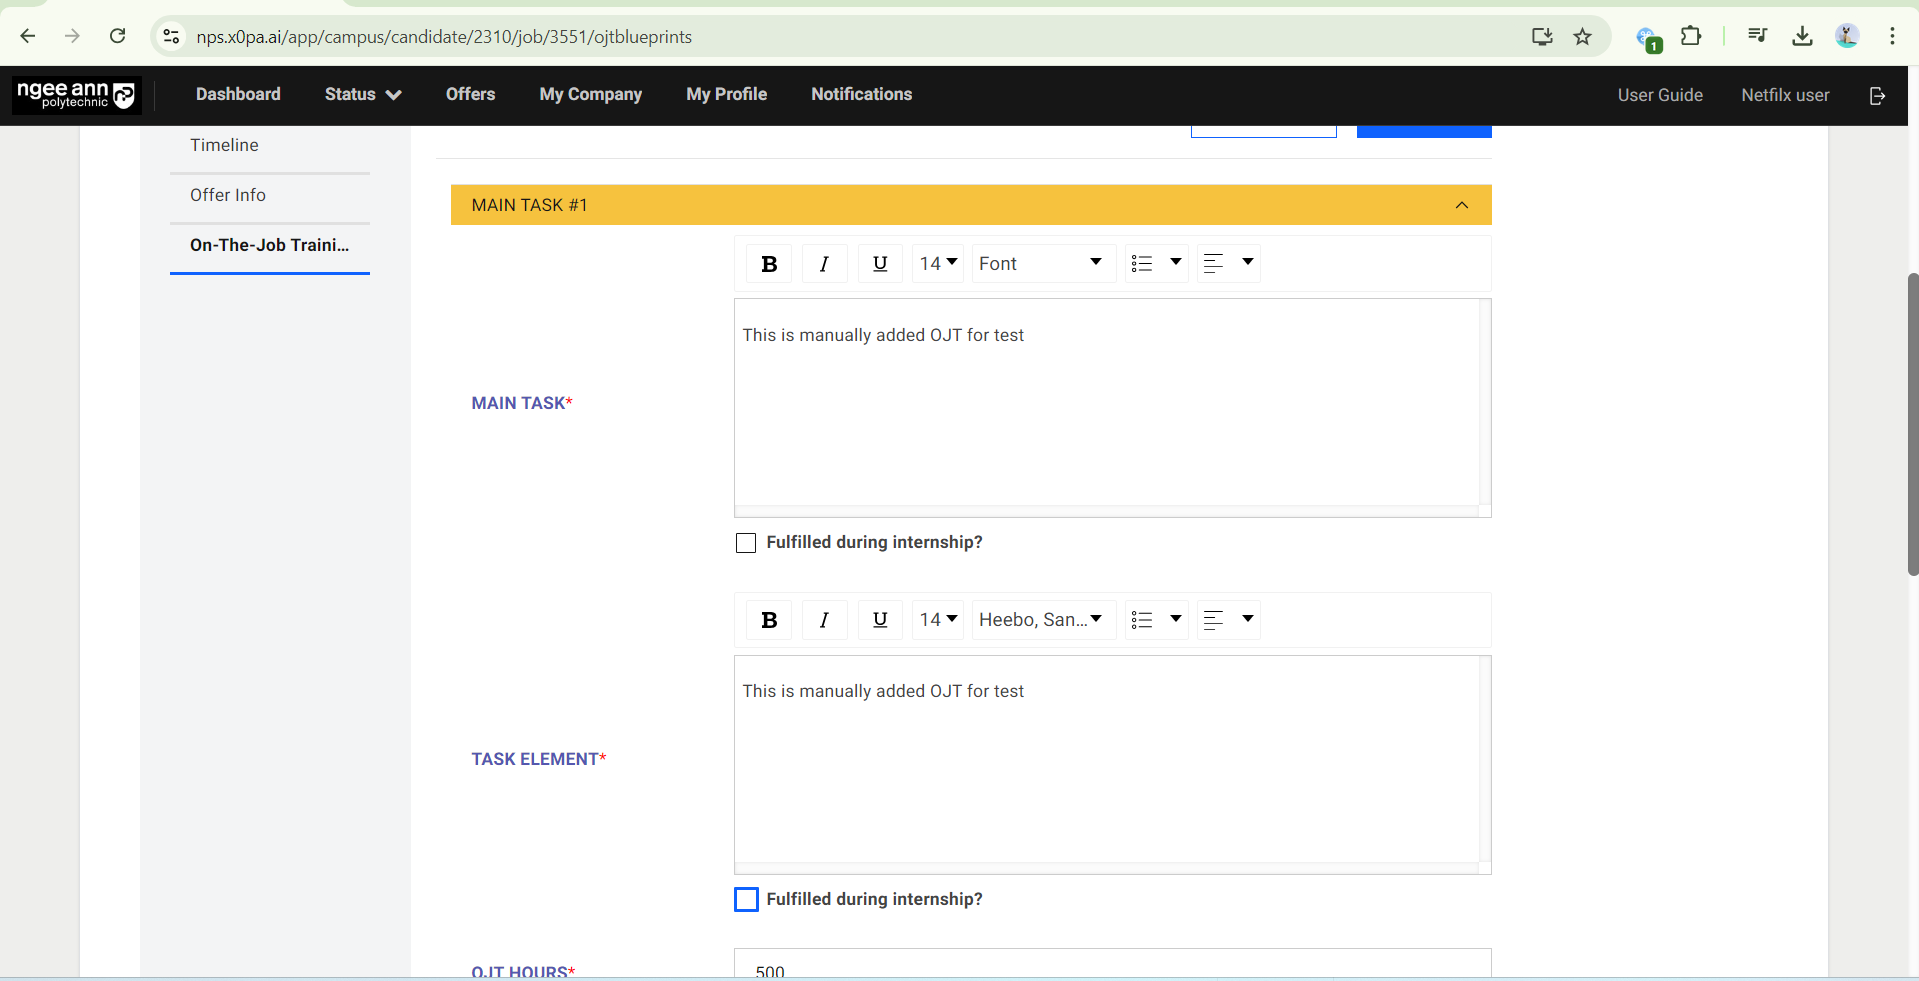
Edit OJT Details (Student Level)
Step 1:
- Click on the “Edit” button
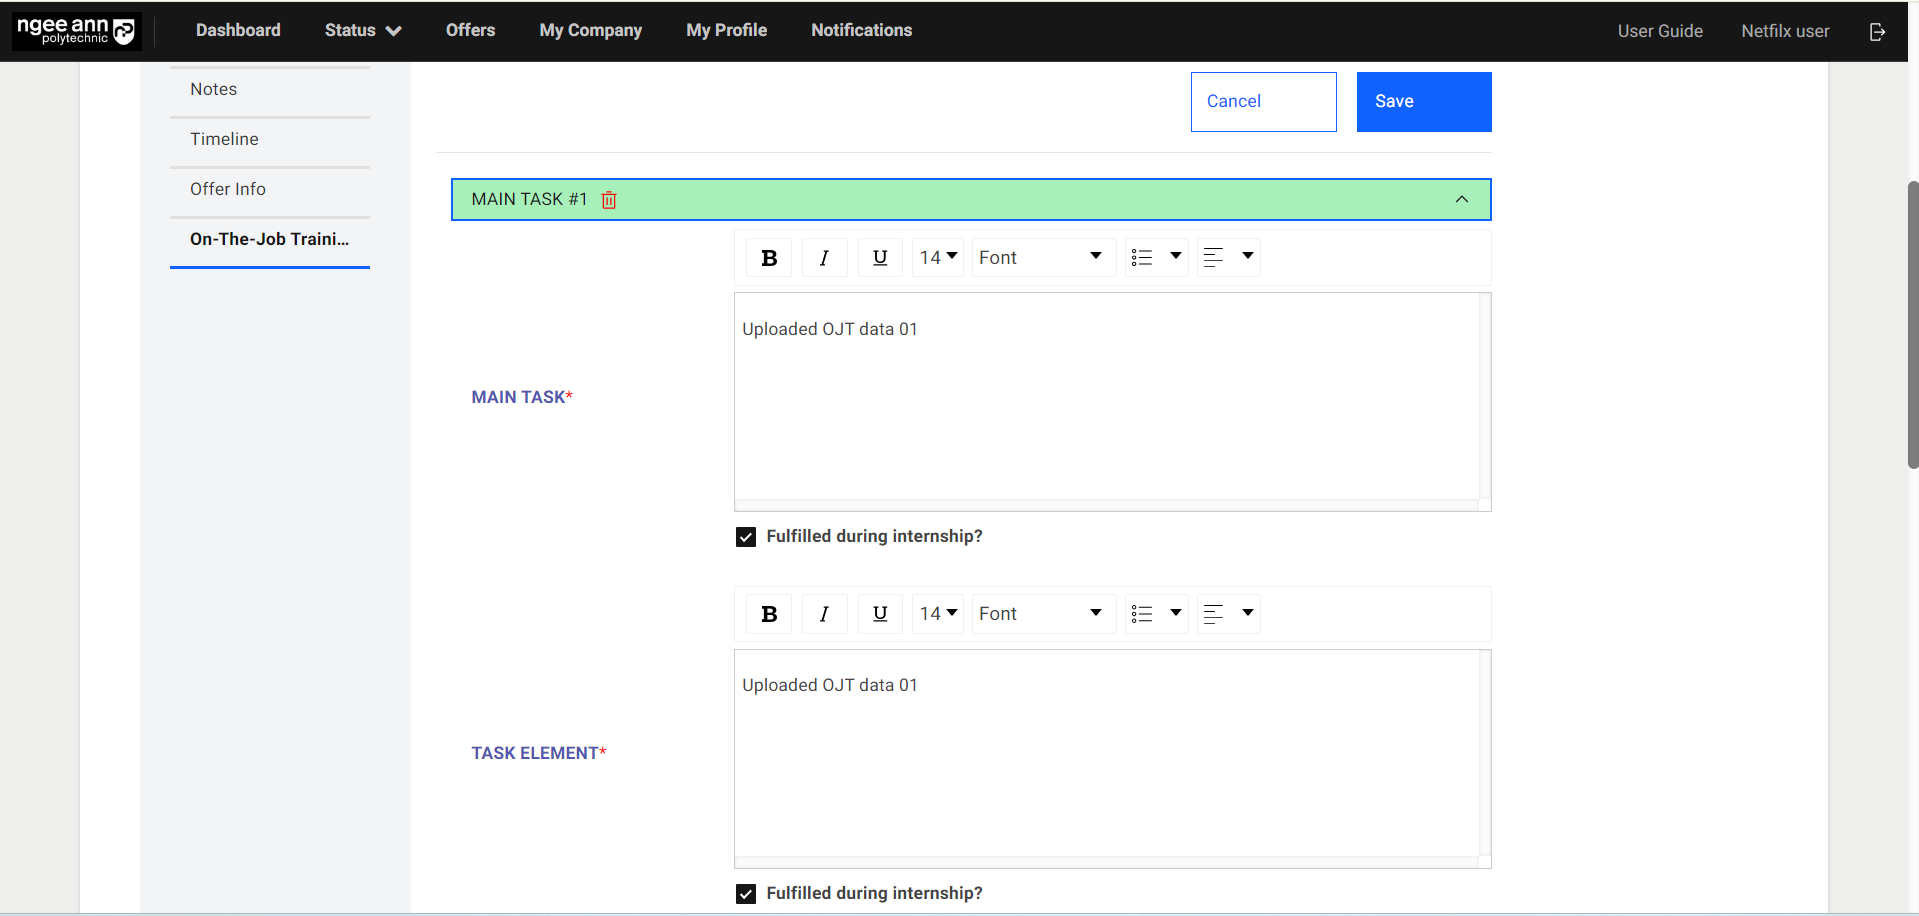
- Edit the Job/OJT Details from the fields
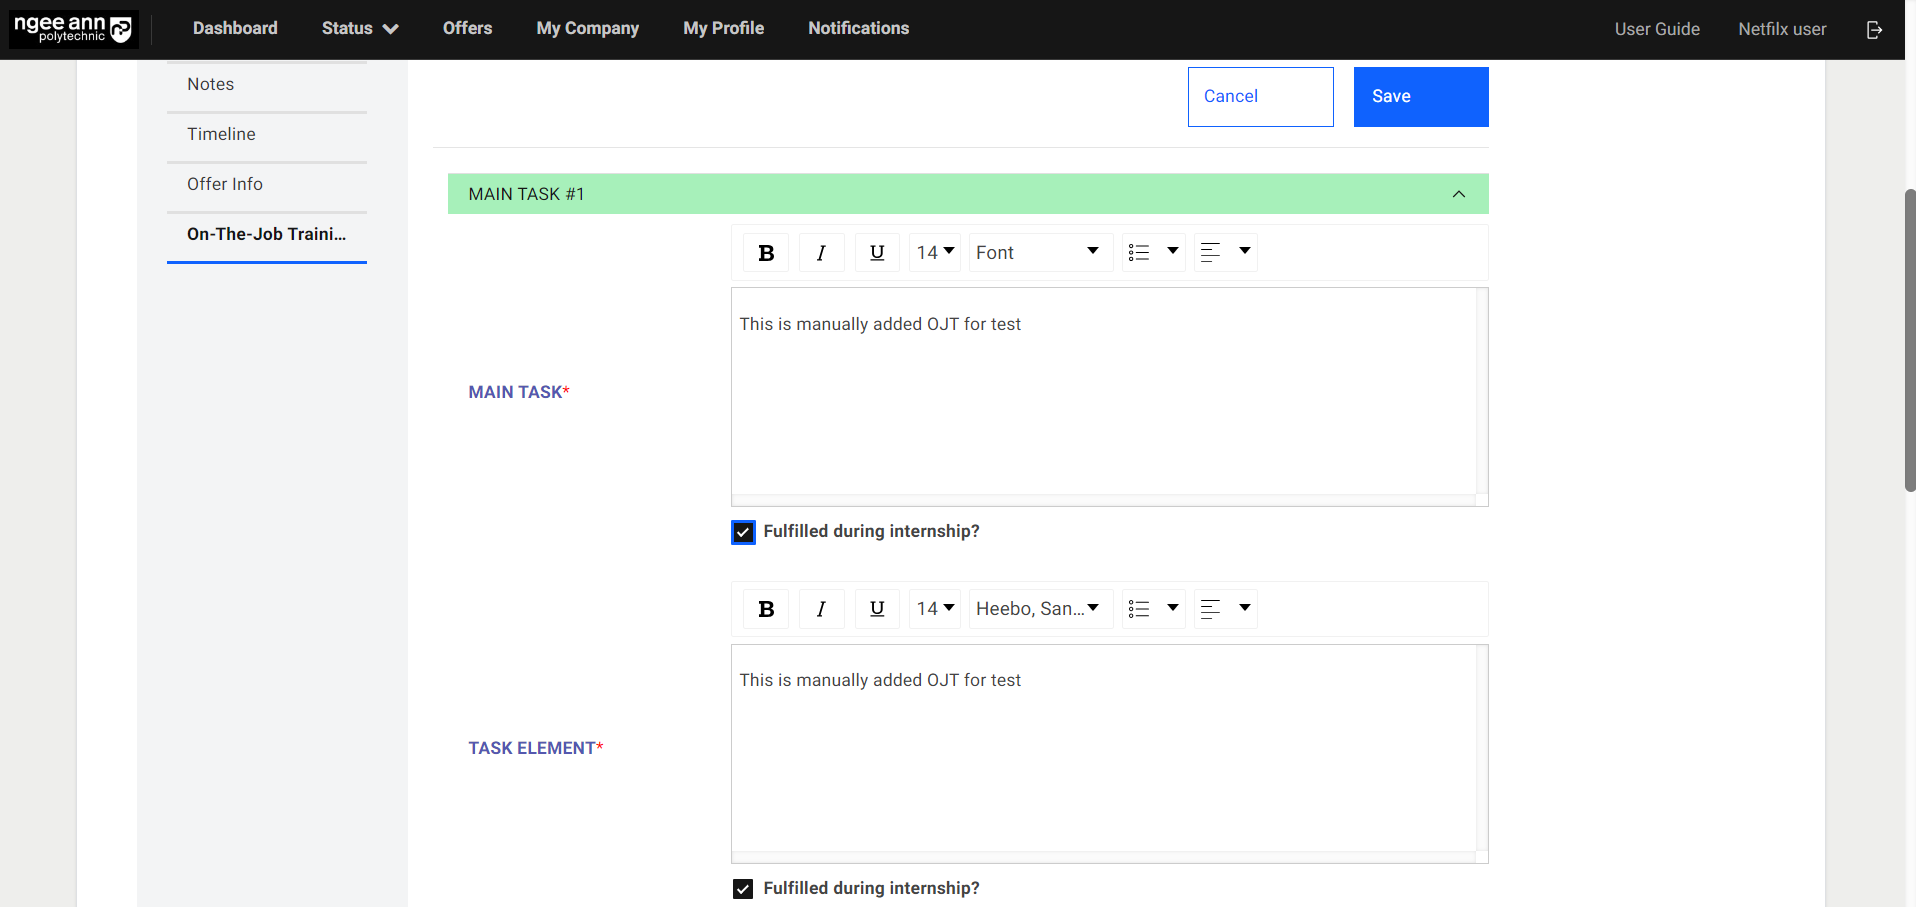
- Check “Fulfilled during the internship?” if the student has fulfilled the main task(s) during the internship.
- If both "Main Task” and “Task Element" OJT fields’ "Fulfilled during the internship?" checkboxes are checked, the respective "Main Task X Number" accordion will change to green color.
Note: The student cannot check this checkbox.

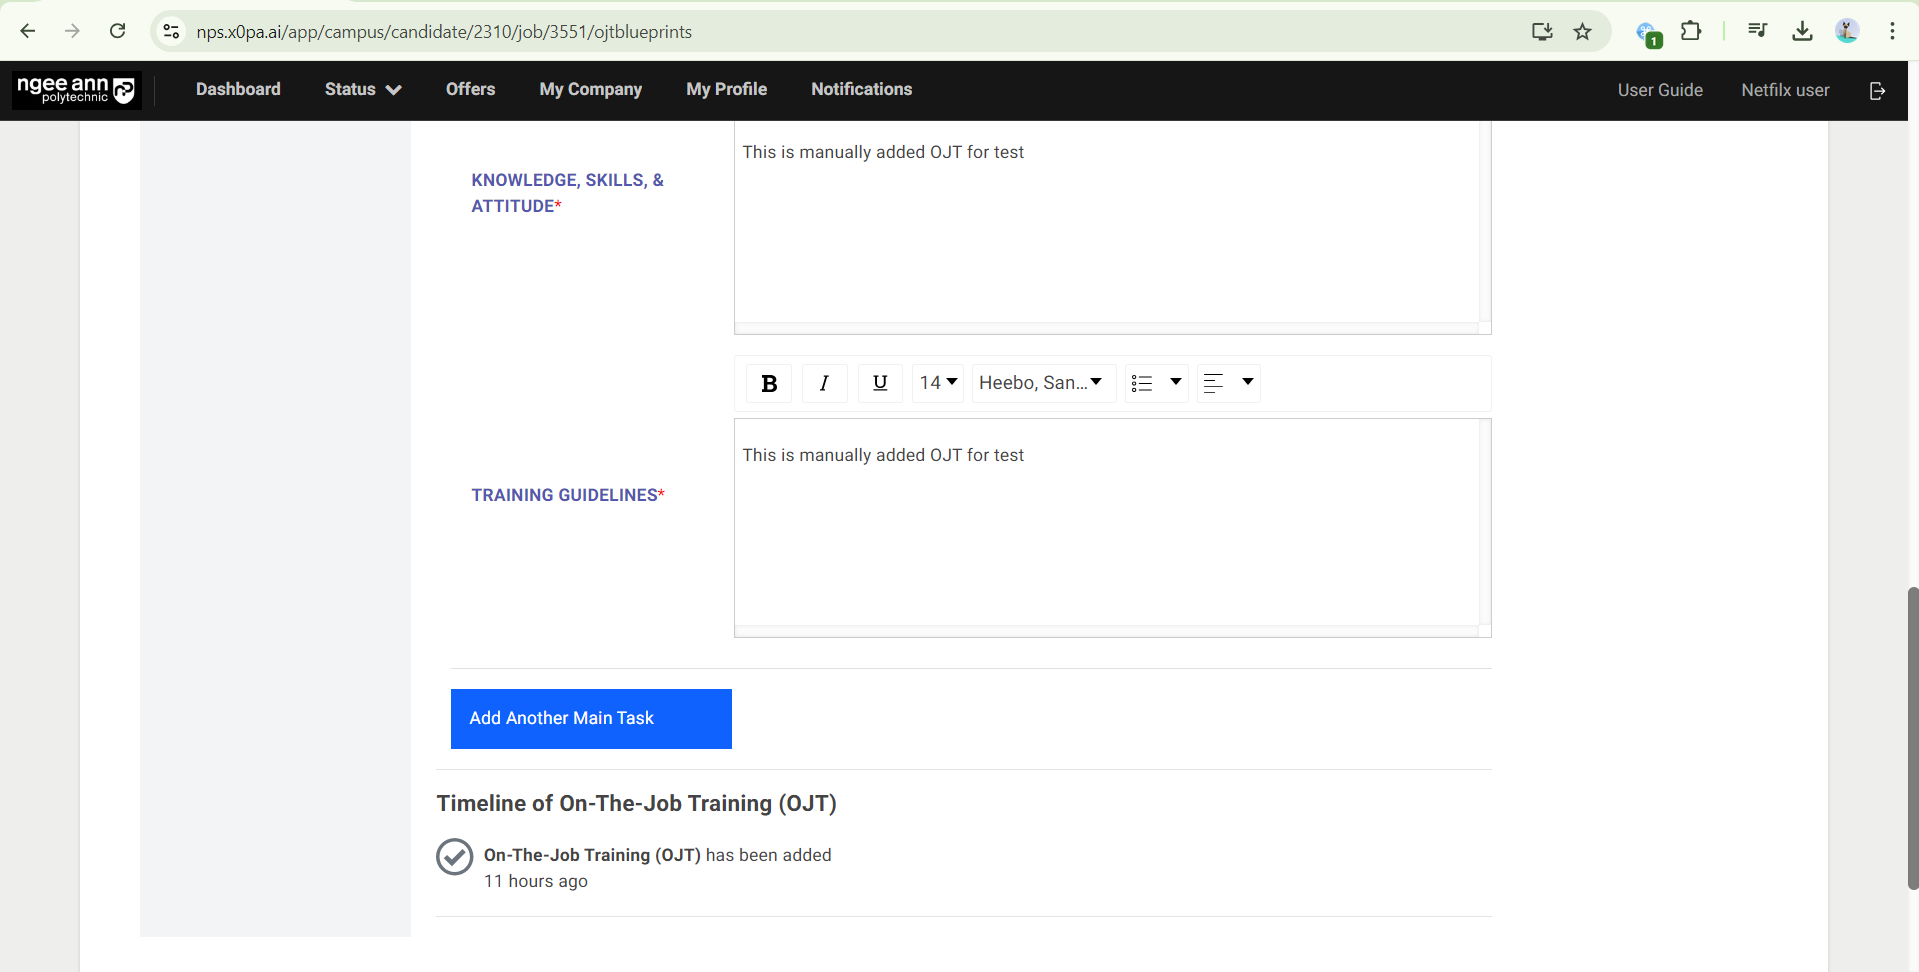
Step 2:
- If additional main task needs to be added, click on the “Add Another Main Task” button. Fill in details of the additional main task.
- The main task can be deleted by clicking on the “Trashcan” icon.
- Once all necessary details are updated, click on the “Save” button to save the details.
- “OJT changes are saved successfully.” message banner will be shown once OJT details are saved.
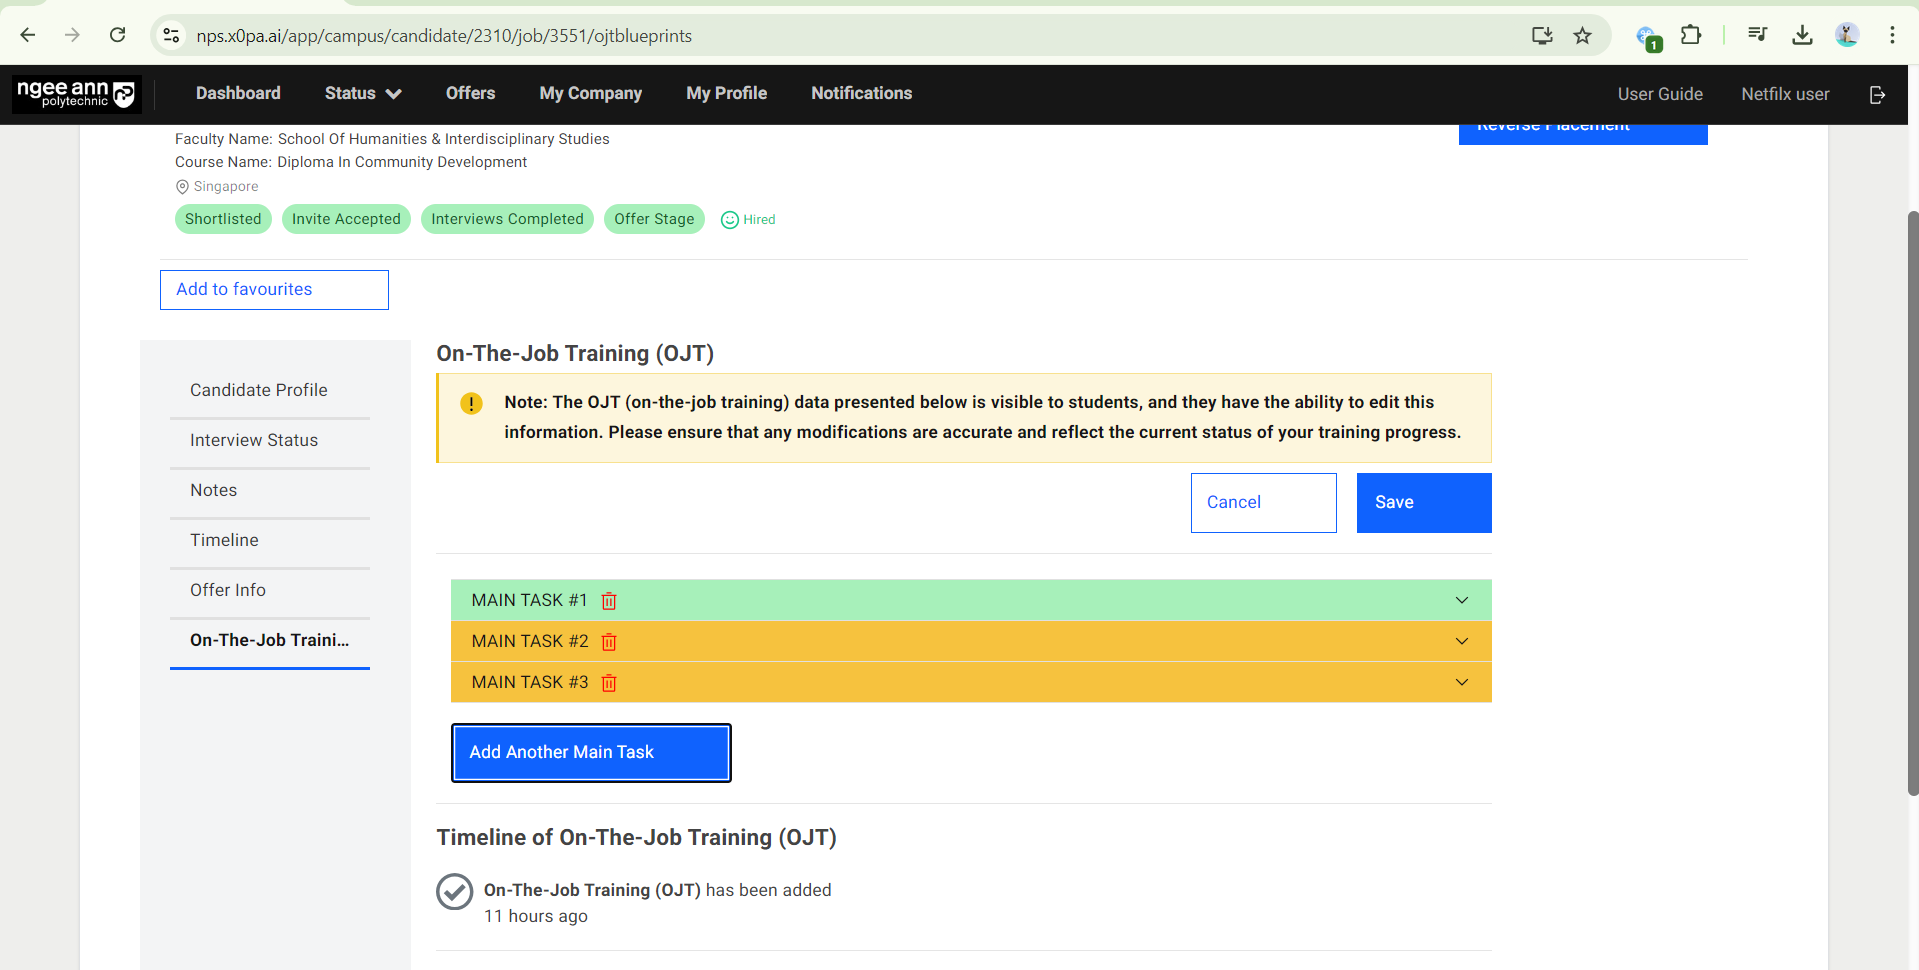

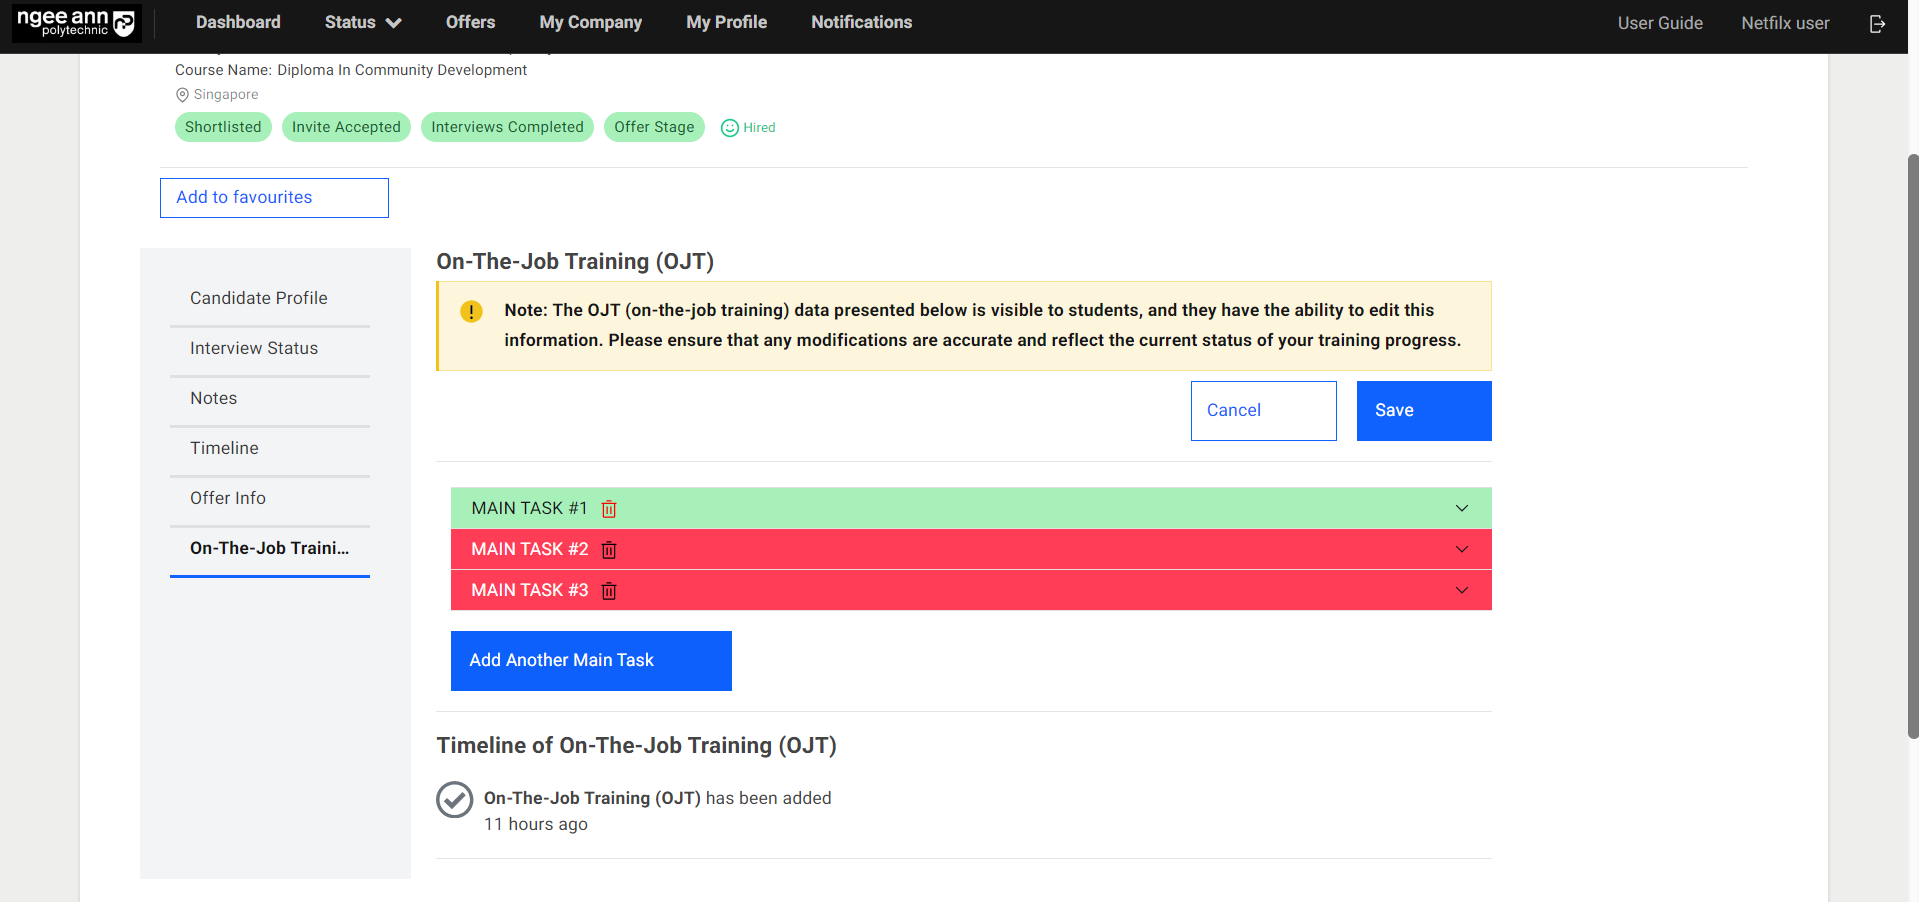
Step 3:
- The “Main Task X number” accordion will change to red colour and a validation error will be shown on the field when any OJT field is filled with an invalid or empty field during submission.
Bulk Upload OJT Details at Student/Application level
Step 1:
- In the OJT Job, click on the number of “Hired��”.
- Click on the Student Name.

Step 2:
- Click “On-The-Job Training (OJT)” to edit OJT Details.
- You will see OJT details under the “On-The-Job Training (OJT)” section

Step 3:
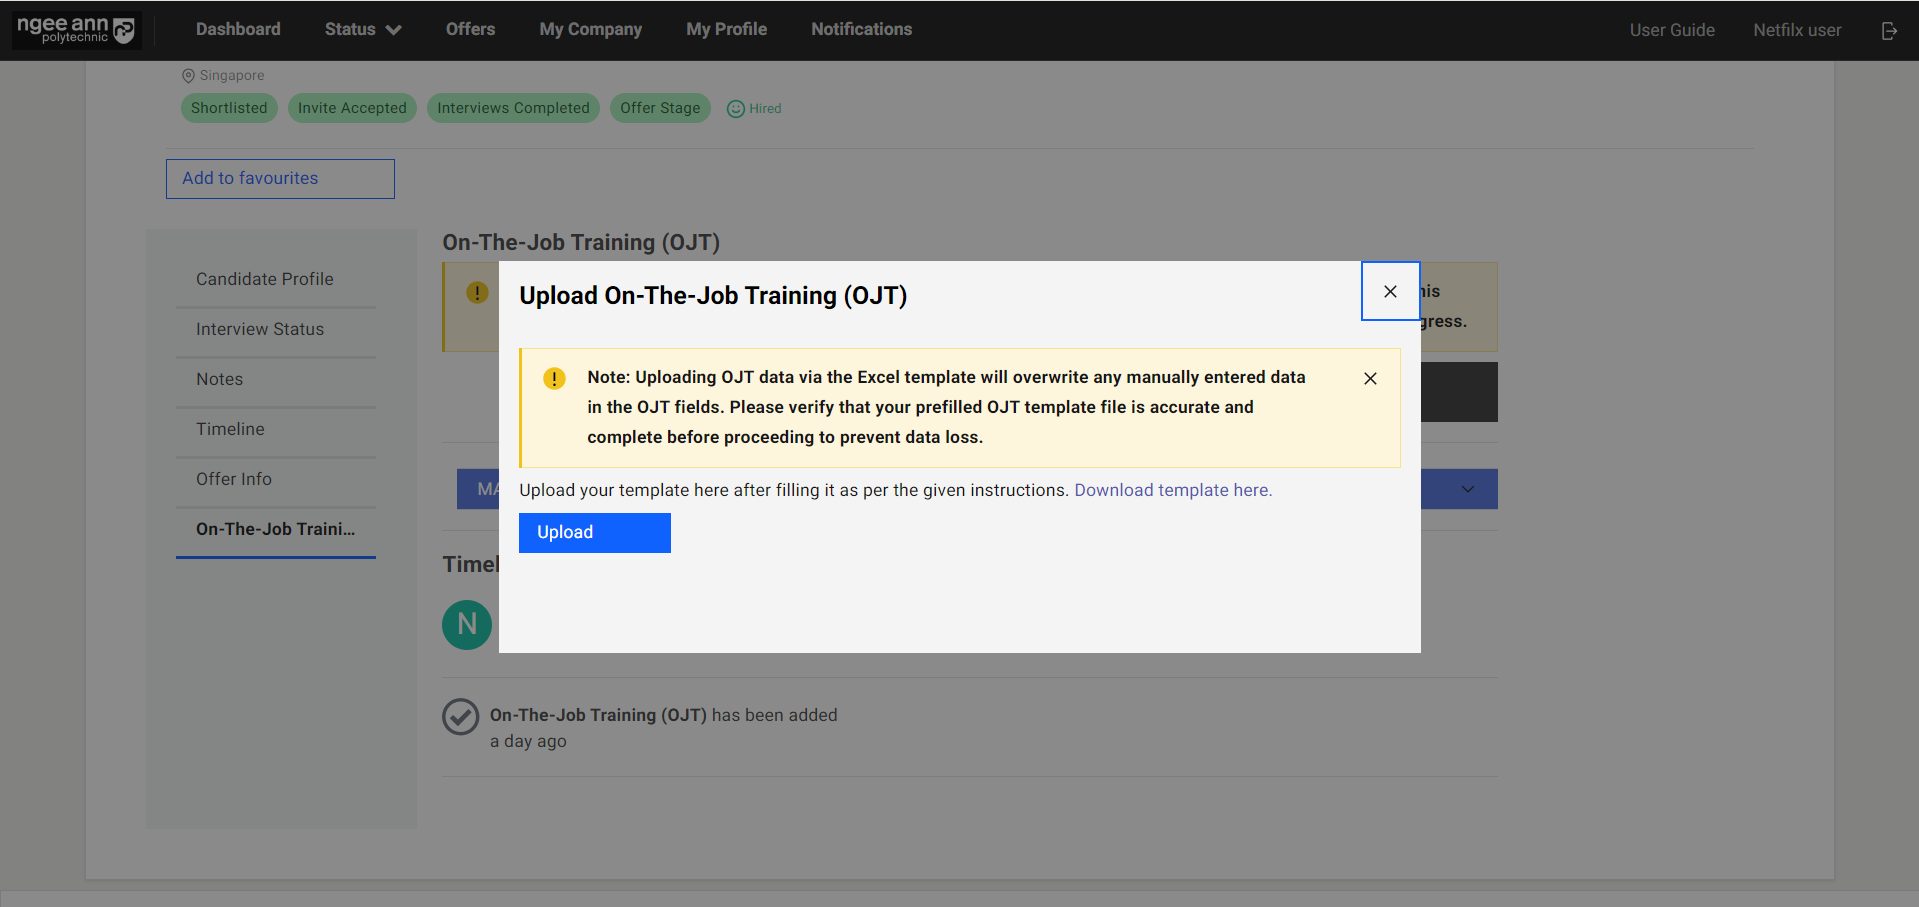
- Student/Application-level OJT data can be uploaded in bulk. Click on “Upload”.
- In the pop-up window, click on “Download template here”.
- Open the downloaded template. Fill in OJT details. Save the template.
- Click on the “Upload” button. Select the pre-filled OJT template and upload the file.
- OJT details will be filled automatically based on the uploaded template.
- Click on the “Save” button to save the OJT data.
- “OJT changes are saved successfully.” message banner will be shown once OJT data is saved successfully.
Note: The uploaded template will overwrite any previous details that have been filled.
Download OJT Details
Step 1:
- To export OJT details, click on the “Download” button.
- Open the downloaded file to view the OJT details.

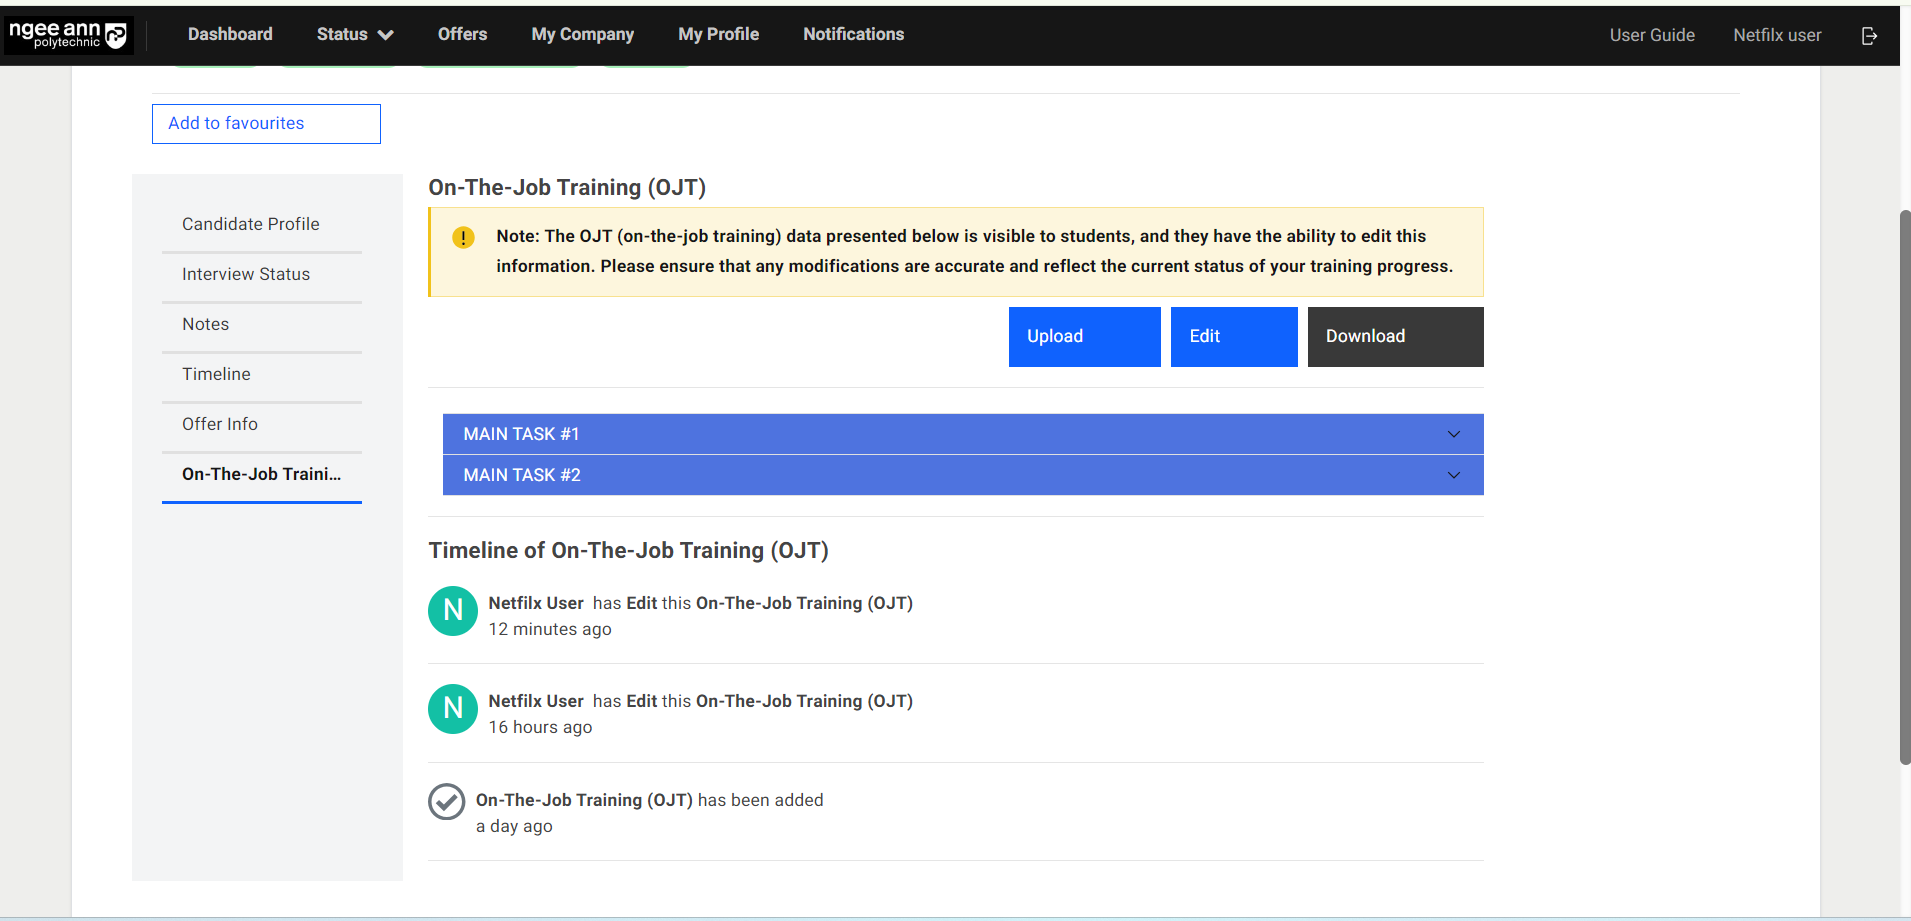
Track Changes of OJT
For edits made to the OJT details, the changes will be tracked under the “Timeline of On-The-Job Training (OJT)” section.
Note: Timeline is not visible to students.
Student Assessment
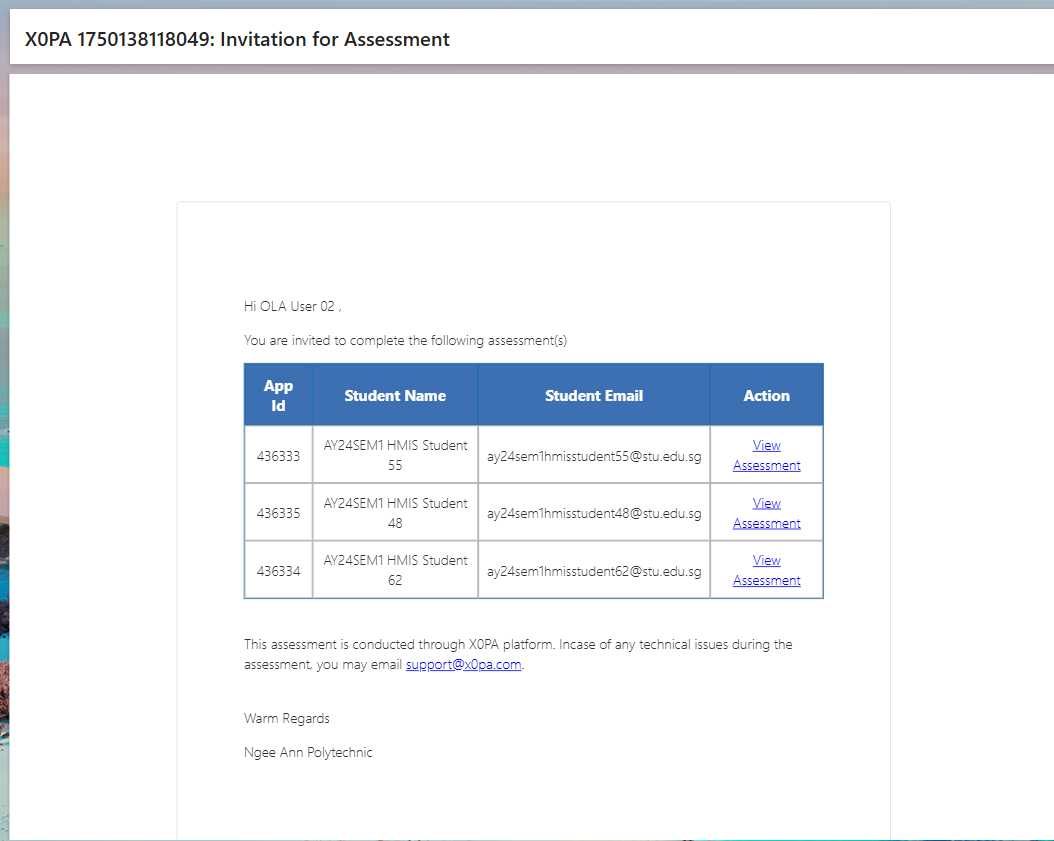
Assessment Invitation Mail
- Company supervisor will receive an “Assessment Invitation” notification mail when Staff admins sent invite
- Click on the “View Assessment” button under “Action” column in the table from notification mail.
- Make sure navigate to respective applicant/student “Application Information” page
Assessment Section Tab (Application Information Page)
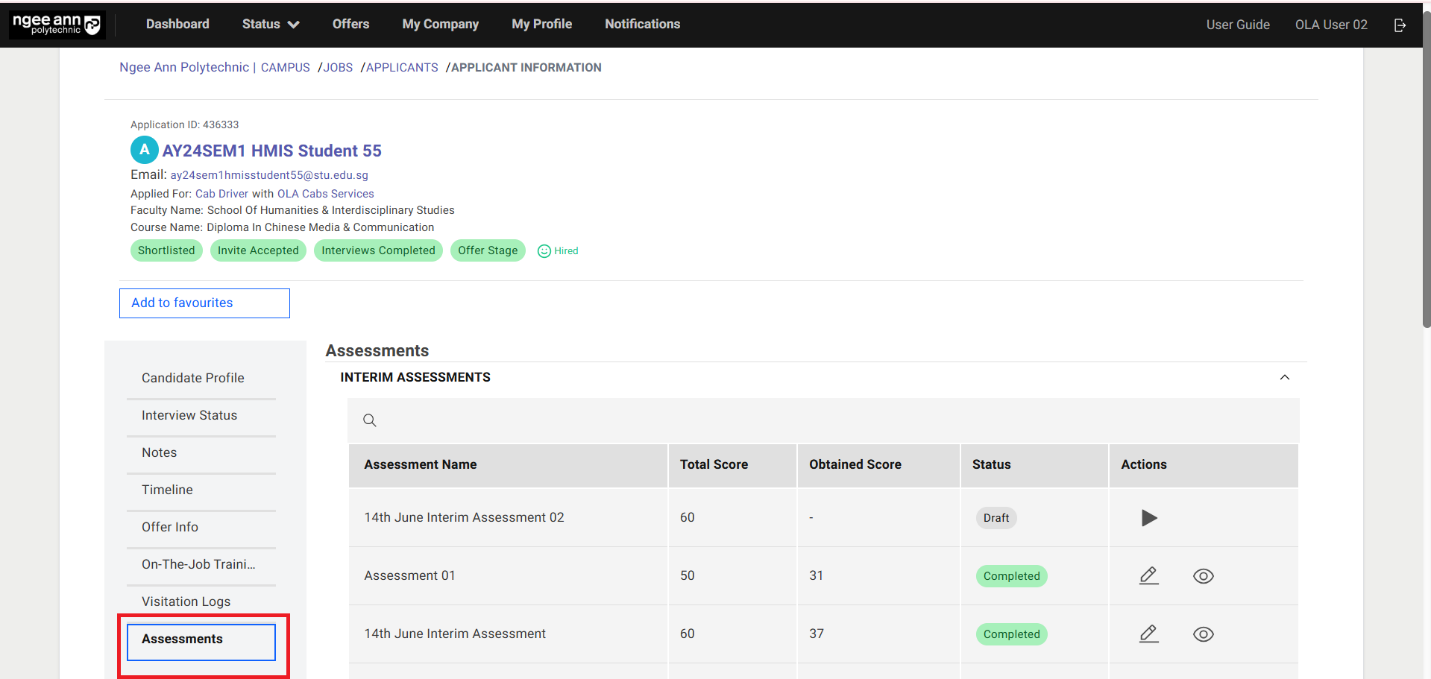
Step 1:
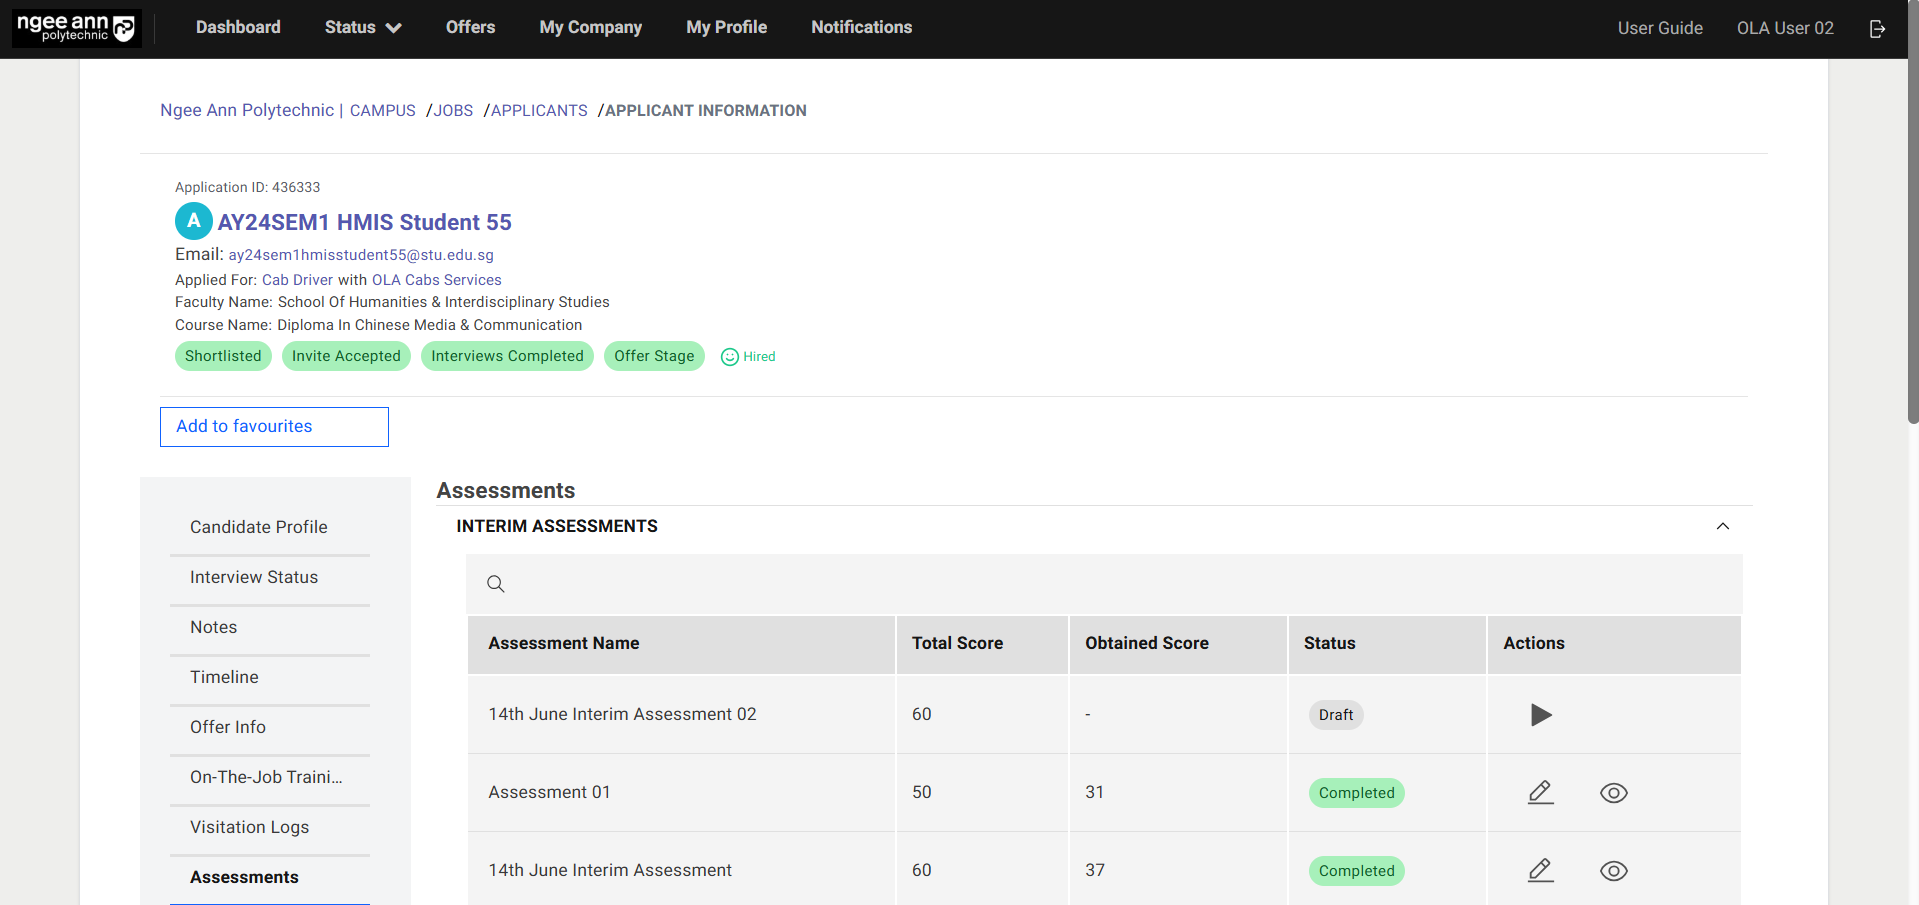
- Click on the “Assessments” section tab from “Application Information” page
- Make sure “Assessments” page is shown with “Interim Assessments & Final Assessments” accordions
Step 2:
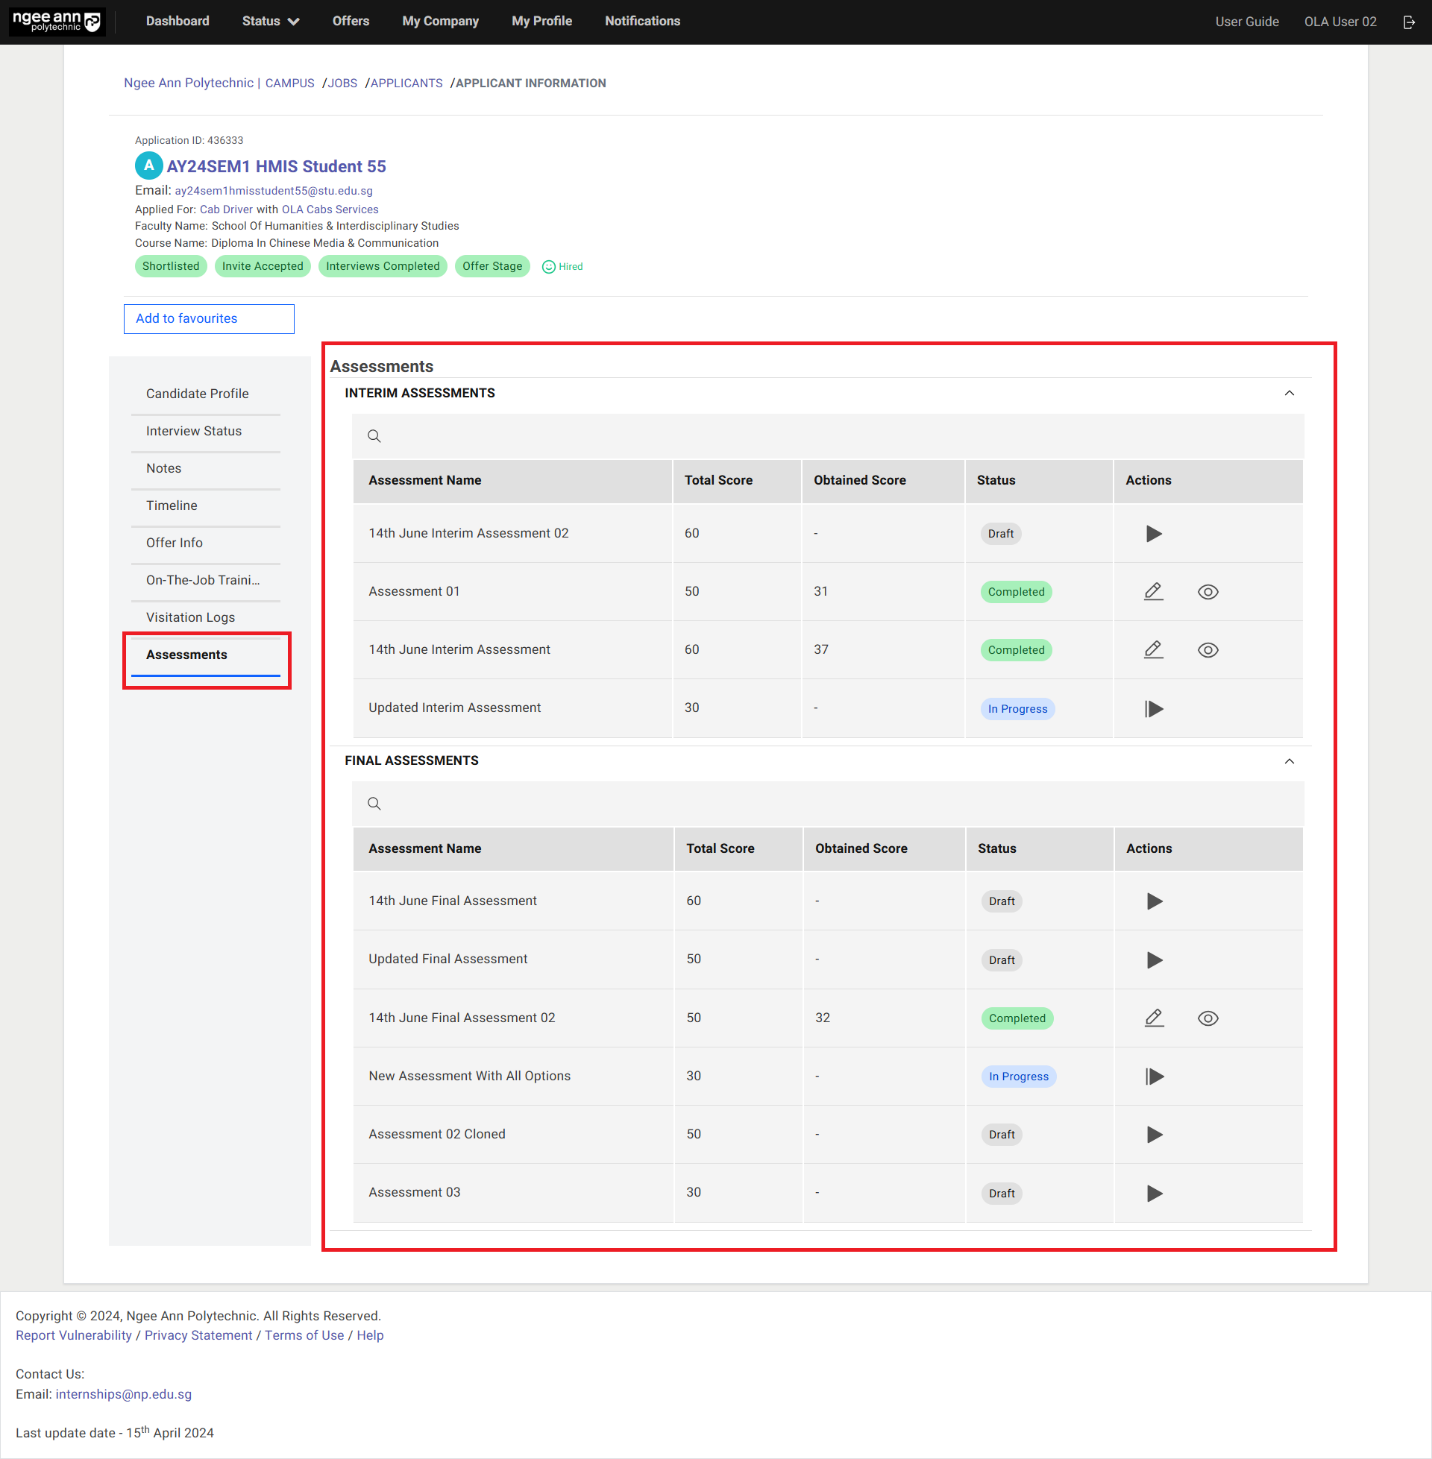
Interim Assessments:
- Click on the “Interim Assessments” accordion to collapse/expand the accordion
- Make sure see respective student tagged/assigned “Interim Assessment” records will be shown in the table.
Final Assessments:
- Click on the “Final Assessments” accordion to collapse/expand the accordion
- Make sure see respective student tagged/assigned “Final Assessment” records will be shown in the table
Start Assessment (Interim/Final)
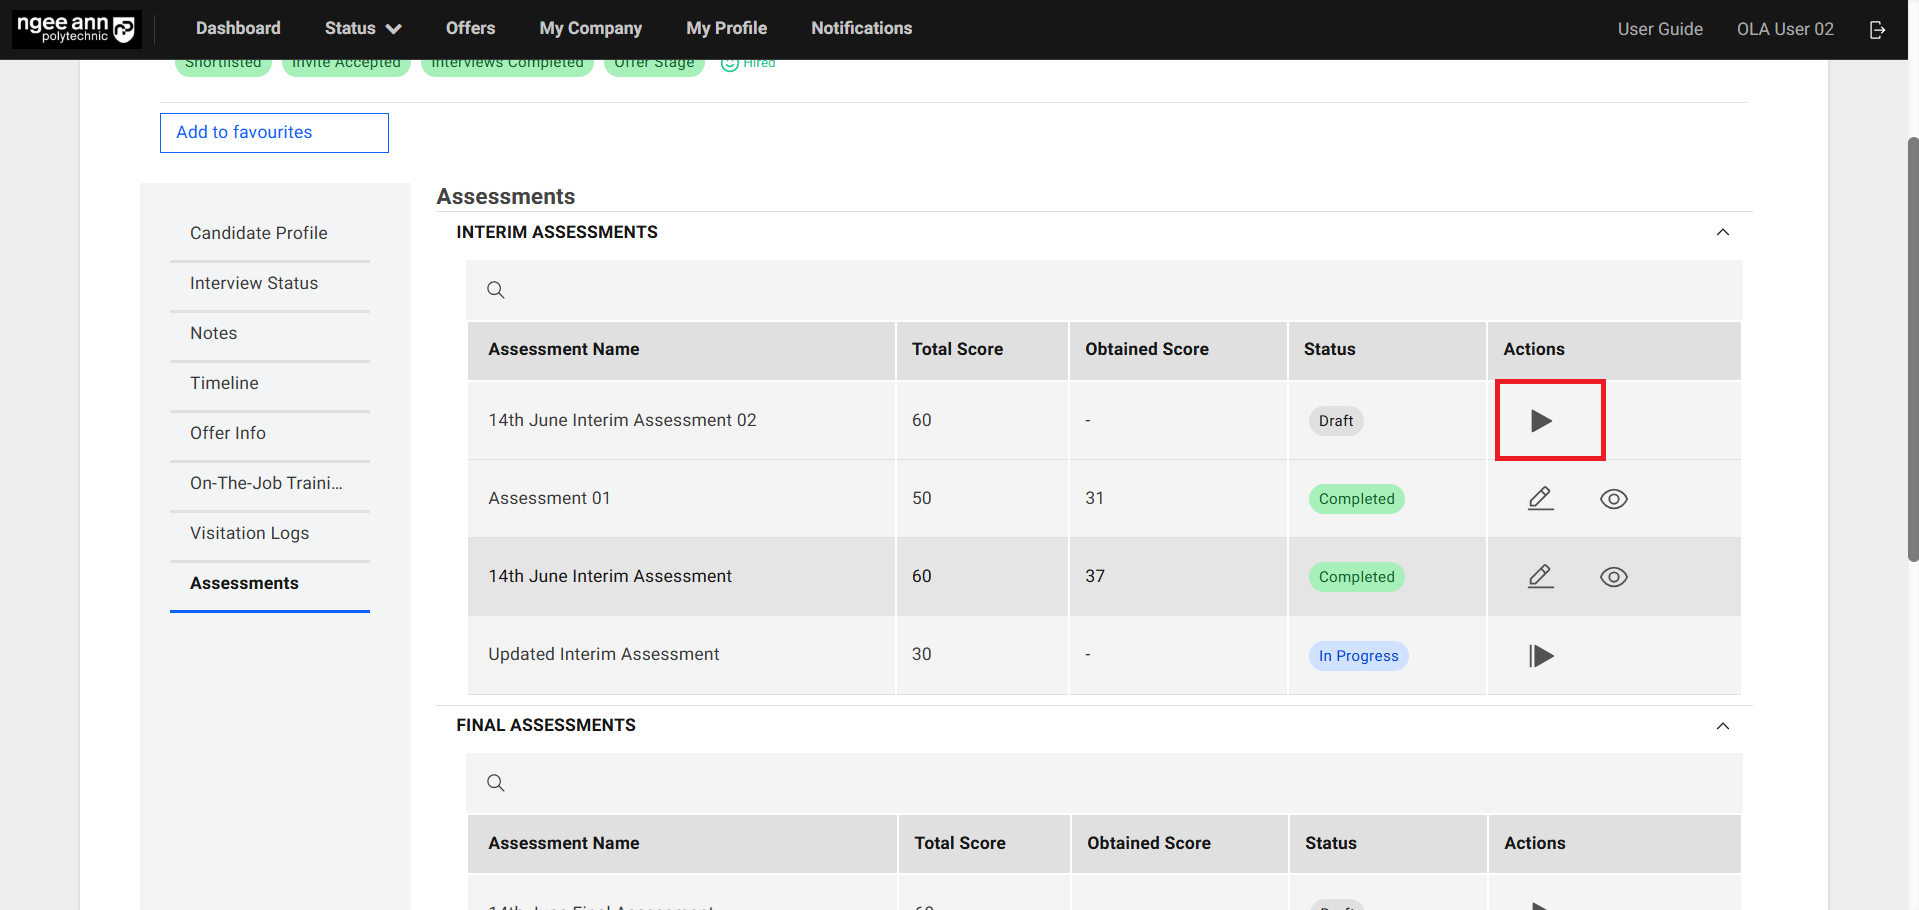
Step 1:
- Click on the “Start Assessment (Triangle)” button from “Actions” column
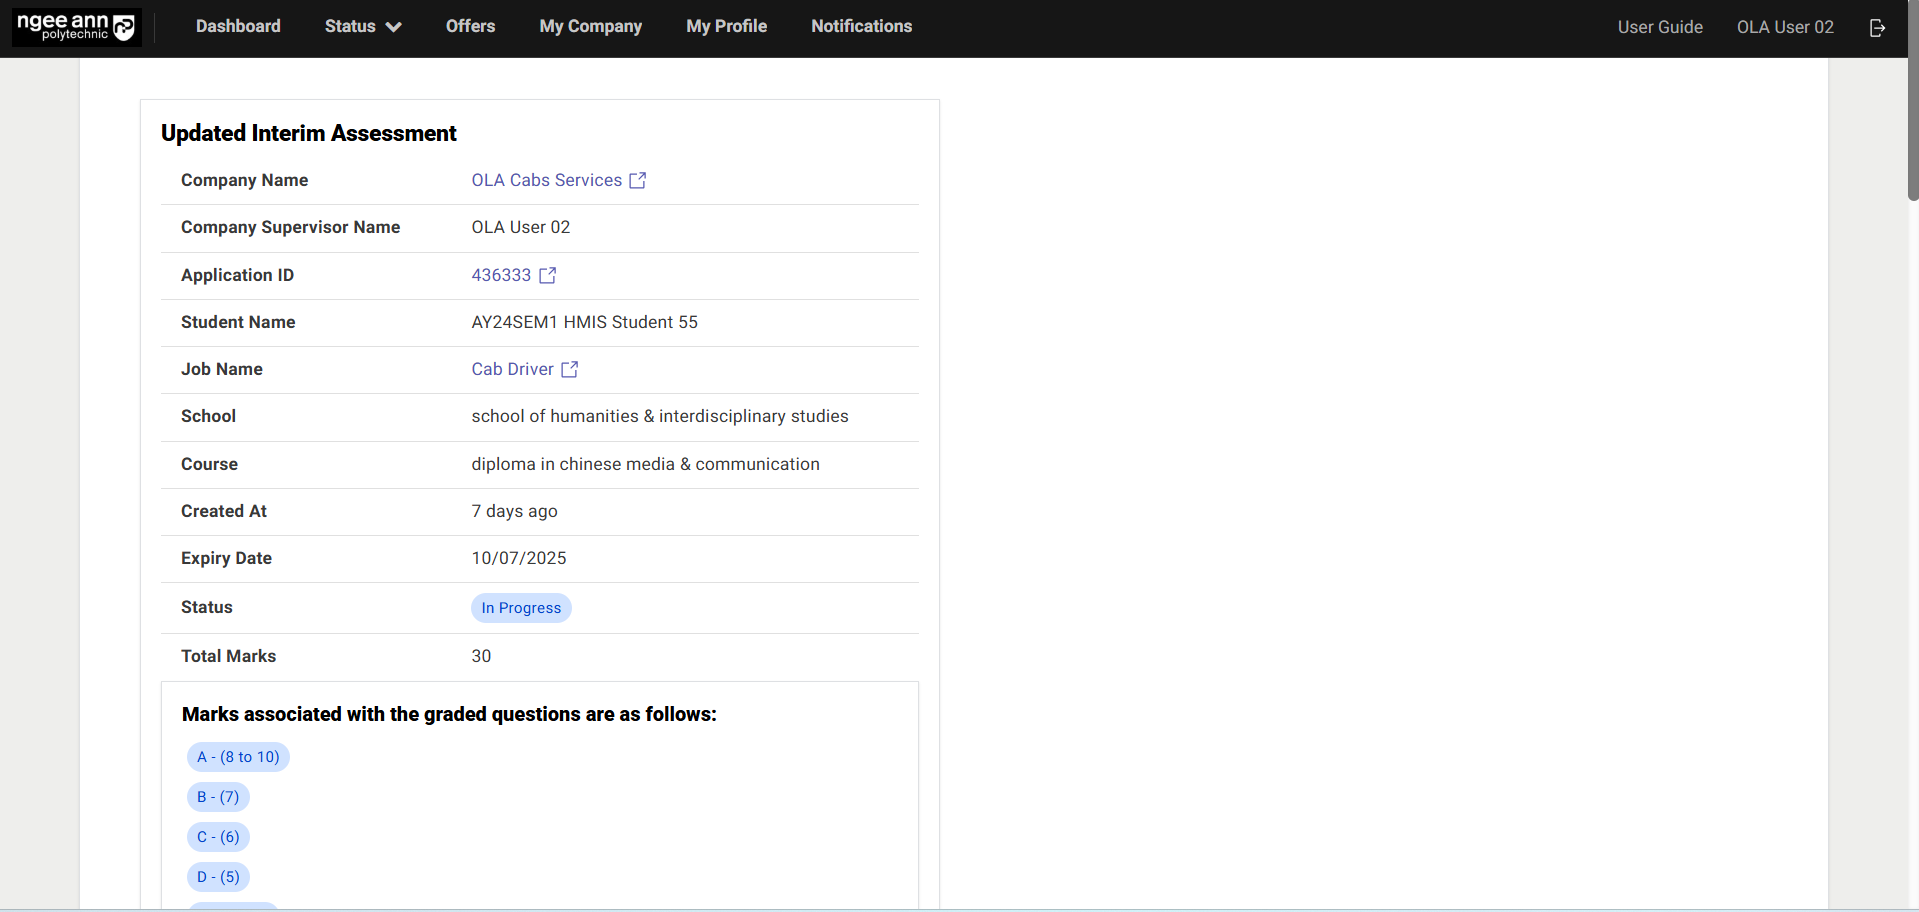
Step 2:
- Ensure you navigate to the “Assessment” page, which includes the Applicant/Student Details section.
- Verify that the relevant assessment-tagged questions are displayed on the page.
Note: Click the link-style buttons within the Applicant/Student Details box to navigate to the corresponding pages.
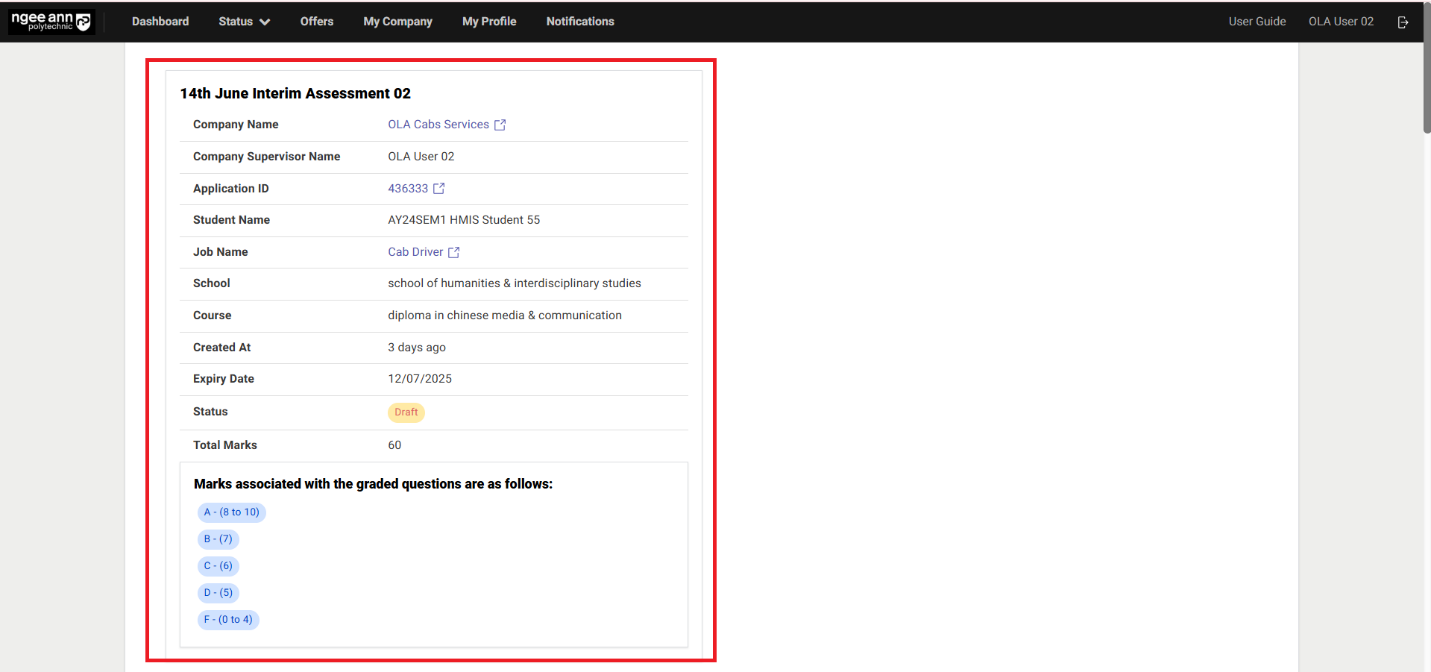
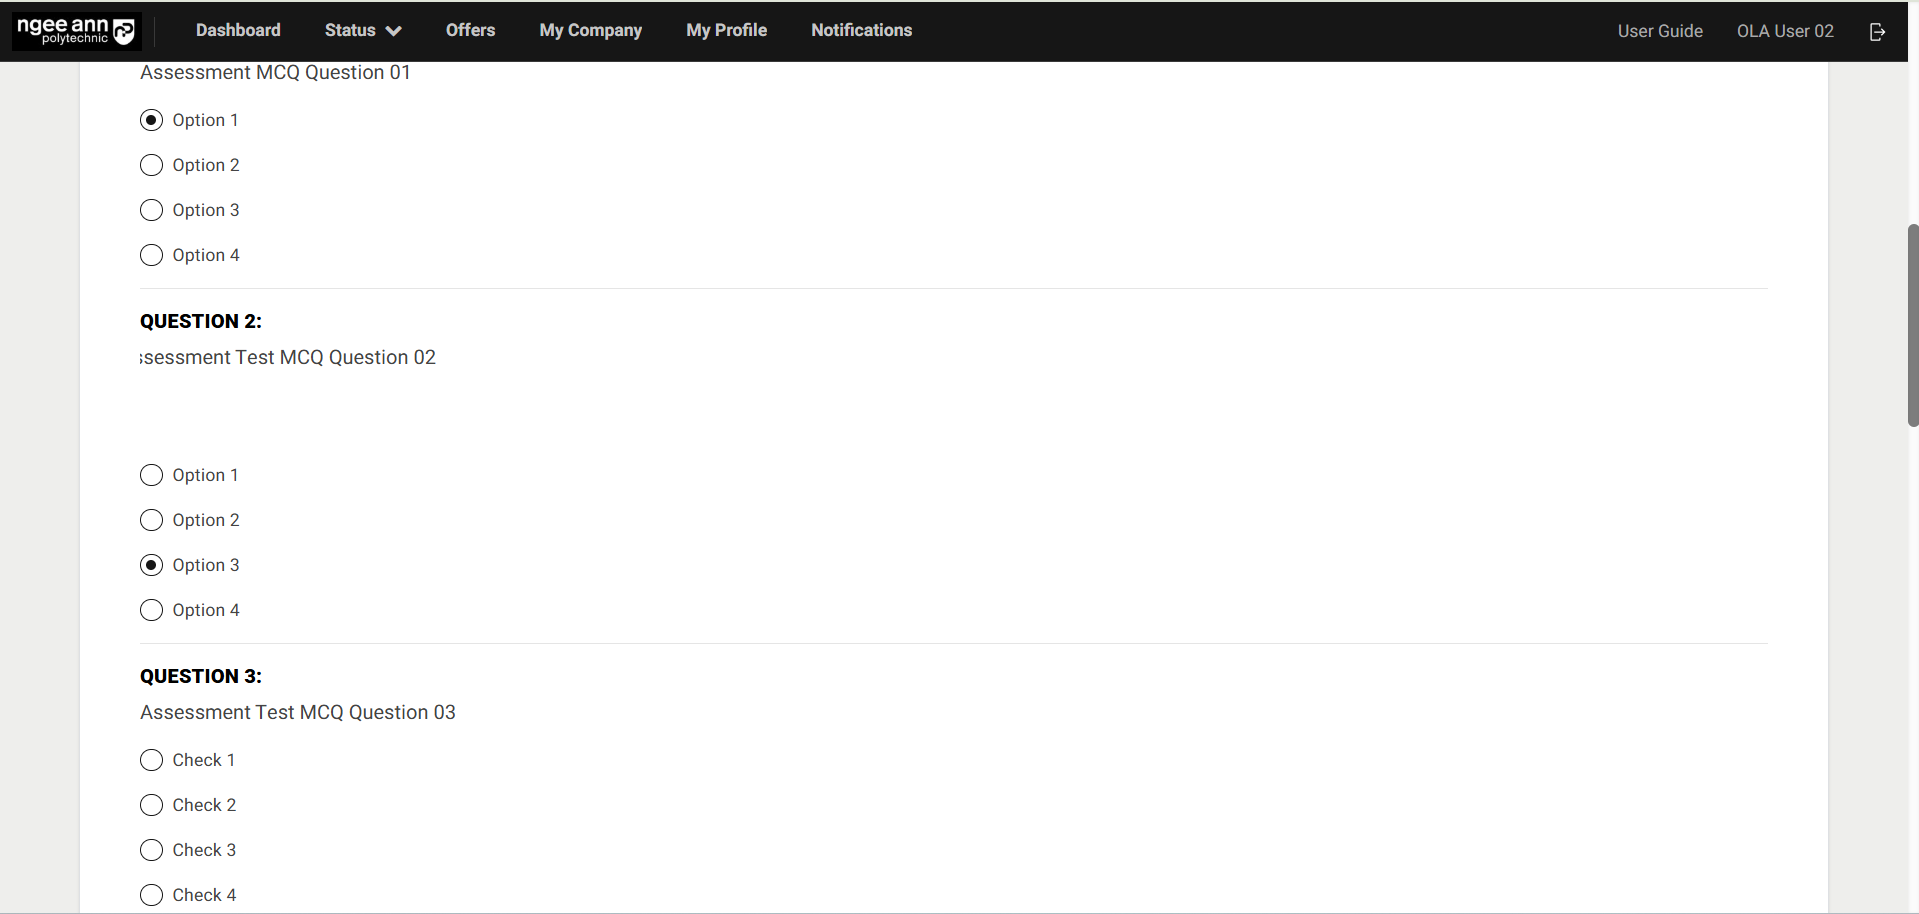
Step 3:
- Make sure respective assessment tagged all questions will be shown in the one page below applicant details box
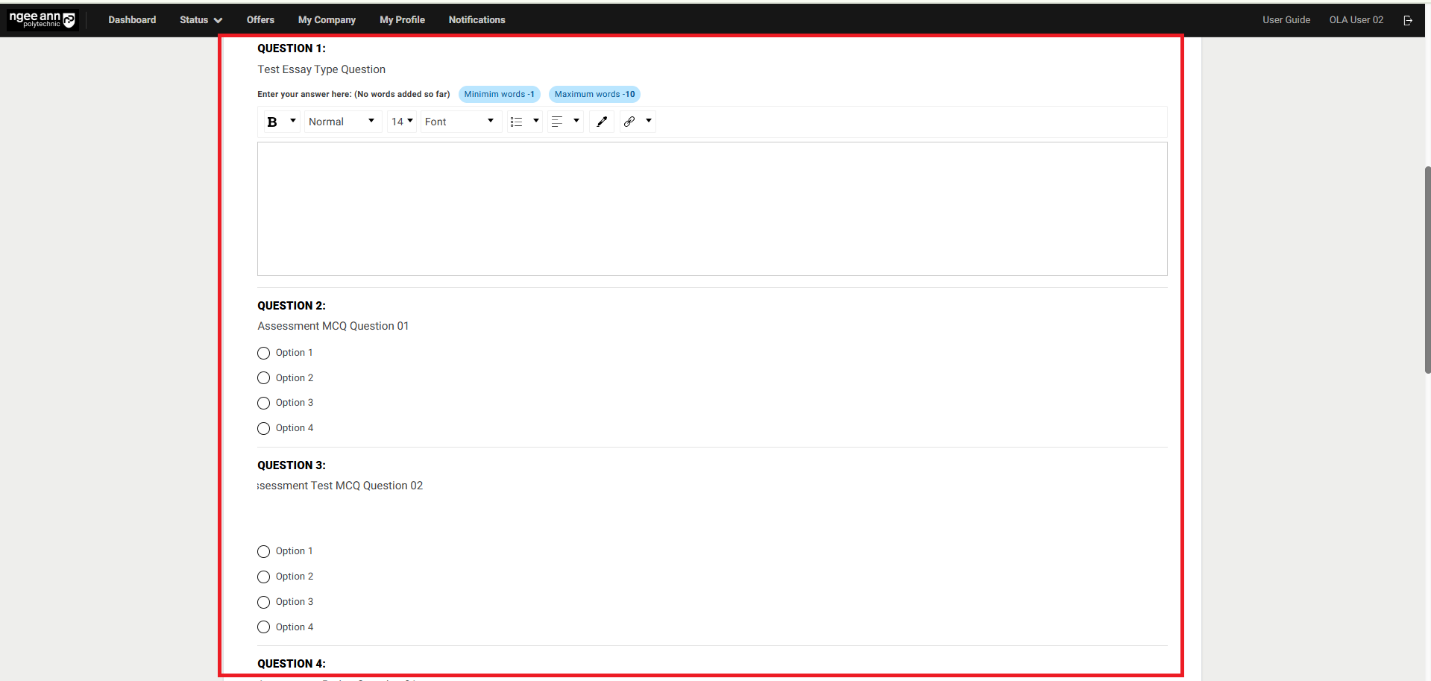
Step 4:
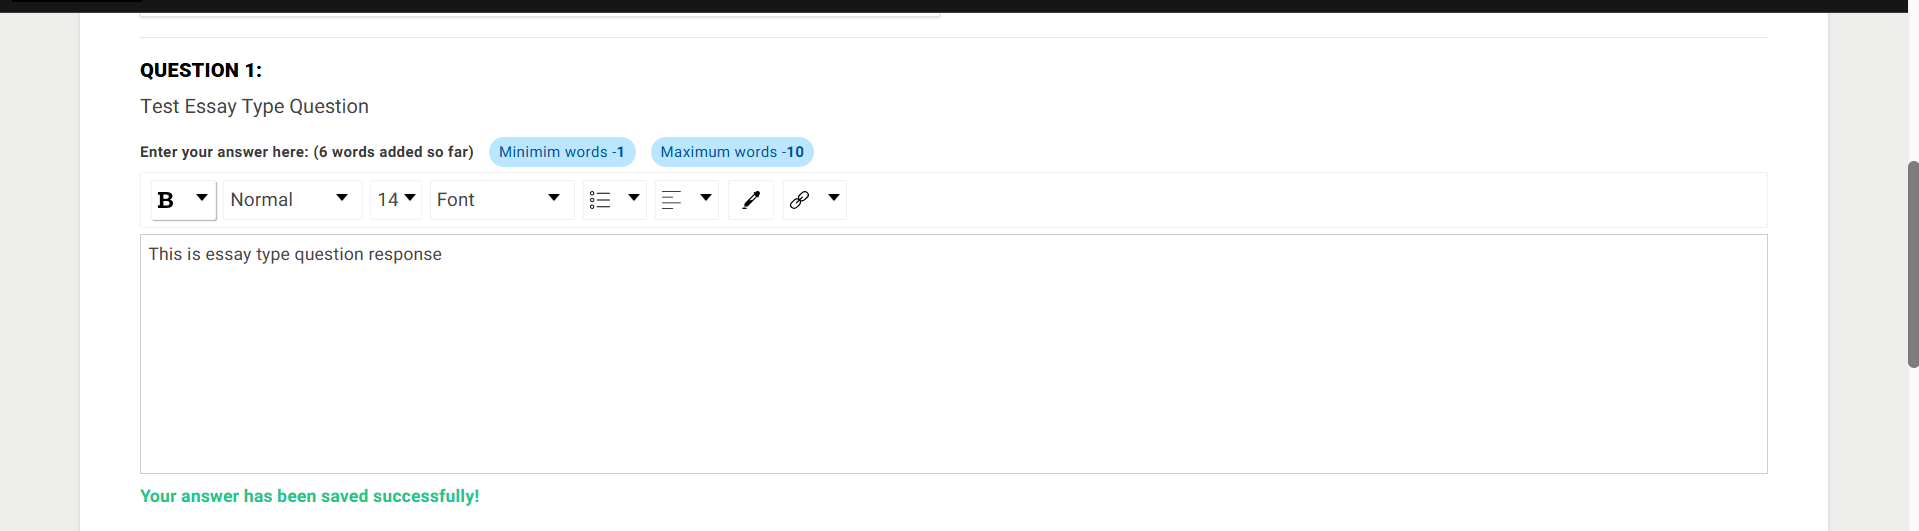
- As the company supervisor, please provide responses to each assessment question.
- All selected or provided responses will be automatically saved.
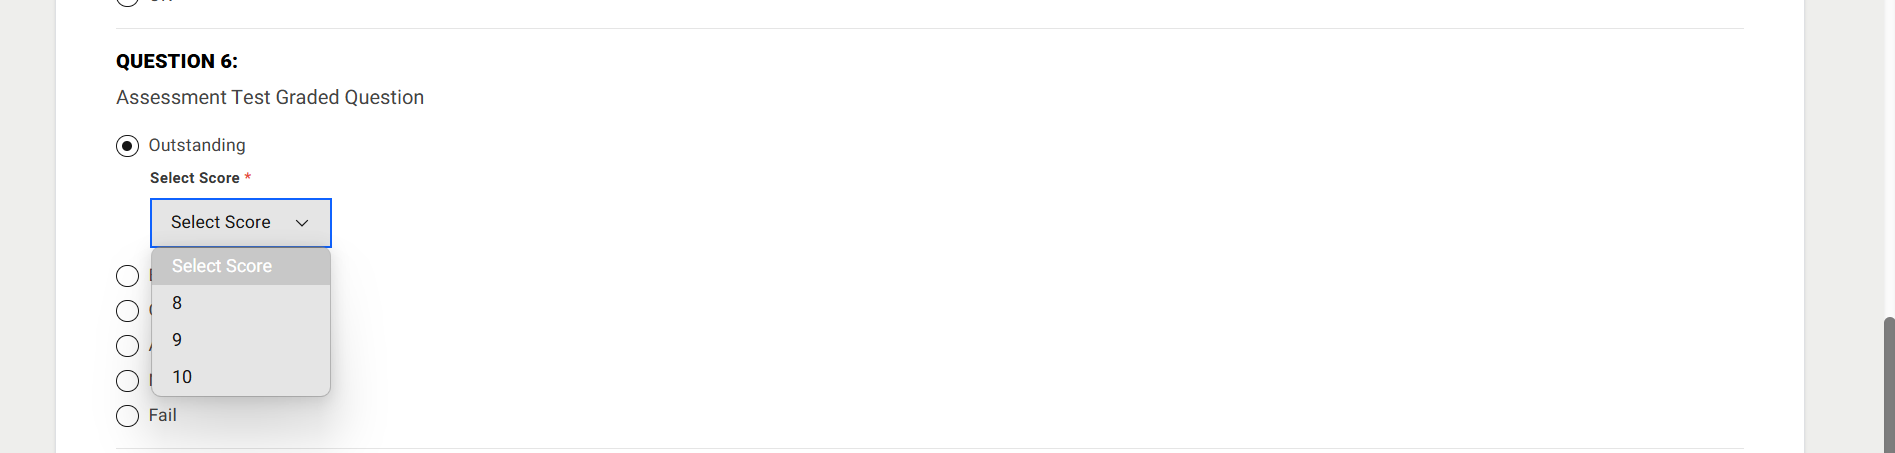
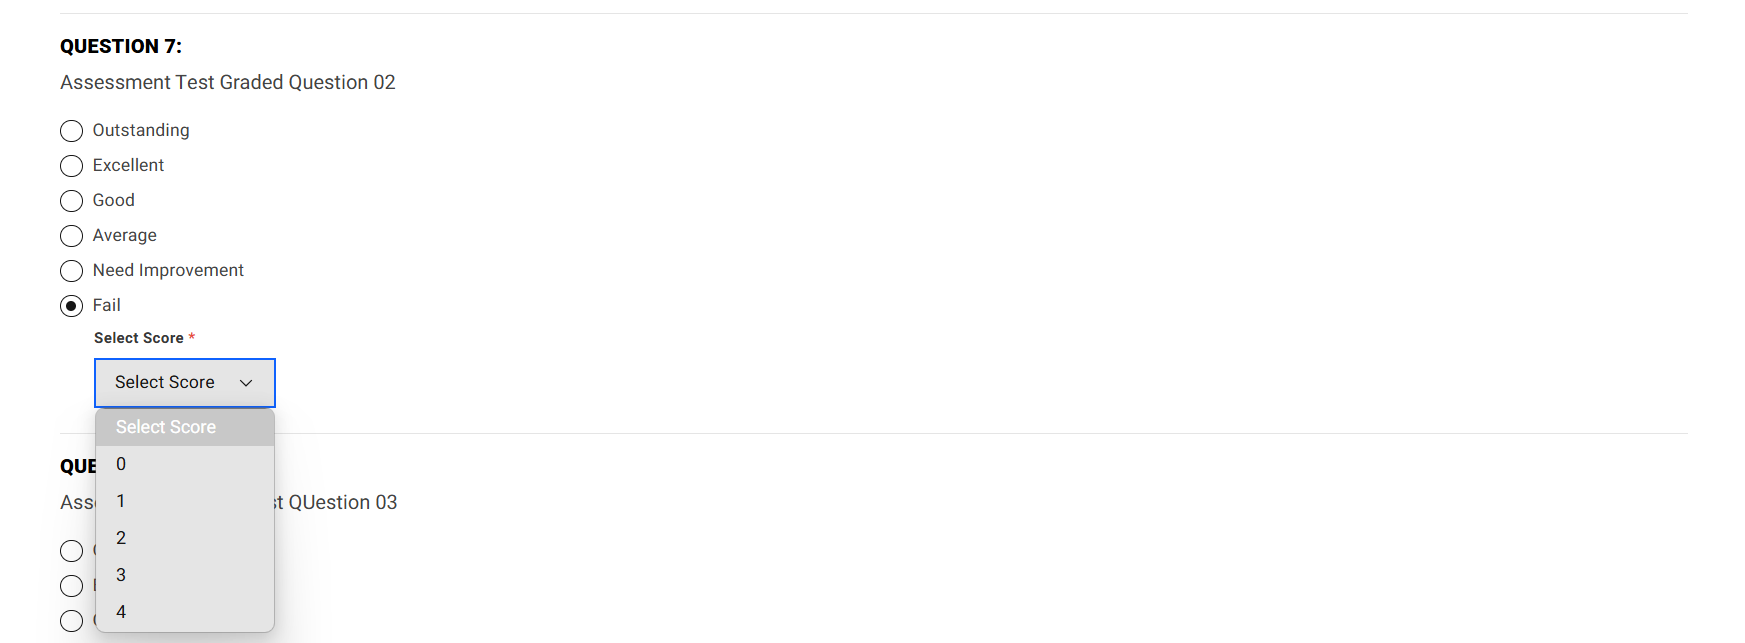
- For graded-type questions, each option will correspond to the following rating scale:
- A = 8 to 10
- B = 7
- C = 6
- D = 5
- F = 0 to 4
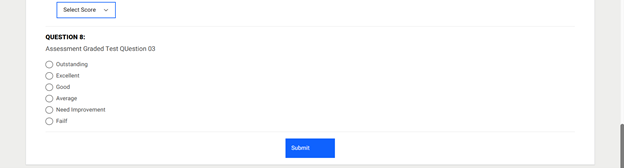
- If the supervisor selects either A or F (i.e., the highest or lowest option), a dropdown menu will appear allowing the supervisor to choose a specific rating within the respective range.
- The supervisor must select one rating score for each answer where A or F is chosen.
- The rating selected by the supervisor for each graded response will count toward the student's total score.


Step 5:
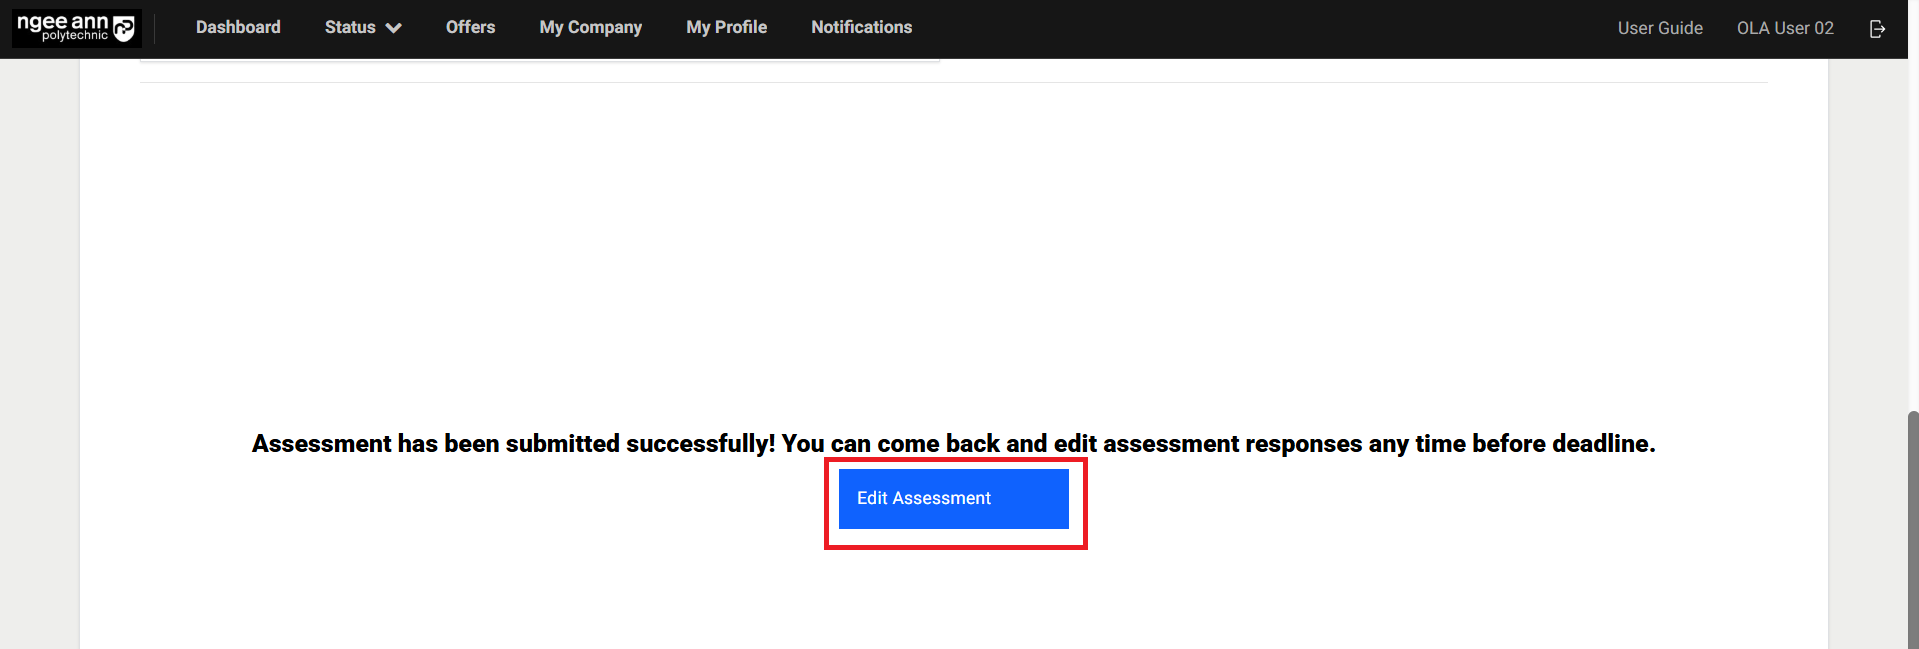
- A “Submit” button will be displayed at the bottom of the page.
- Click the “Submit” button to finalize and submit the assessment responses.
Note: Each assessment question must be answered by the supervisor. If any question is left unanswered or contains invalid input, a validation error message will be displayed, and the assessment cannot be submitted until all responses are completed correctly. - “Assessment has been submitted successfully! You can come back and edit assessment responses any time before deadline.” Successes message with “Edit Assessment” button will be shown when supervisor submitted assessment responses


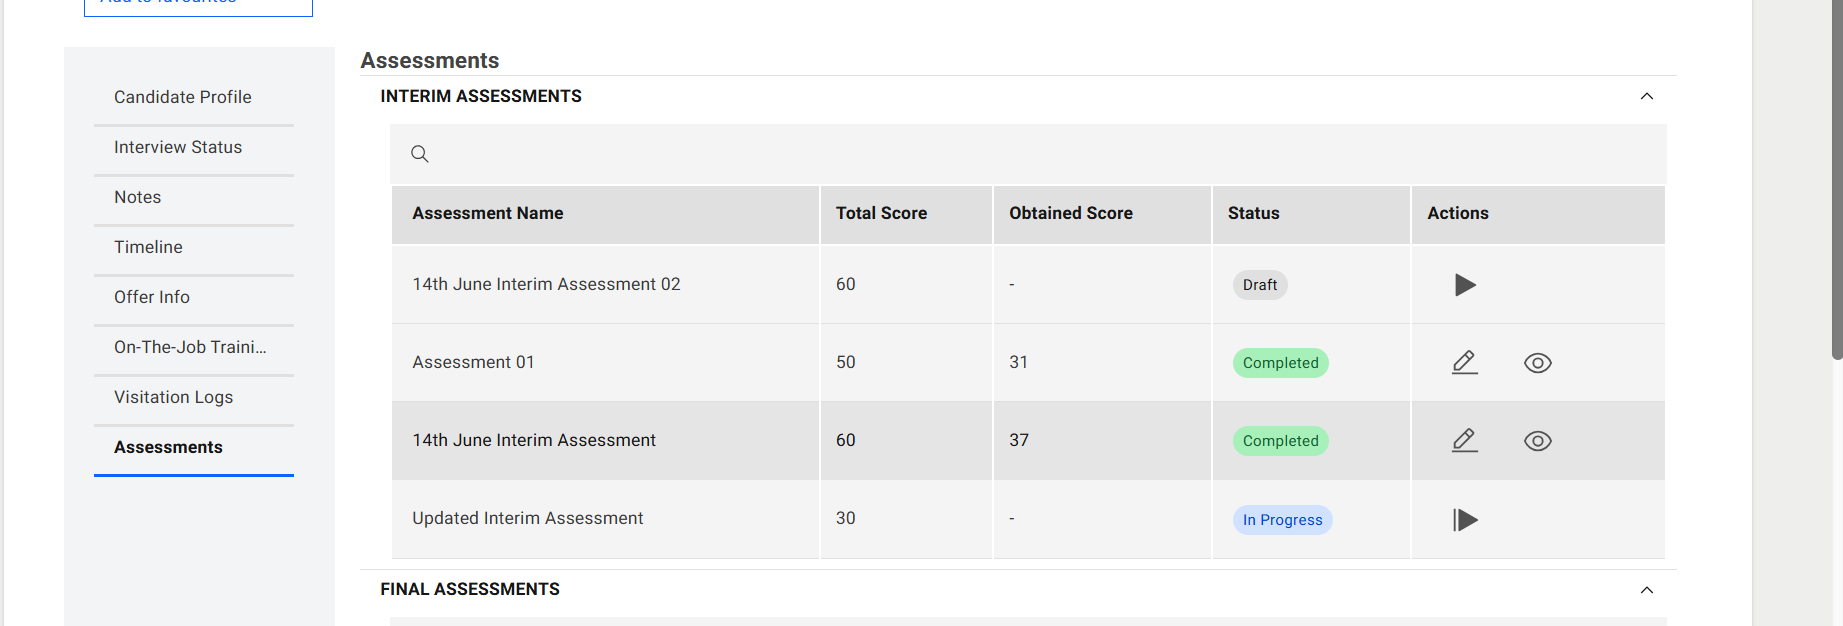
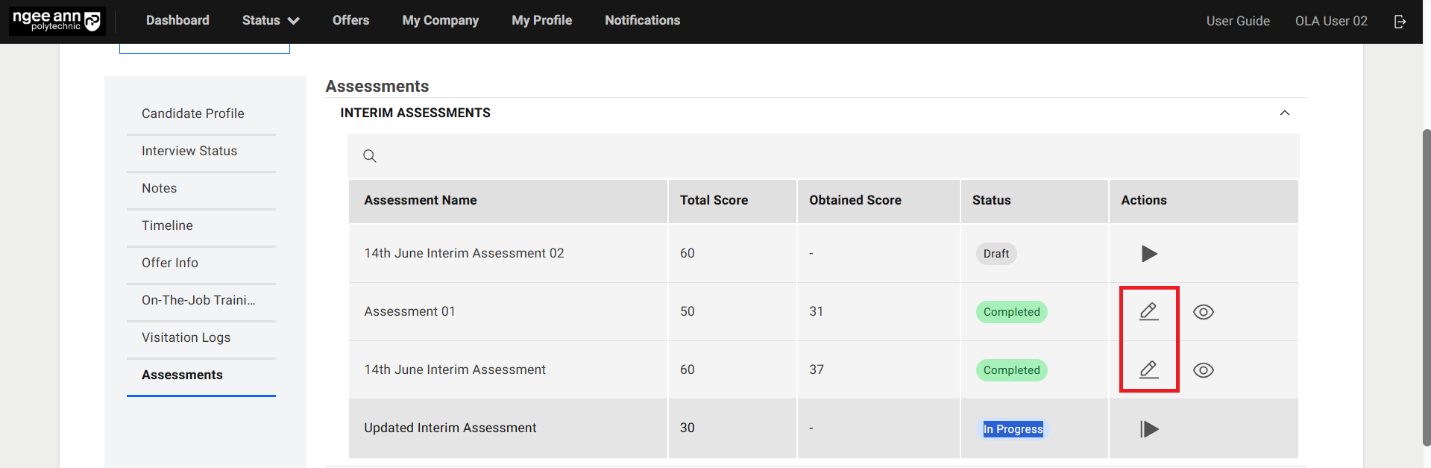
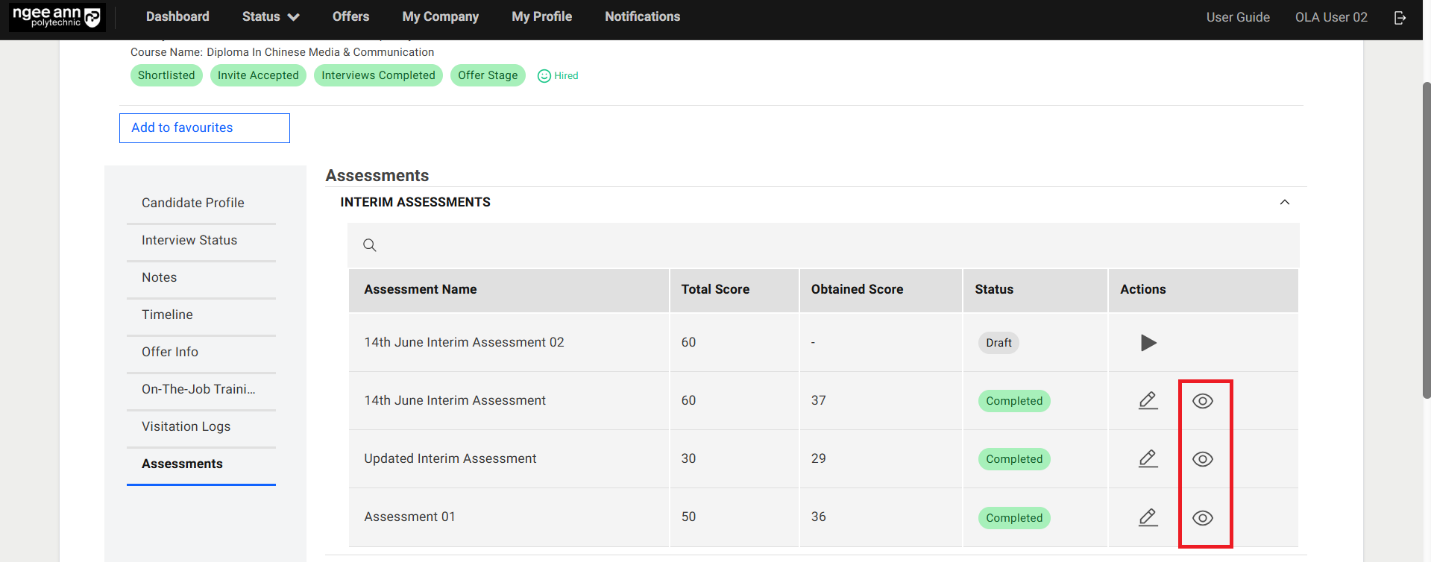
Assessment Table (Interim/Final)
- See the assessment score will be shown in the table.
-
Column Name Description Assessment Name Displays the name of the assessment assigned to the applicant. Total Score Represents the maximum possible score for all graded questions in the applicant's tagged assessment. Each graded question carries a maximum of 10 marks. Only graded questions contribute to this total. Obtained Score Indicates the total score achieved by the applicant, calculated based on the scores assigned by the Company Supervisor to the selected options for each graded question. Status 1. Draft: The assessment has been assigned, but the Company Supervisor has not yet started responding.
2. In Progress: The Company Supervisor has started responding to the assessment.
3. Completed: The Company Supervisor has finished and submitted the assessment.Actions This column provides action buttons to interact with the assessment, including Start, Edit, Continue, and View.
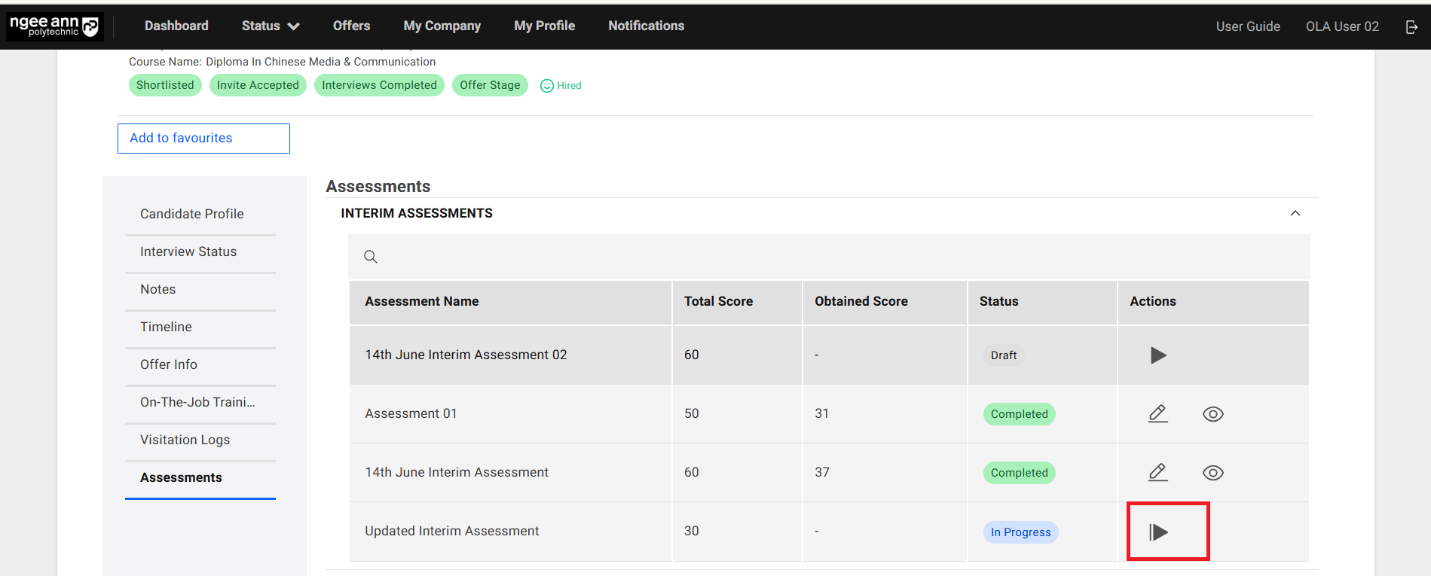
Continue Assessment (Interim/Final)
Step 1:
-
Click the “Continue Assessment (Video Play)” button located in the Actions column of the table.
-
Ensure that you are redirected to the Assessment page.
Note: The “Continue Assessment” button is visible only when the respective assessment is incomplete. It allows the Company Supervisor to resume the assessment from where they left off.
Step 2:
- Navigate the supervisor to the Assessment page.
- Answer the assessment questions as required.
Note: Any previously submitted responses will be saved and will persist on the Assessment page for reference or continuation.
Step 3:
-
A “Submit” button will be displayed at the bottom of the page.
-
Click the “Submit” button to finalize and submit the assessment responses.
Note: Each assessment question must be answered by the supervisor. If any question is left unanswered or contains invalid input, a validation error message will be displayed, and the assessment cannot be submitted until all responses are completed correctly.
-
“Assessment has been submitted successfully! You can come back and edit assessment responses any time before deadline.” Successes message with “Edit Assessment” button will be shown when supervisor submitted assessment responses

Edit Assessment (Interim/Final)
Step 1:
- Click on the “Edit Assessment (Pencil)” button under “Action” column in the table
- Make sure navigate to “Assessment” page
Step 2:
- Make sure supervisor navigates to “Assessment” page
- Click on the “Edit Assessment” button
Note: “Edit Assessment” button will be shown once supervisor finalize and submit answers to the assessment question
Step 3:
-
A “Submit” button will be displayed at the bottom of the page.
-
Click the “Submit” button to finalize and submit the assessment responses.
Note: Each assessment question must be answered by the supervisor. If any question is left unanswered or contains invalid input, a validation error message will be displayed, and the assessment cannot be submitted until all responses are completed correctly.
-
“Assessment has been submitted successfully! You can come back and edit assessment responses any time before deadline.” Successes message with “Edit Assessment” button will be shown when supervisor submitted assessment responses


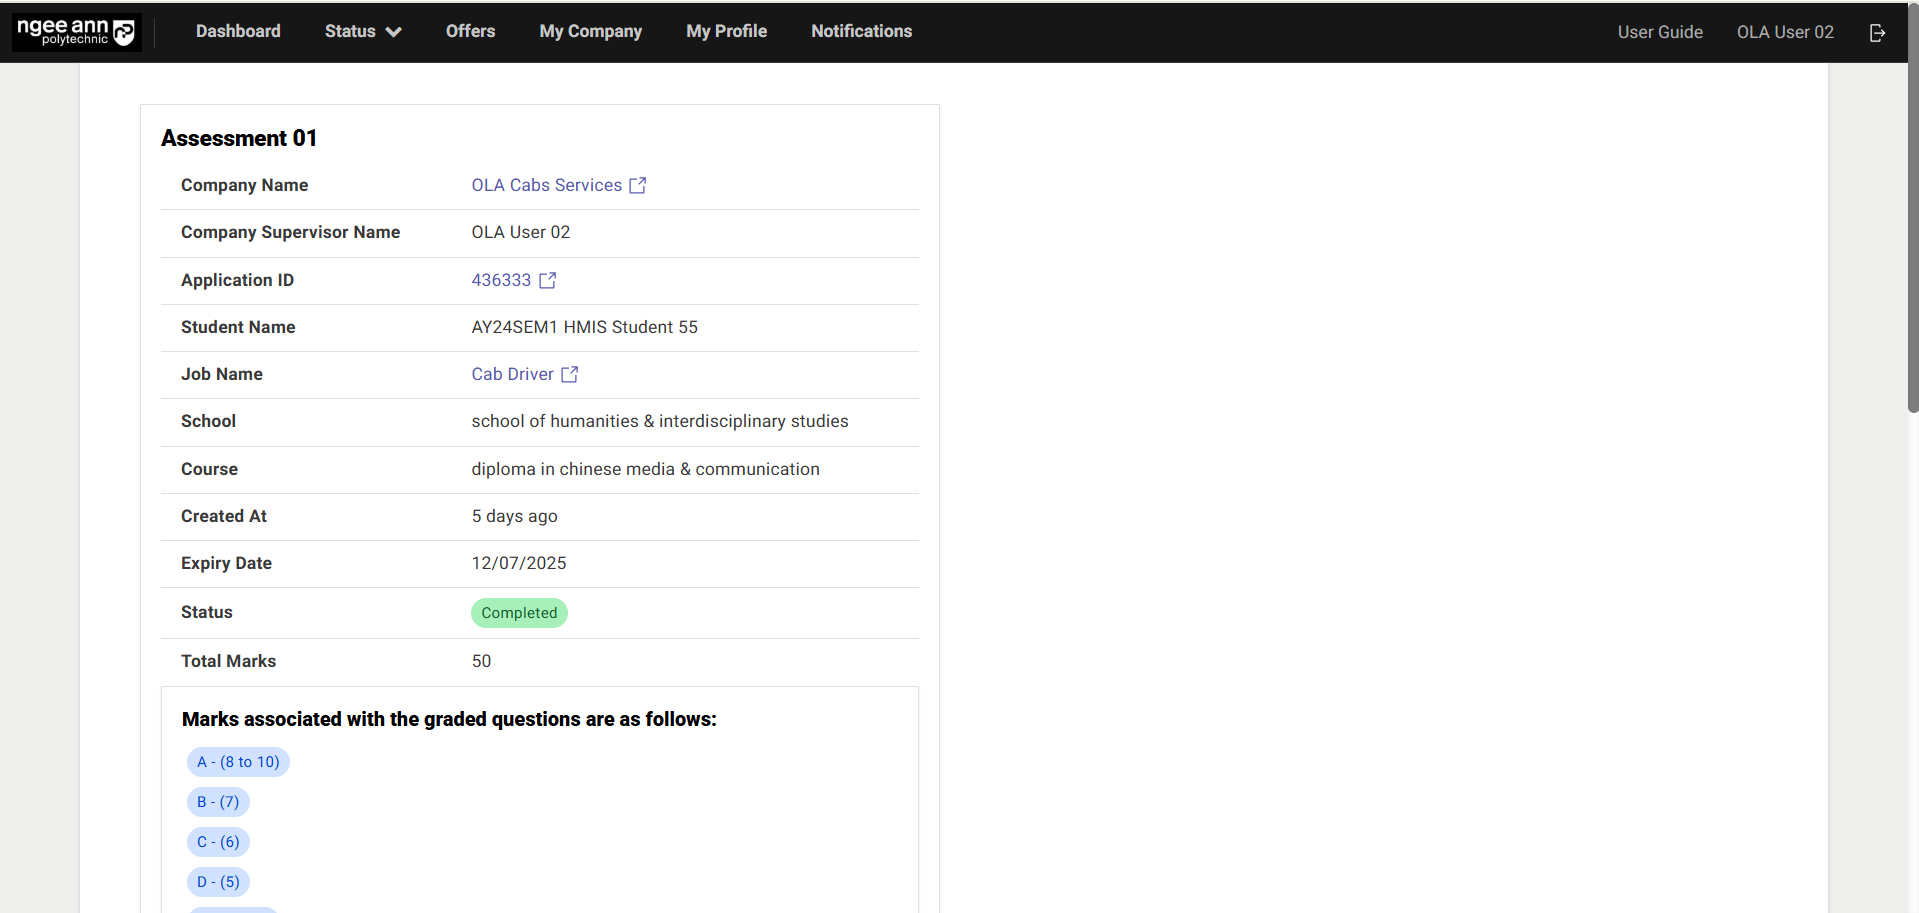
View Assessment (Interim/Final)
Step 1:
- Click the “View (Eye)” button located in the Actions column of the table.
- Ensure that you are redirected to the Assessment page.
Note: The “View (Eye)” icon is only visible when the assessment status is marked as “Completed.”
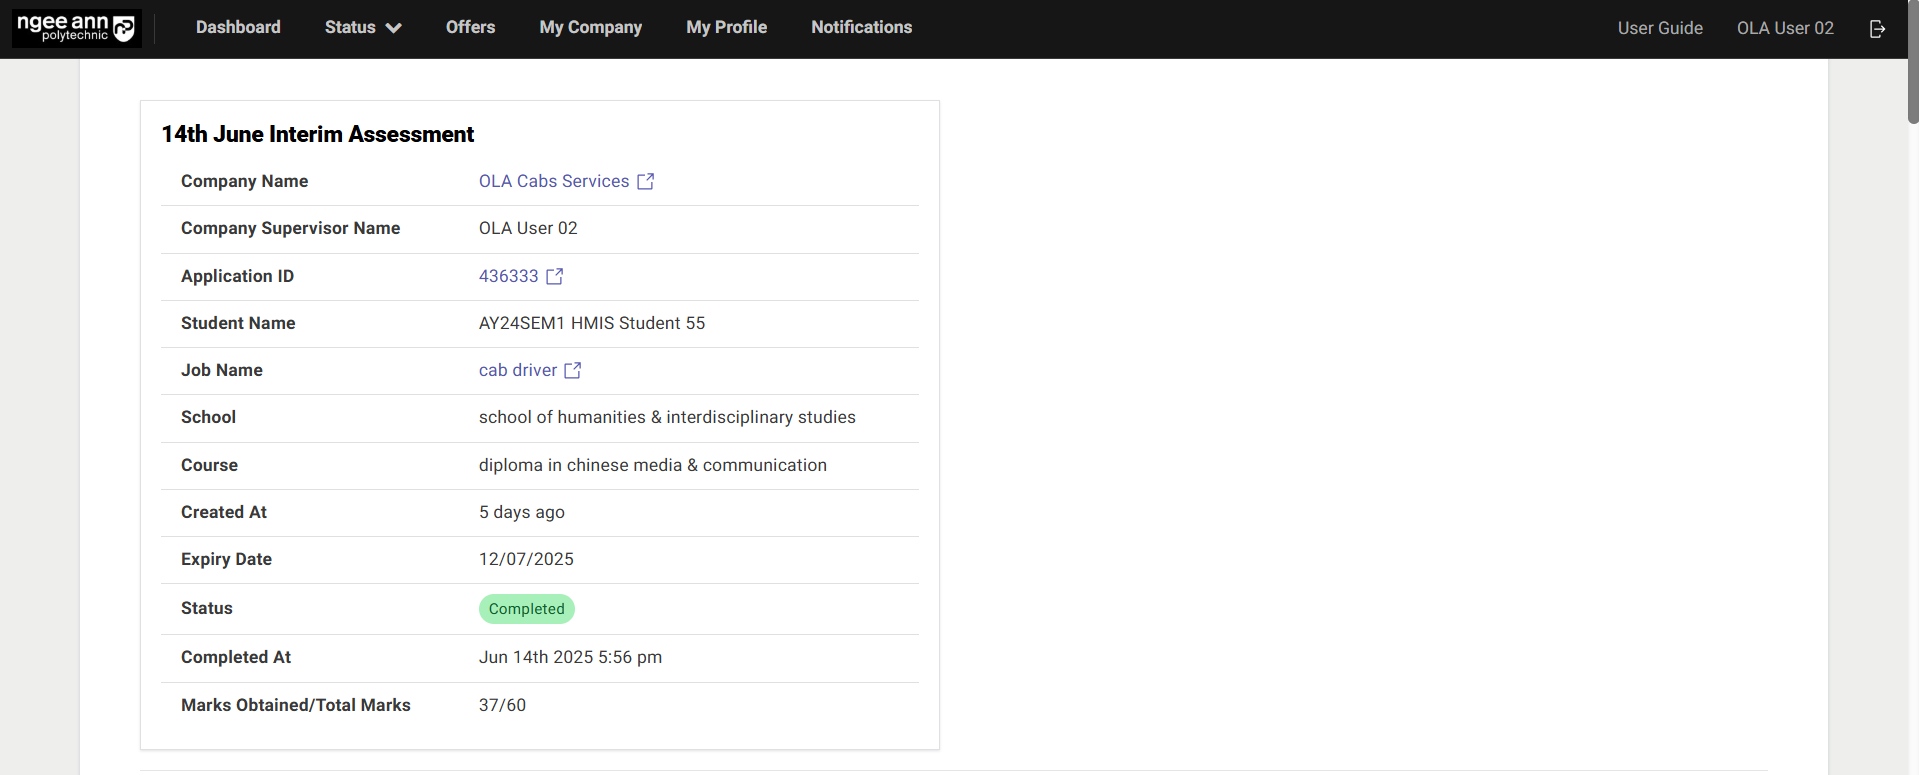
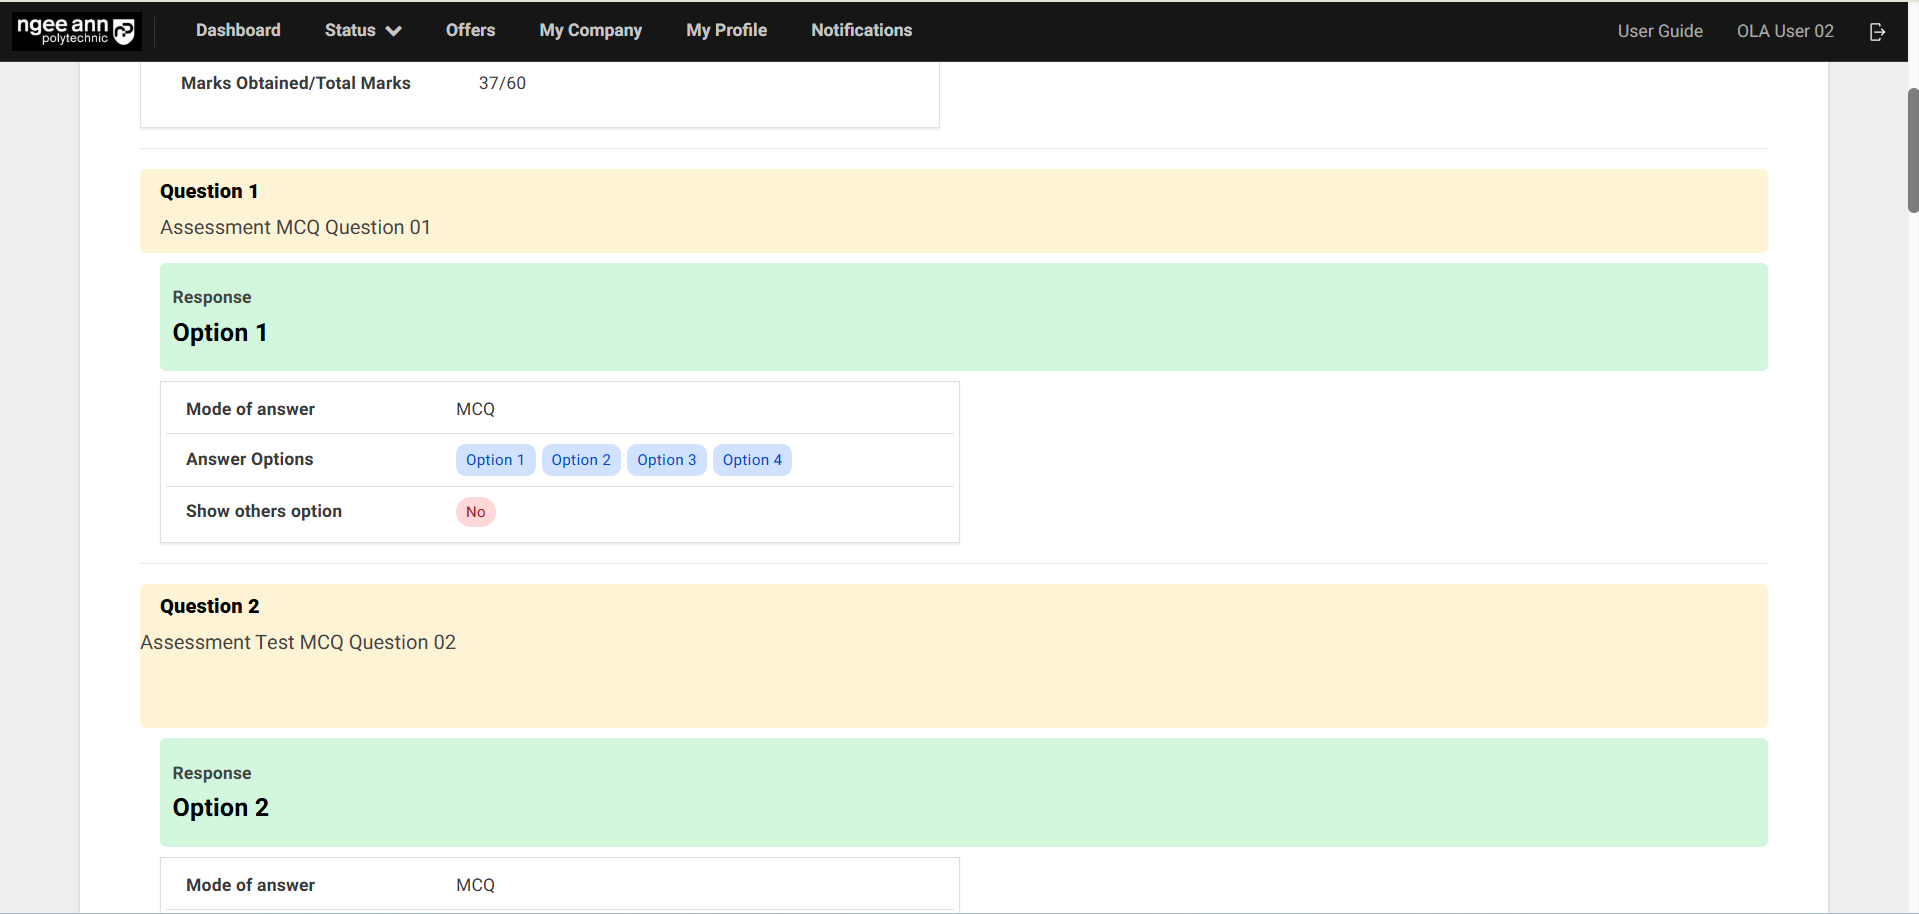
Step 2:
- Ensure the supervisor navigates to the respective Assessment page.
- Review the saved responses for each assessment question, along with the corresponding answer details.
Survey (Respondent)
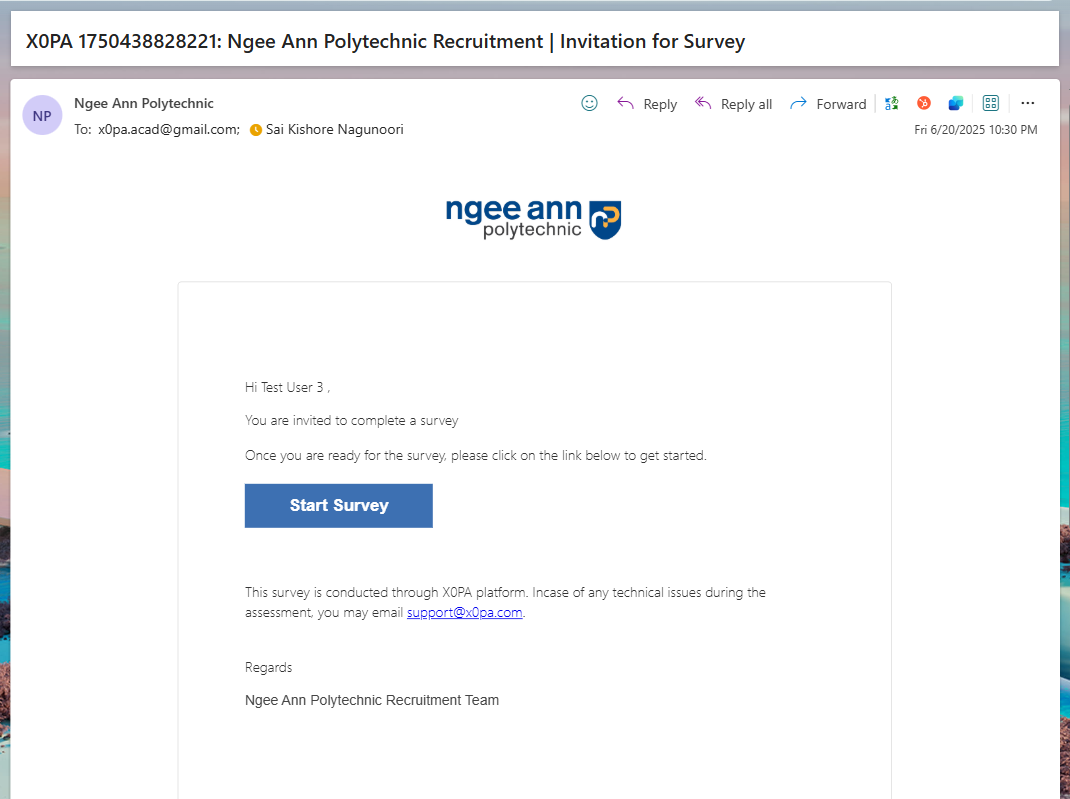
Survey Invitation Mail
Step 1:
- Make sure once NP Staff Admins send survey invitation then respective respondent will receive and email notification.
- Click the "Start Survey" button in the notification email to begin the survey.
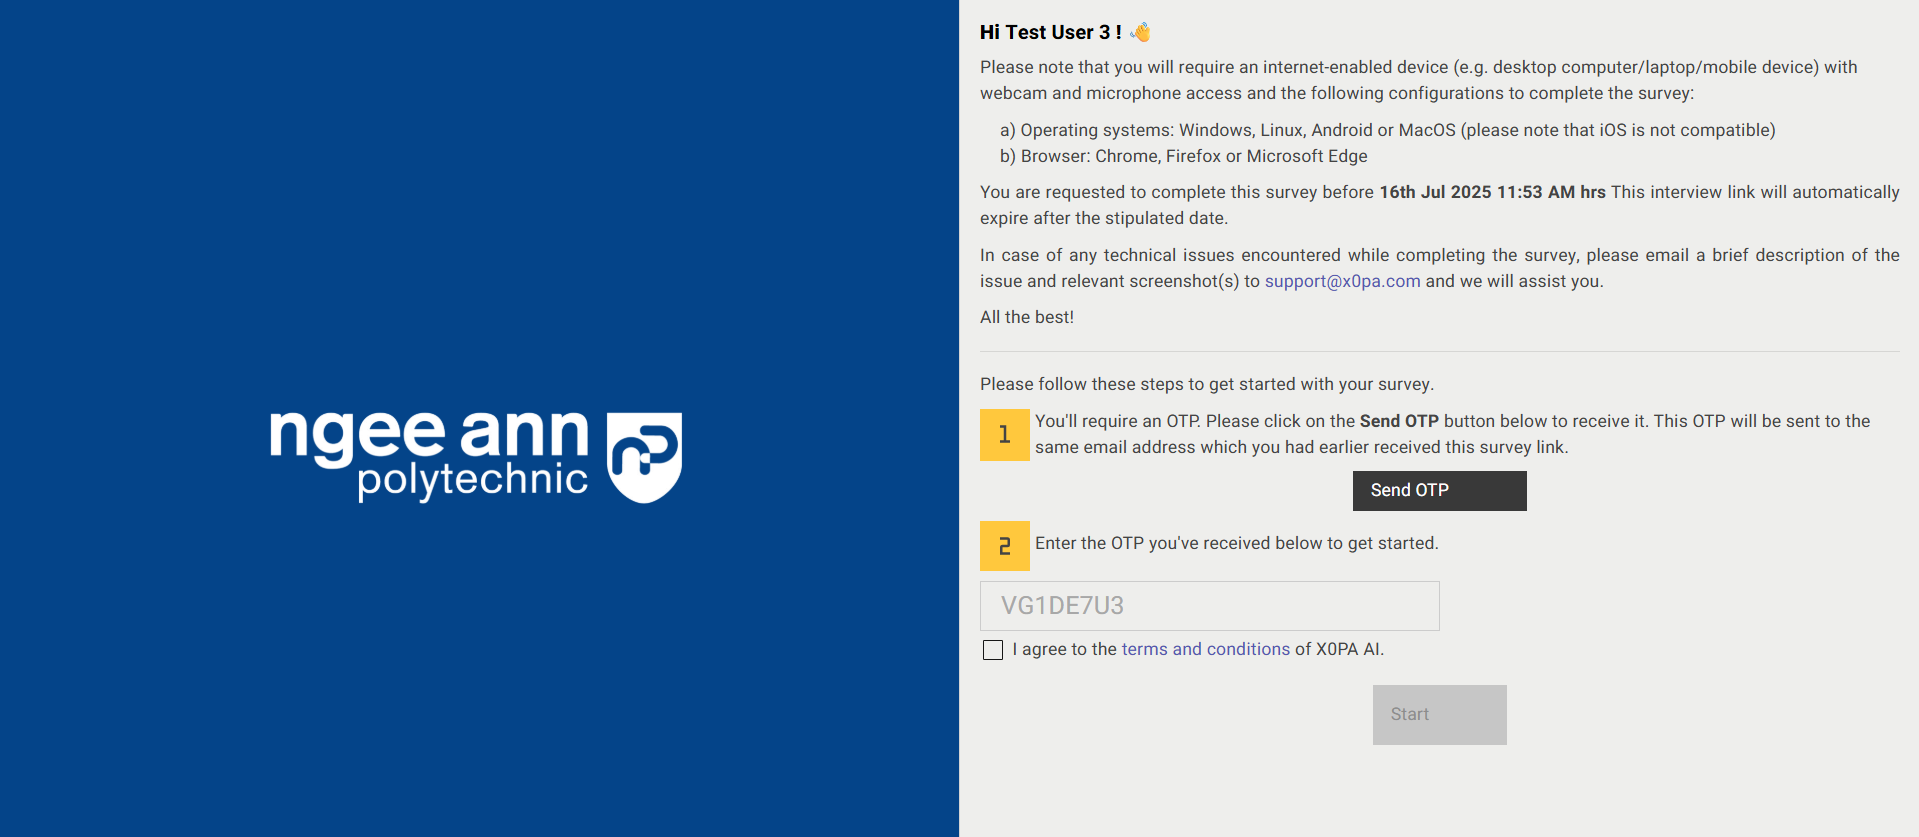
Survey Welcome Page
Step 1:
- Navigate to the Survey Welcome page.
- Click the "Send OTP" button to request a One-Time Password (OTP).
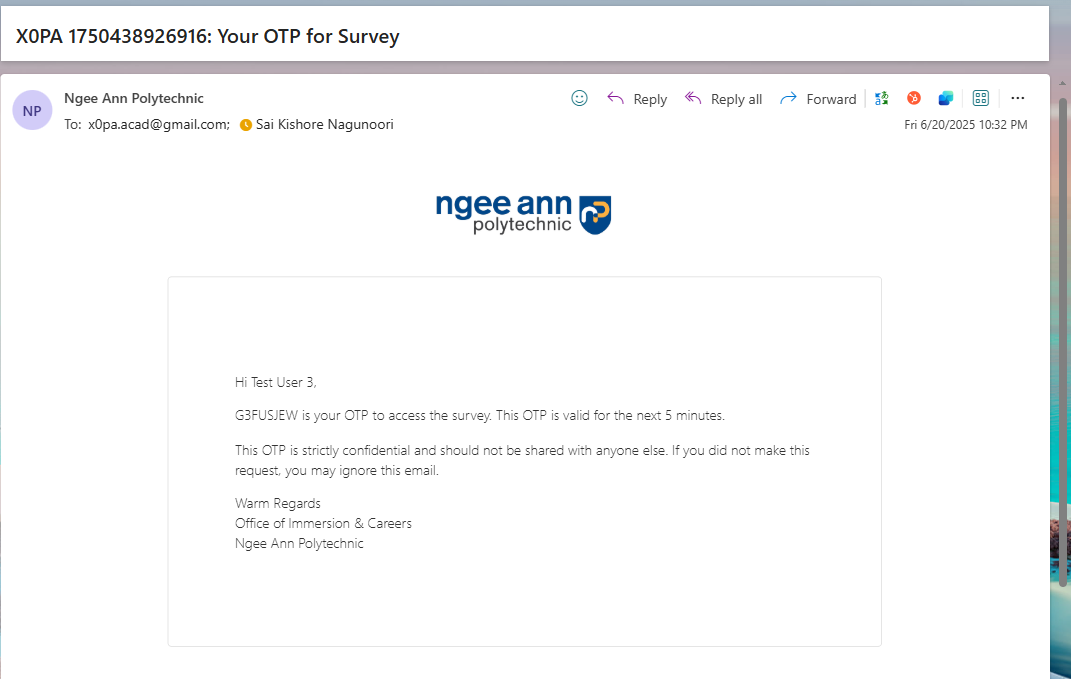
- Once you receive the OTP via notification email, copy and paste it into the provided field.
- Select the "I agree to the terms and conditions…" checkbox.
- Click the "Start" button to proceed to the survey questions page.
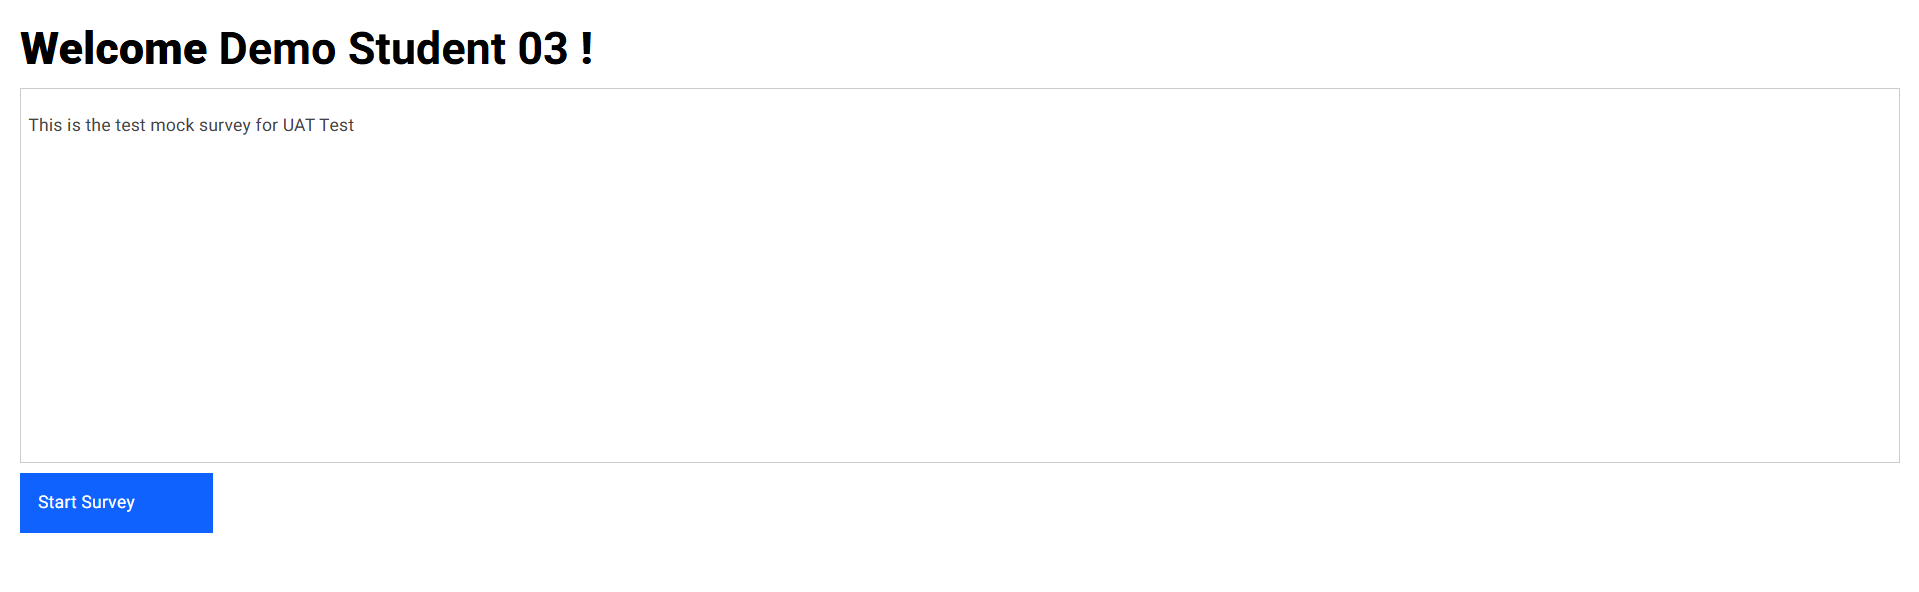
Survey Instructions Page
Step 1:
- Instructions added by the NP Staff admins for respondents will be displayed in the instruction box.
- Click the "Start Survey" button to begin the survey.
Survey Questions Page
Step 1:
- A banner displaying the expiration message — "The survey will close on [X Date, Y Time]. You can return and edit your response before the due date." — will appear at the top of the page.
- All questions assigned to the respective survey will be displayed on a single page.
- Respondents should provide answers to each question.
- Responses are automatically saved as soon as an answer option is selected.


Step 2:
- A "Submit" button will be displayed at the bottom of the page.
- Click the "Submit" button to finalize and submit the survey responses.
Note:
Each survey question must be answered by the respondent. If any question is left unanswered or contains invalid input, a validation error message will be displayed, and the survey cannot be submitted until all responses are completed correctly.
- "Congratulations! You've successfully completed the survey." Successes message with "Edit Responses" button will be shown when respondent submitted survey responses.
- Respondents can edit their survey responses until the survey reaches its expiration time.

Step 3:
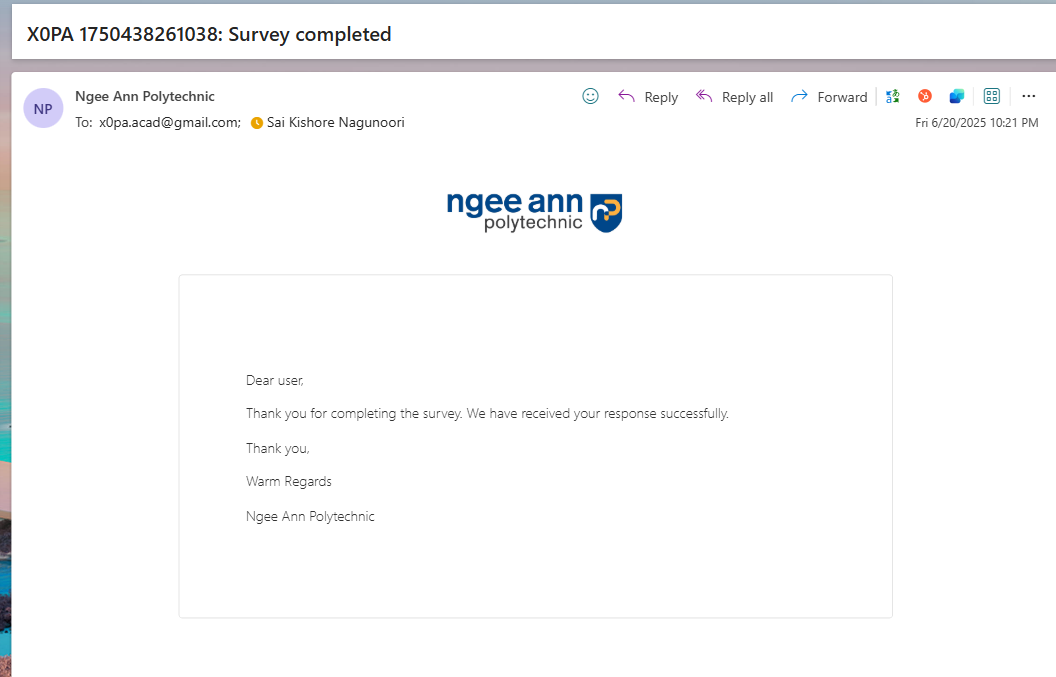
- After submitting the survey responses, a greeting page will be displayed with an "Edit Responses" button.
- Once submitted, the respondent will receive a confirmation email notification.
Note:
1. From the Greeting page, respondents can edit their responses immediately after submission. Respondent will be redirected to OTP page
2. If a respondent wants to edit the survey later, they can use the same survey invitation email to access and update their responses.